
OpenAI
Use models like GPT-4o. You’ll need an API key from platform.openai.com.
You’ve got Selu installed and the dashboard is open. Let’s get your first agent up and running. This guide takes about five minutes.
When you first open the Selu dashboard, you’ll be prompted to create an admin account. Pick a username and password — this is stored locally on your machine, not sent anywhere.
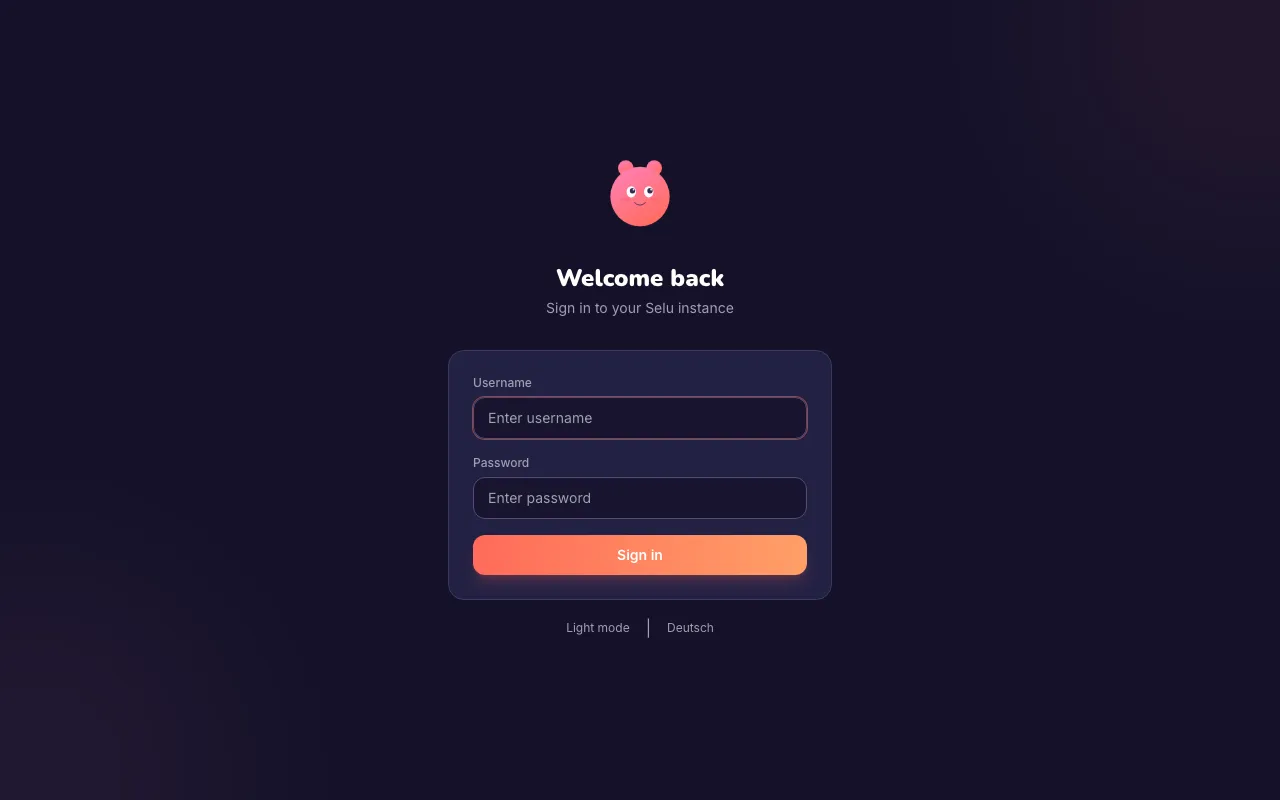
Once logged in, you’ll land on the Chat screen. It’ll look a bit empty right now. That’s about to change.
Agents need a language model to think and respond. Selu doesn’t come with one built in — you bring your own.
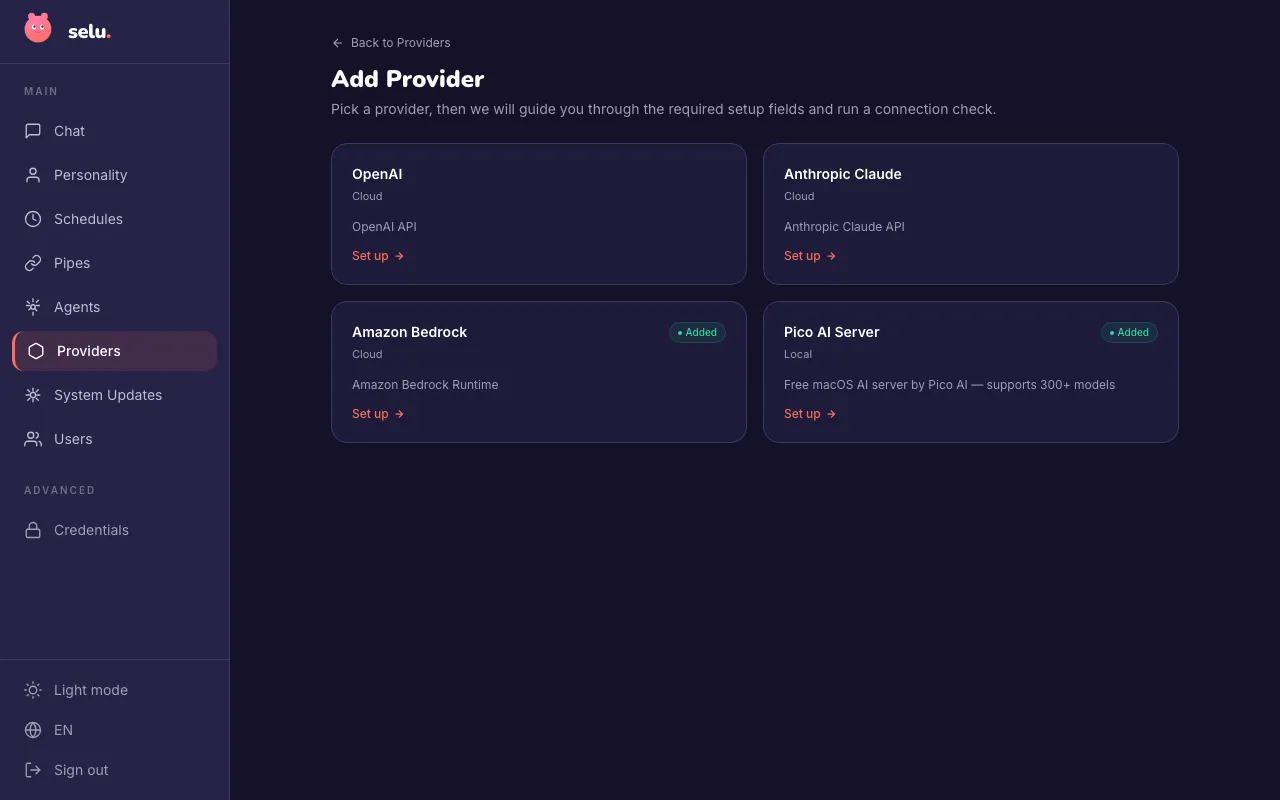
OpenAI
Use models like GPT-4o. You’ll need an API key from platform.openai.com.
Anthropic
Use models like Claude. Grab an API key from console.anthropic.com.
Amazon Bedrock
Use AWS-hosted models. Requires AWS credentials with Bedrock access.
Pico AI Server
Run models on your own hardware with Pico AI Server. No API key needed — supports 300+ models locally.
Now that Selu has a language model to work with, let’s give it a job.
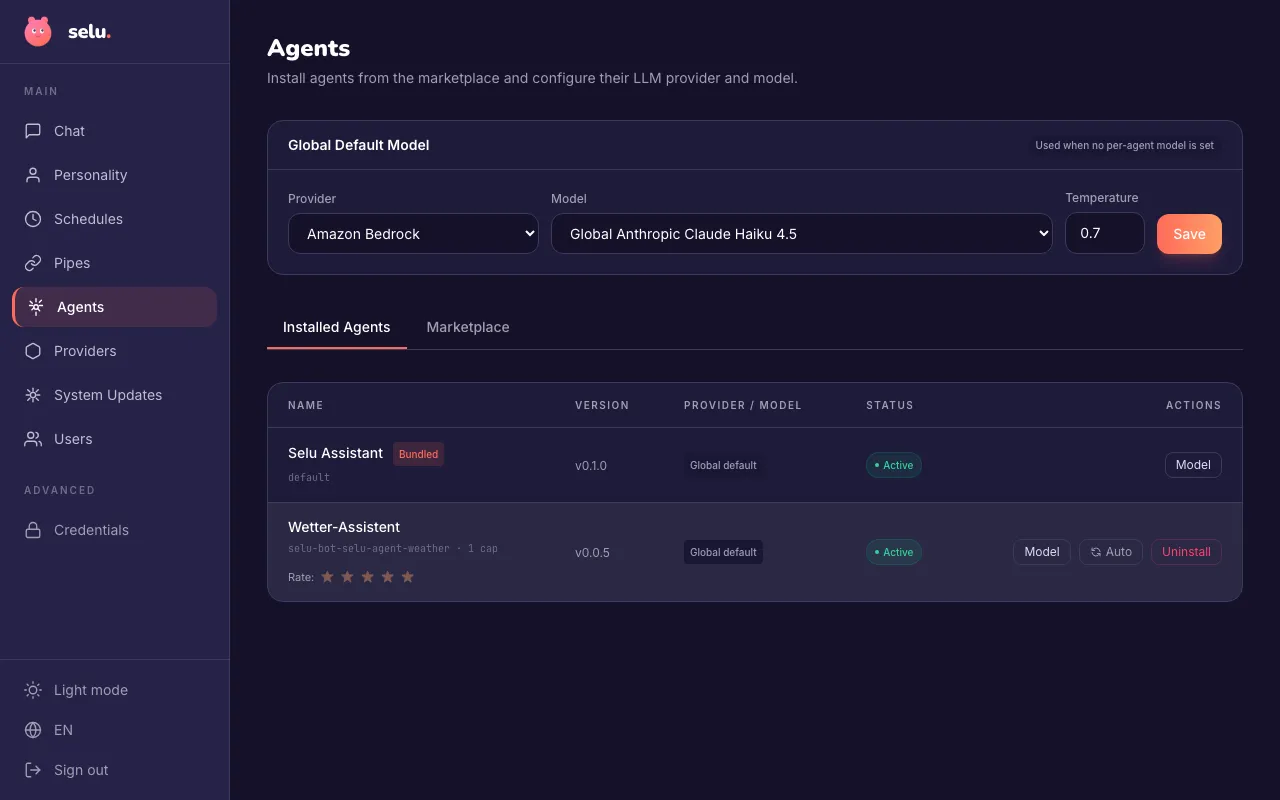
The agent should appear on the Installed Agents tab within a few seconds.
Before you can chat, you need at least one pipe — that’s how messages reach your agents. The quickest option is a Web UI pipe, which lets you chat right in the Selu dashboard.
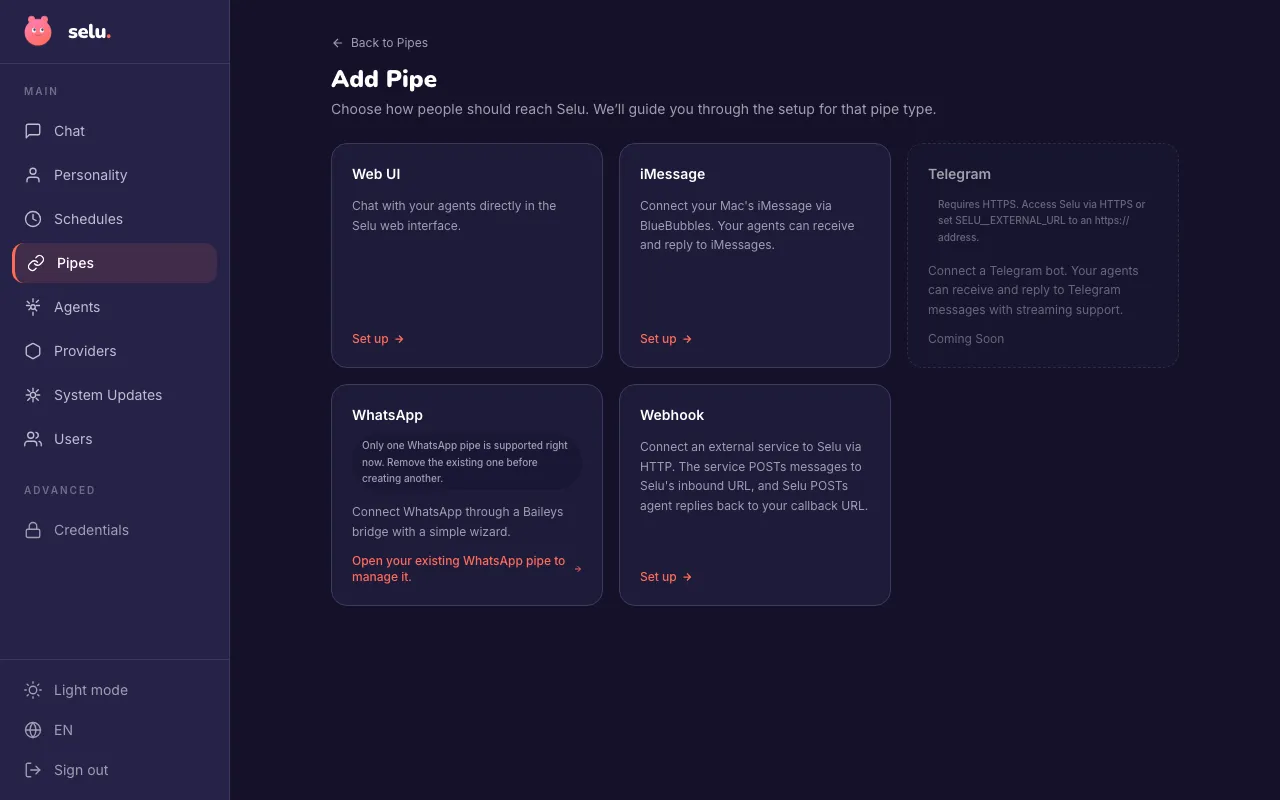
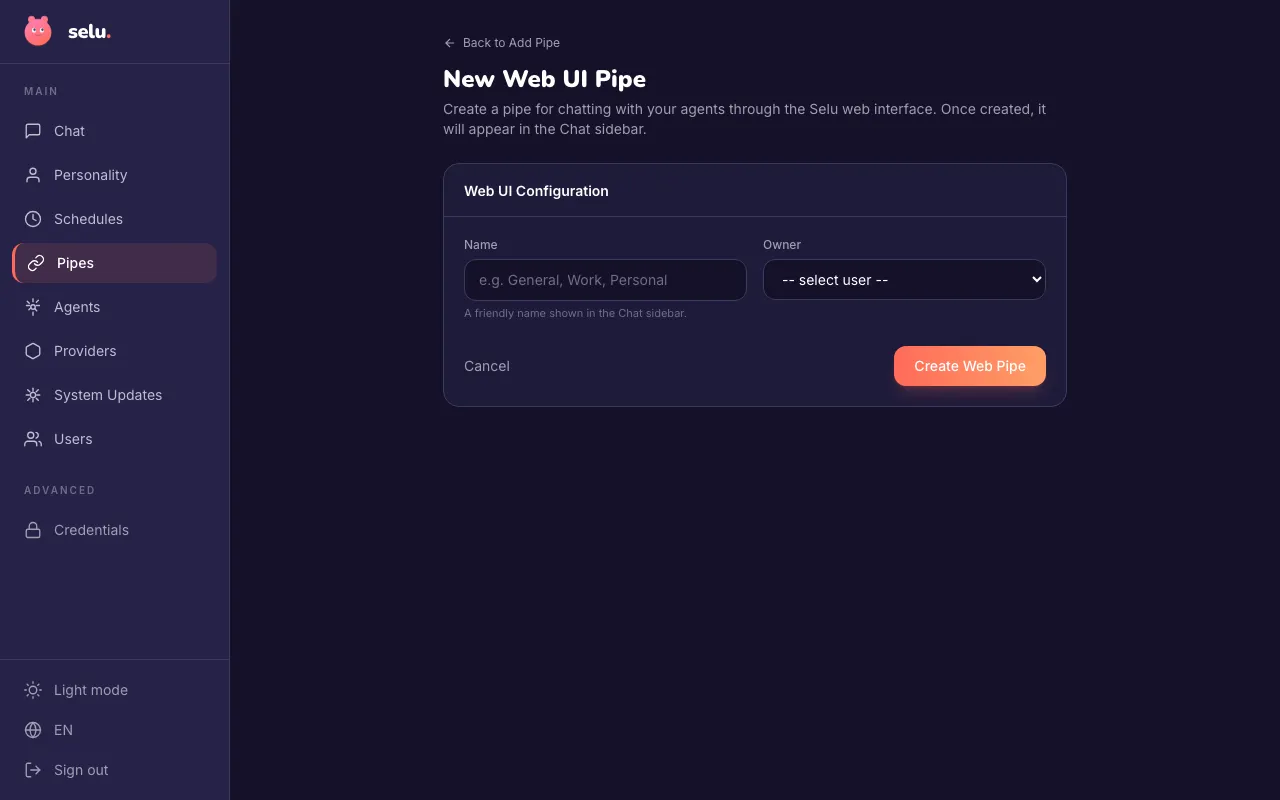
That’s it — your new pipe will show up in the Chat sidebar straight away.
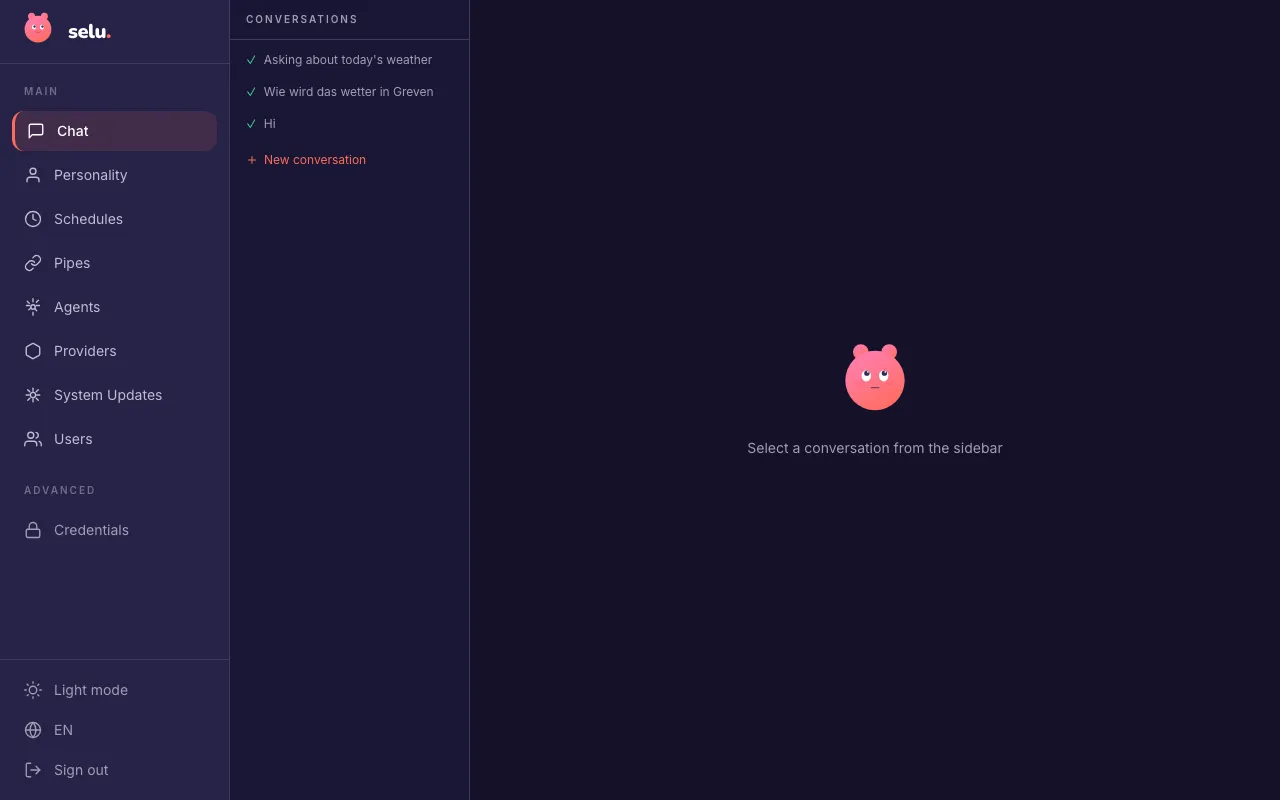
Your agent should respond within a few seconds, introducing itself and explaining what it can do. Congratulations — you have a working AI agent running on your own infrastructure.
Here’s what went on behind the scenes when you sent that message:
No third party saw your conversation (beyond the LLM provider, if you’re using a cloud-based model). Everything else stayed on your machine.
Now that you’re set up, here are some things to explore:
Connect a pipe
Go to Pipes in the sidebar and connect Telegram, iMessage, or WhatsApp, so you can chat with your agent from your phone.
Explore capabilities
Check out your agent’s detail page under Agents to see what tools it has access to, and toggle them on or off.
Install more agents
Head back to the Marketplace and try a specialized agent — a writing assistant, research helper, or task planner.
Want to understand more about how conversations work and what your agent is actually doing? Continue to Your First Conversation.