
Explore your conversations
Learn how multi-turn conversations and capabilities work in Your First Conversation.
This guide walks you through everything — from choosing where to run Selu to sending your first message to an AI agent. No prior experience required. You’ll be chatting in about 10 minutes.
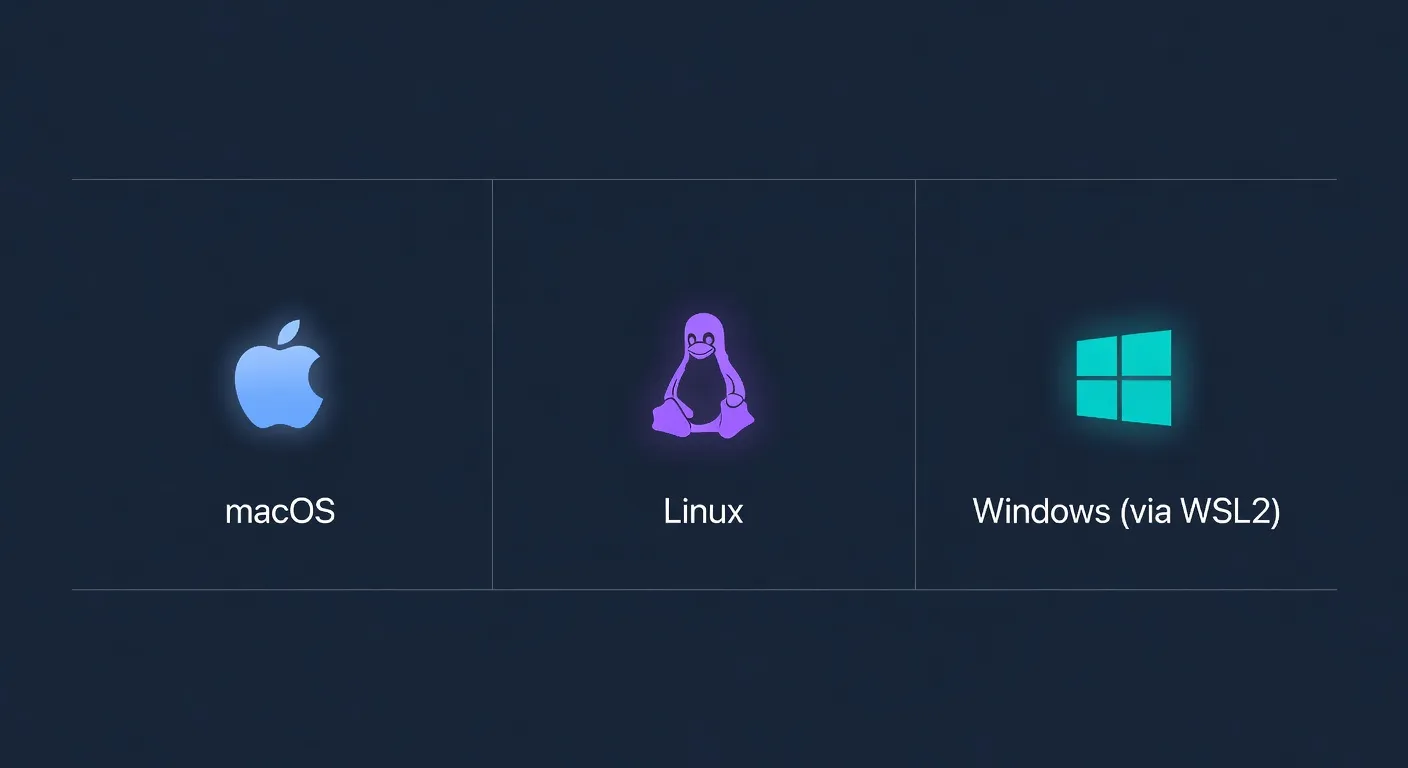
Selu runs on macOS, Linux, and Windows (via WSL2). You need a machine with:
Any modern laptop or desktop will work. If you plan to run local language models later, you’ll want more power — but that’s not needed for this guide.
Selu runs inside Docker containers. If you already have Docker installed and running, skip to Open your terminal.
Install Docker Desktop from docker.com/get-docker. Follow the installer, then start Docker Desktop and wait until it shows it’s running.
On Windows, you’ll also need WSL2 — Docker Desktop will prompt you to enable it during setup.
To verify Docker is ready, open a terminal and run:
docker --versionYou should see a version number. If you get an error, make sure Docker is running.
Press Cmd + Space, type Terminal, and hit Enter.
Open your preferred terminal app (e.g., GNOME Terminal, Konsole).
Open the Ubuntu app from your Start menu (not PowerShell — you need the WSL terminal).
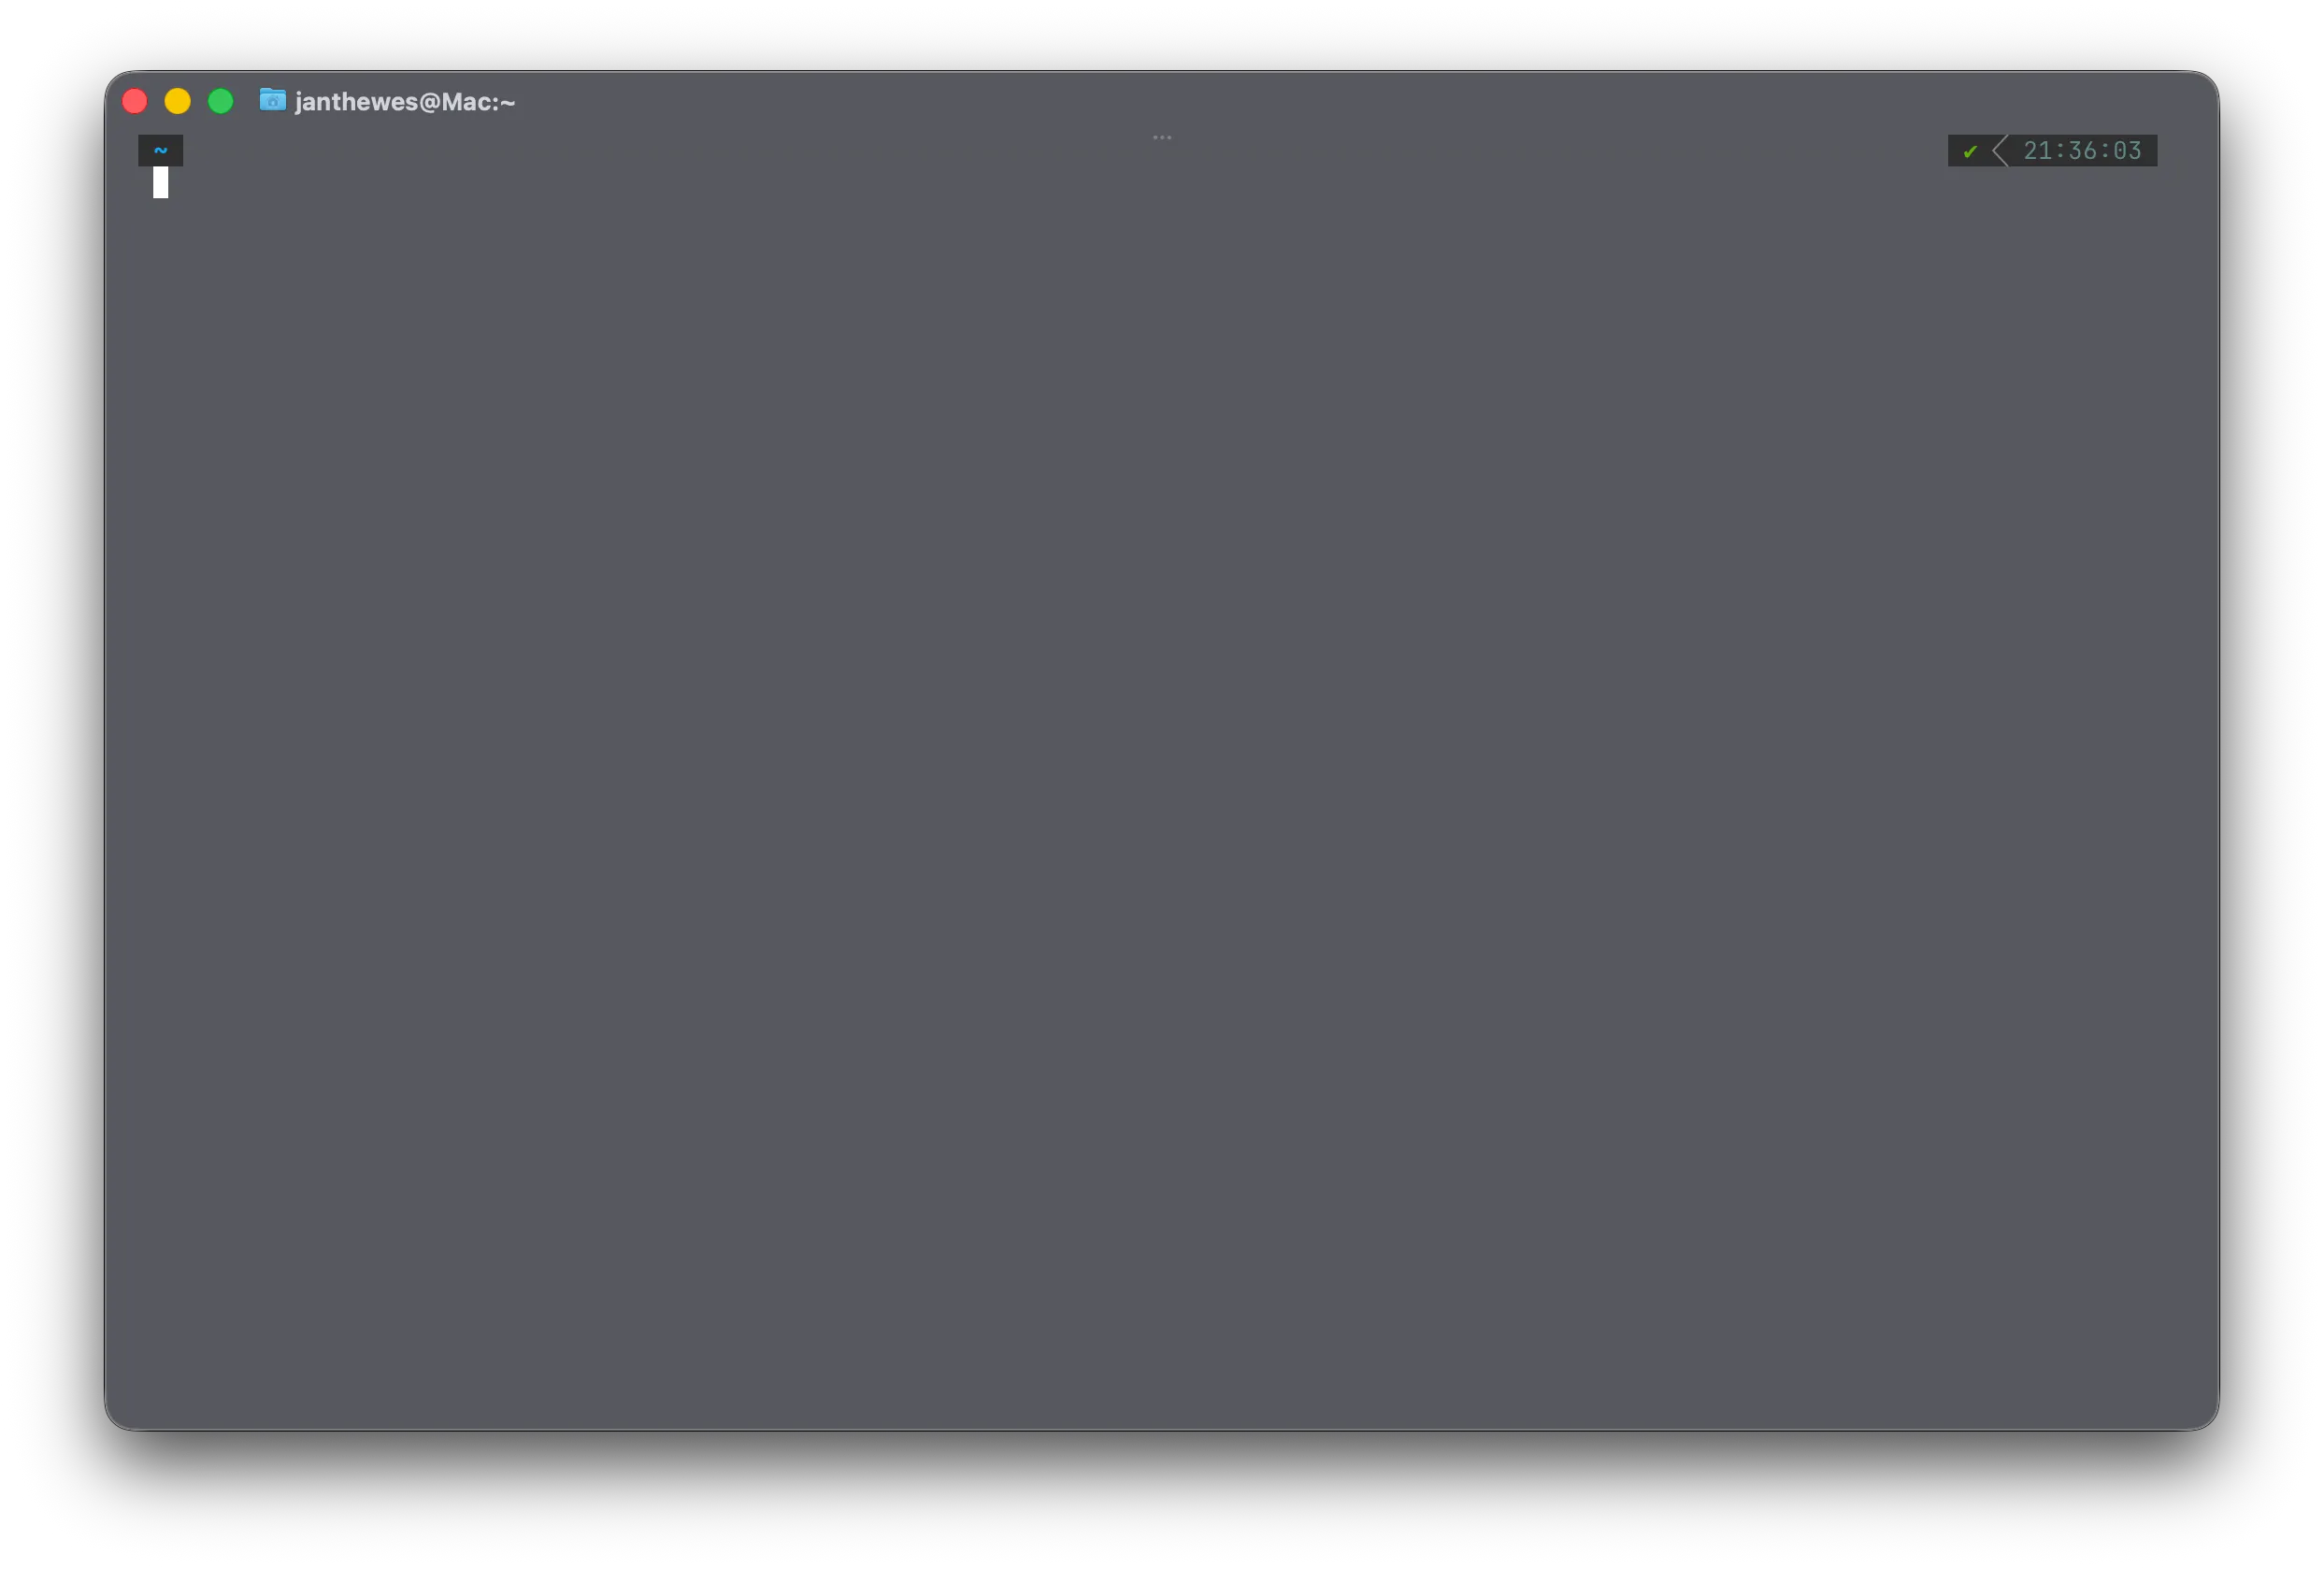
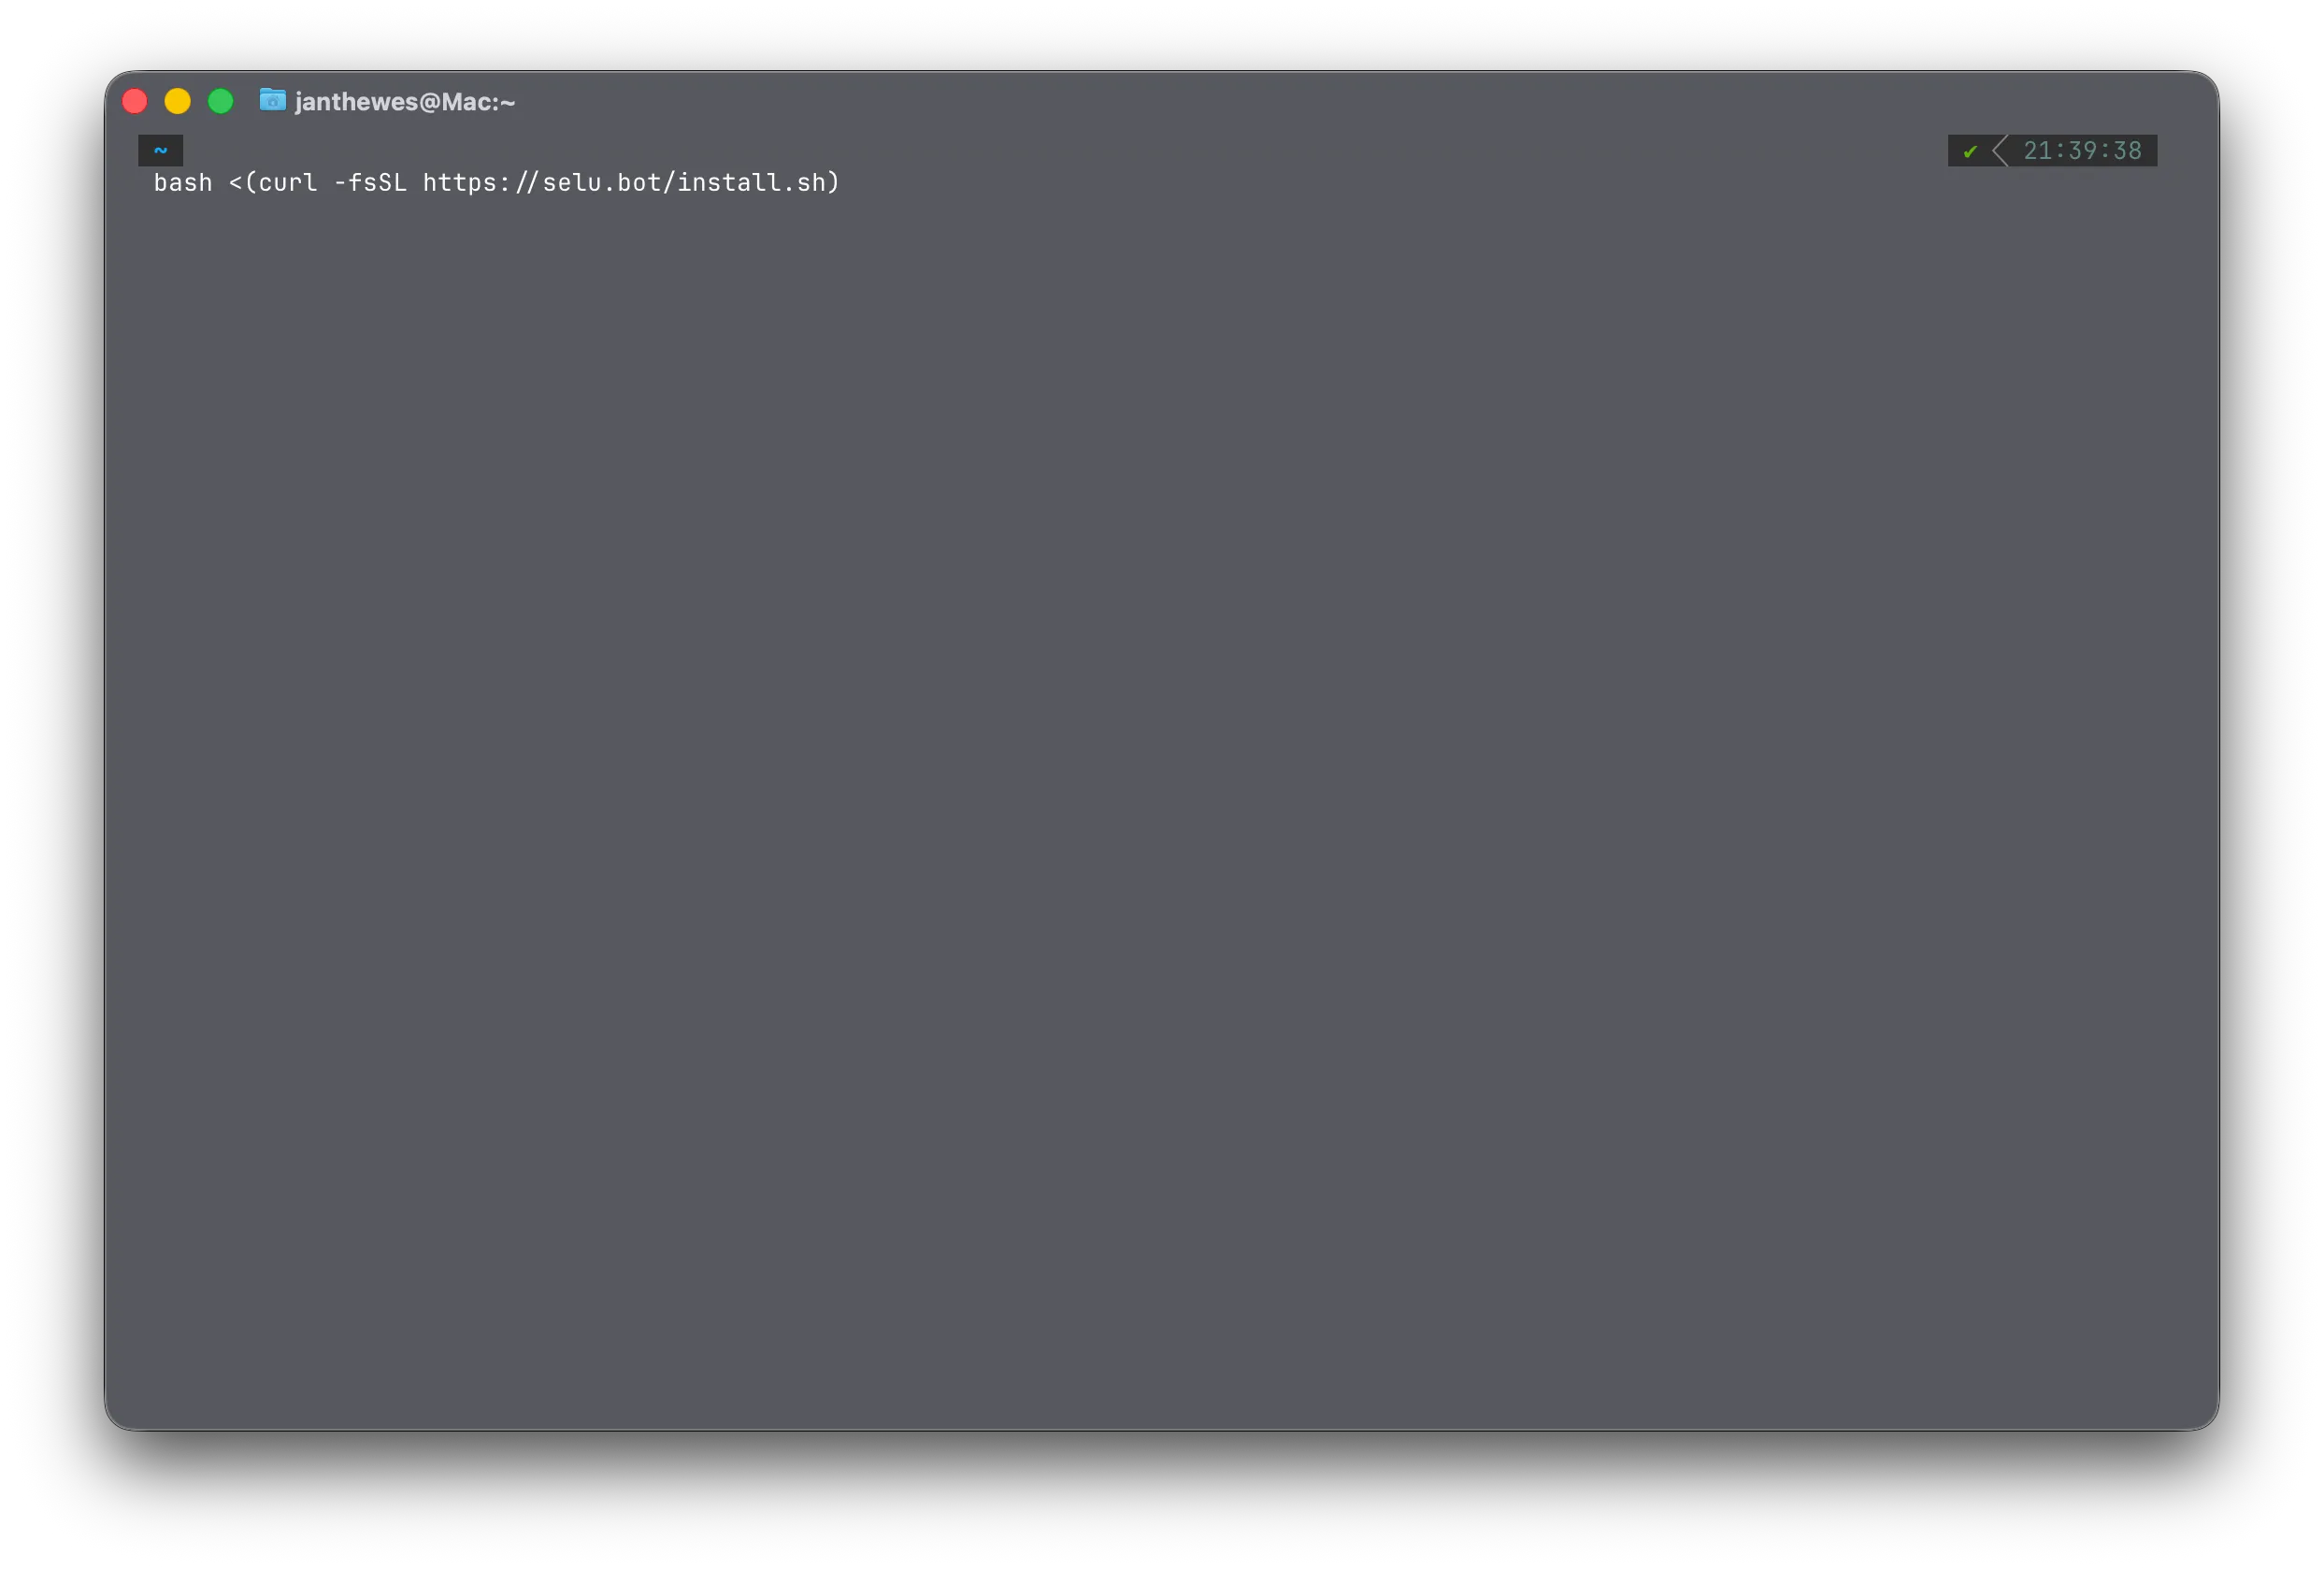
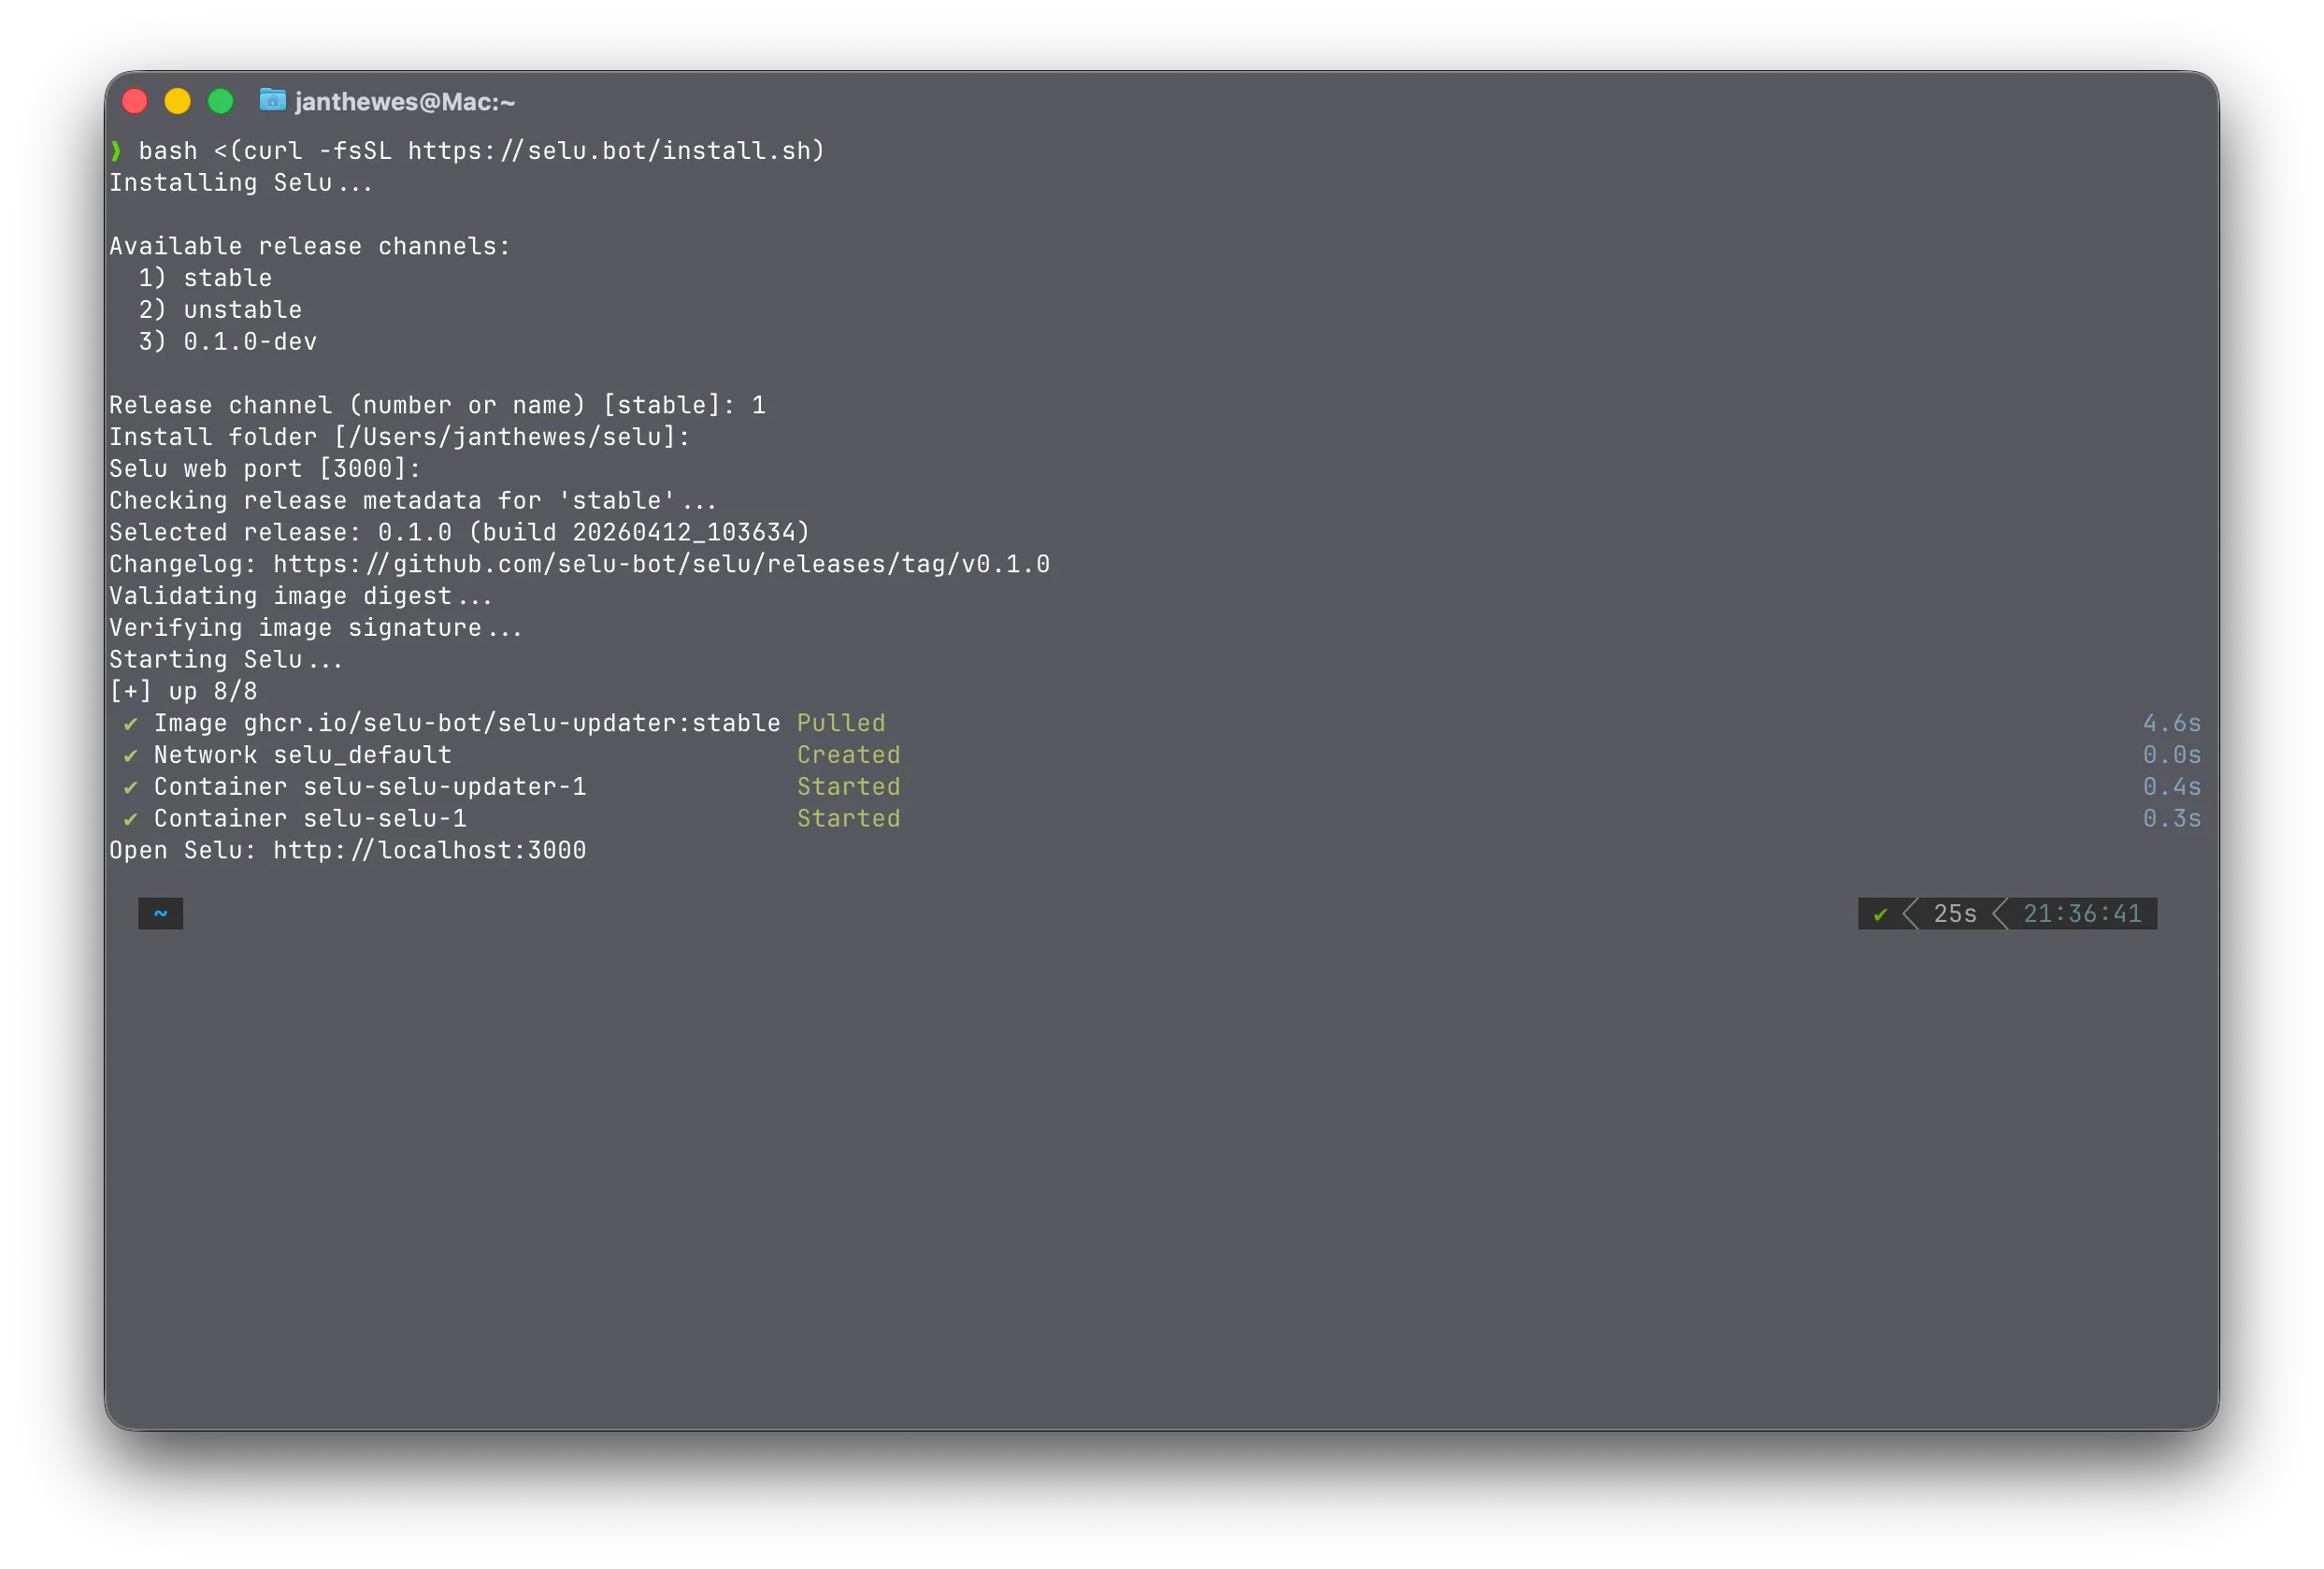
Select and copy this command:
bash <(curl -fsSL https://selu.bot/install.sh)Paste the command into your terminal and press Enter.
The installer will now:
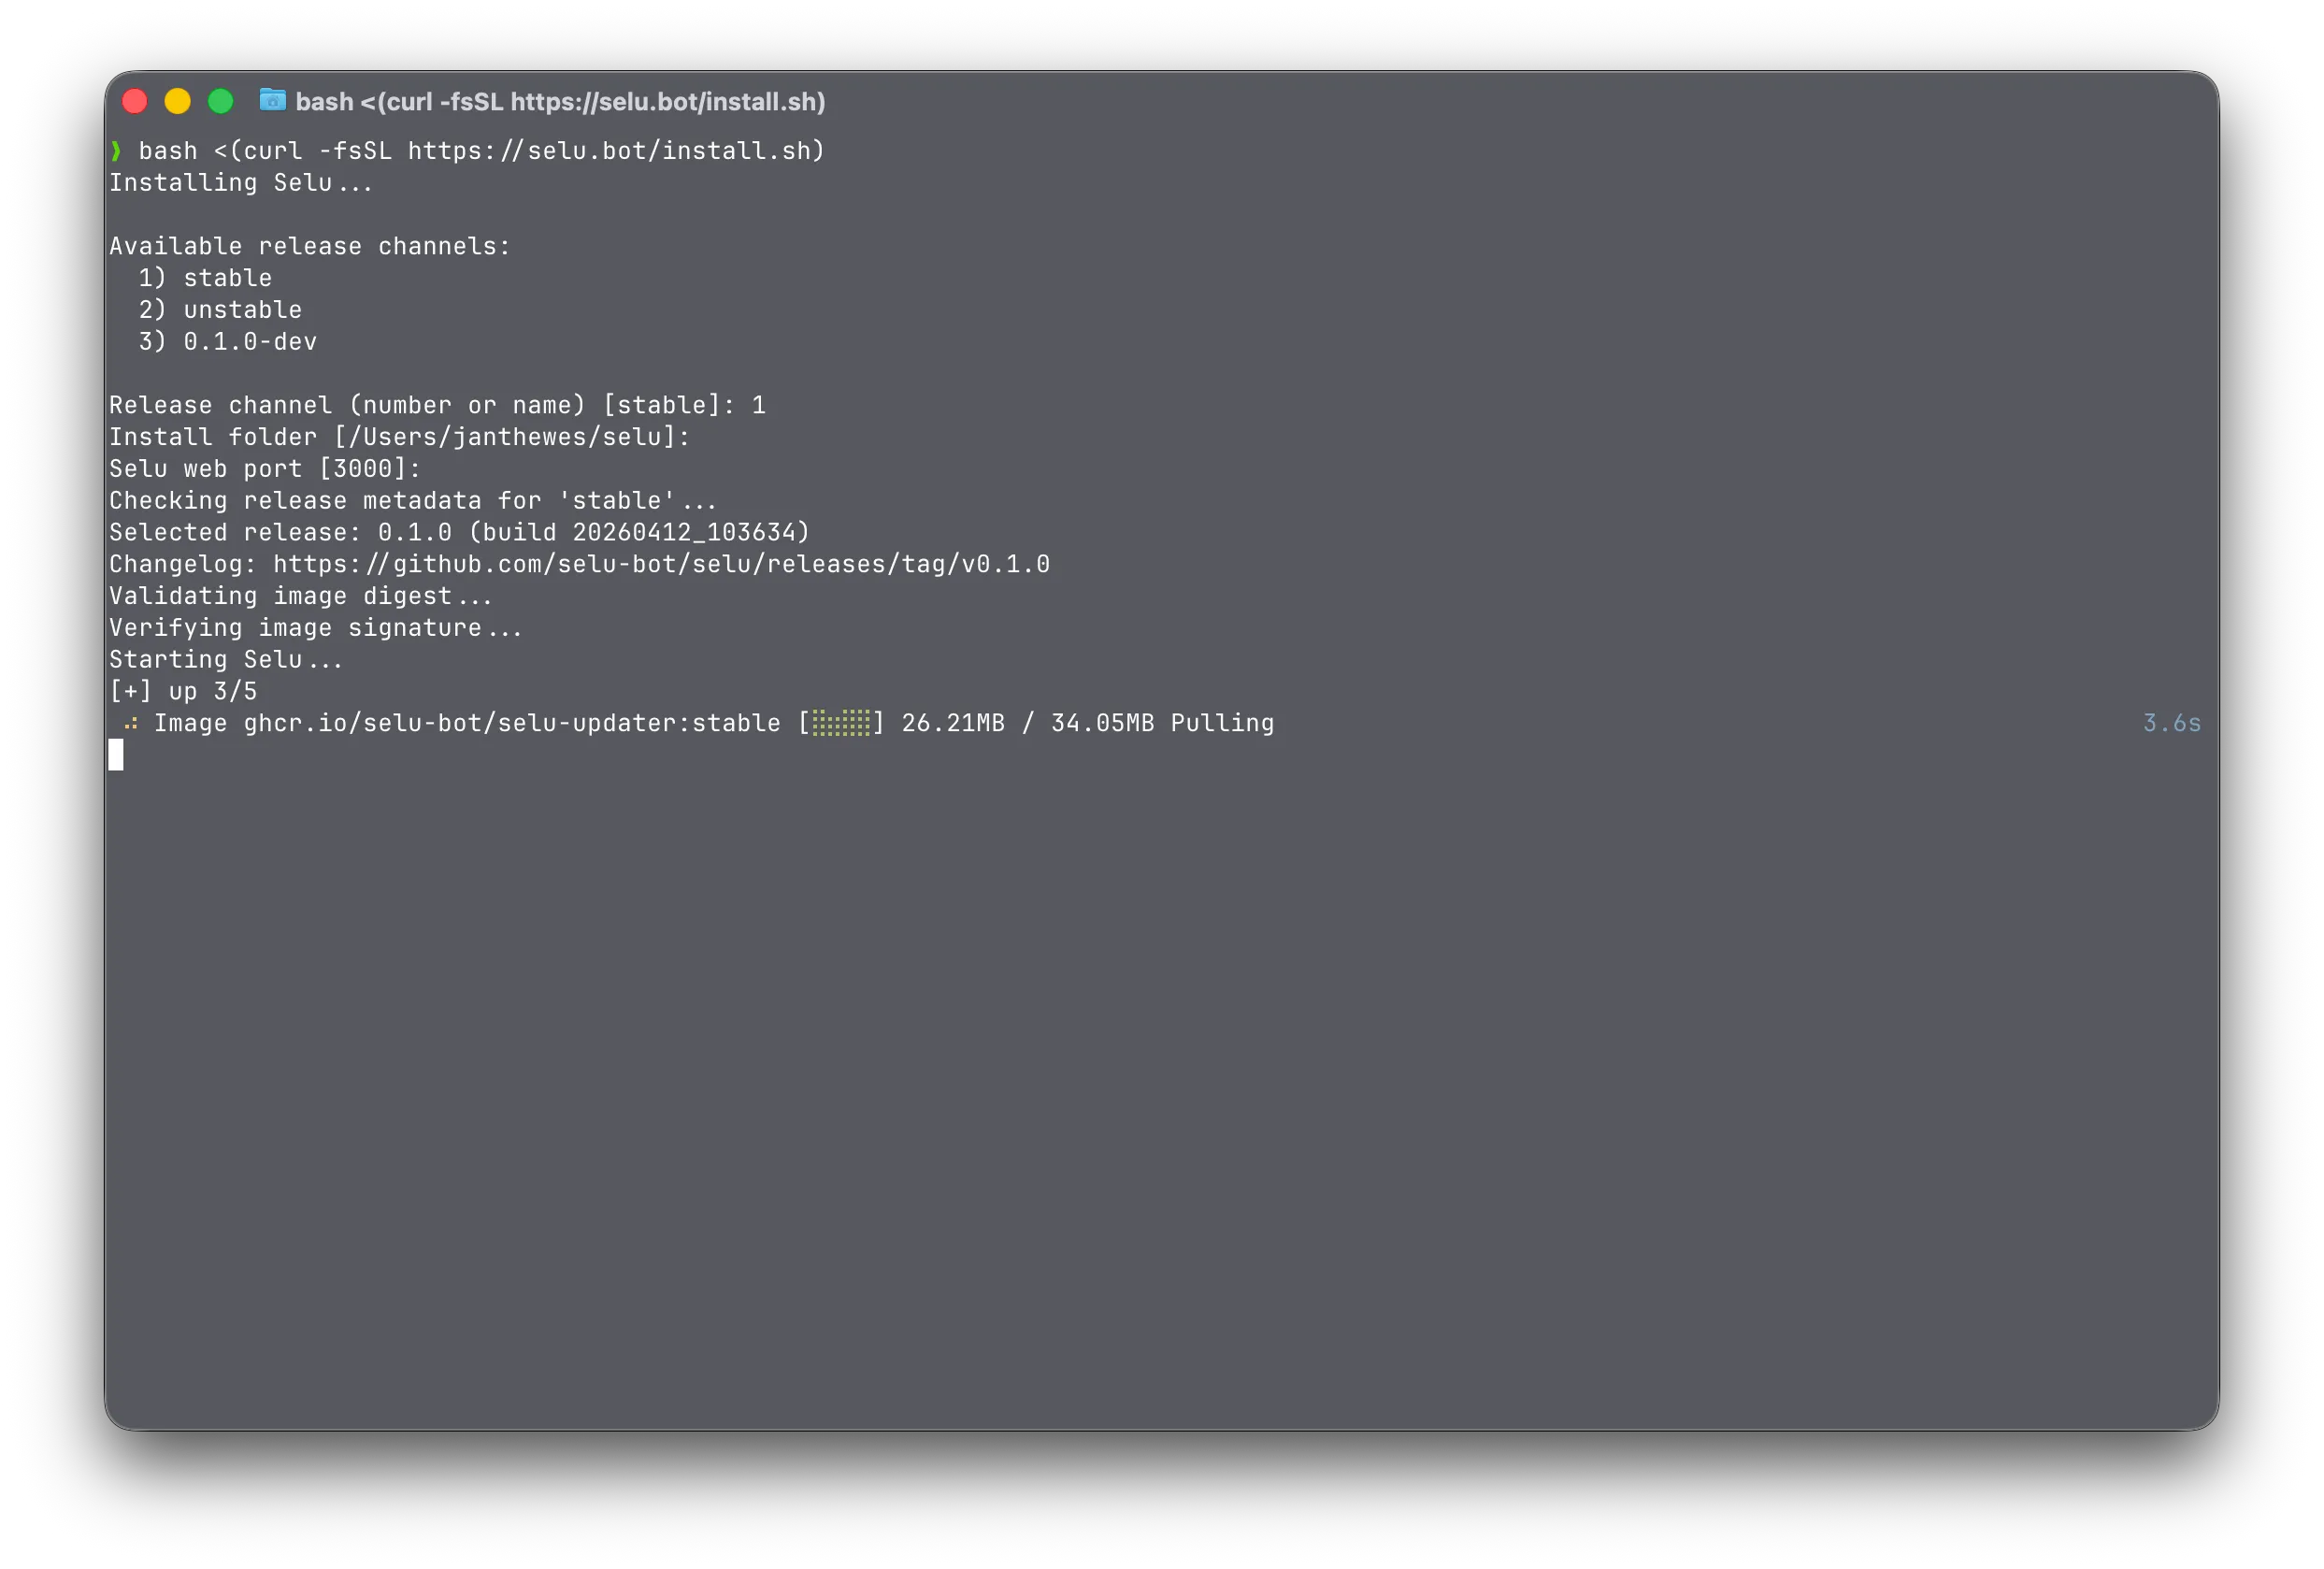
When it’s done, you’ll see a message telling you Selu is ready.
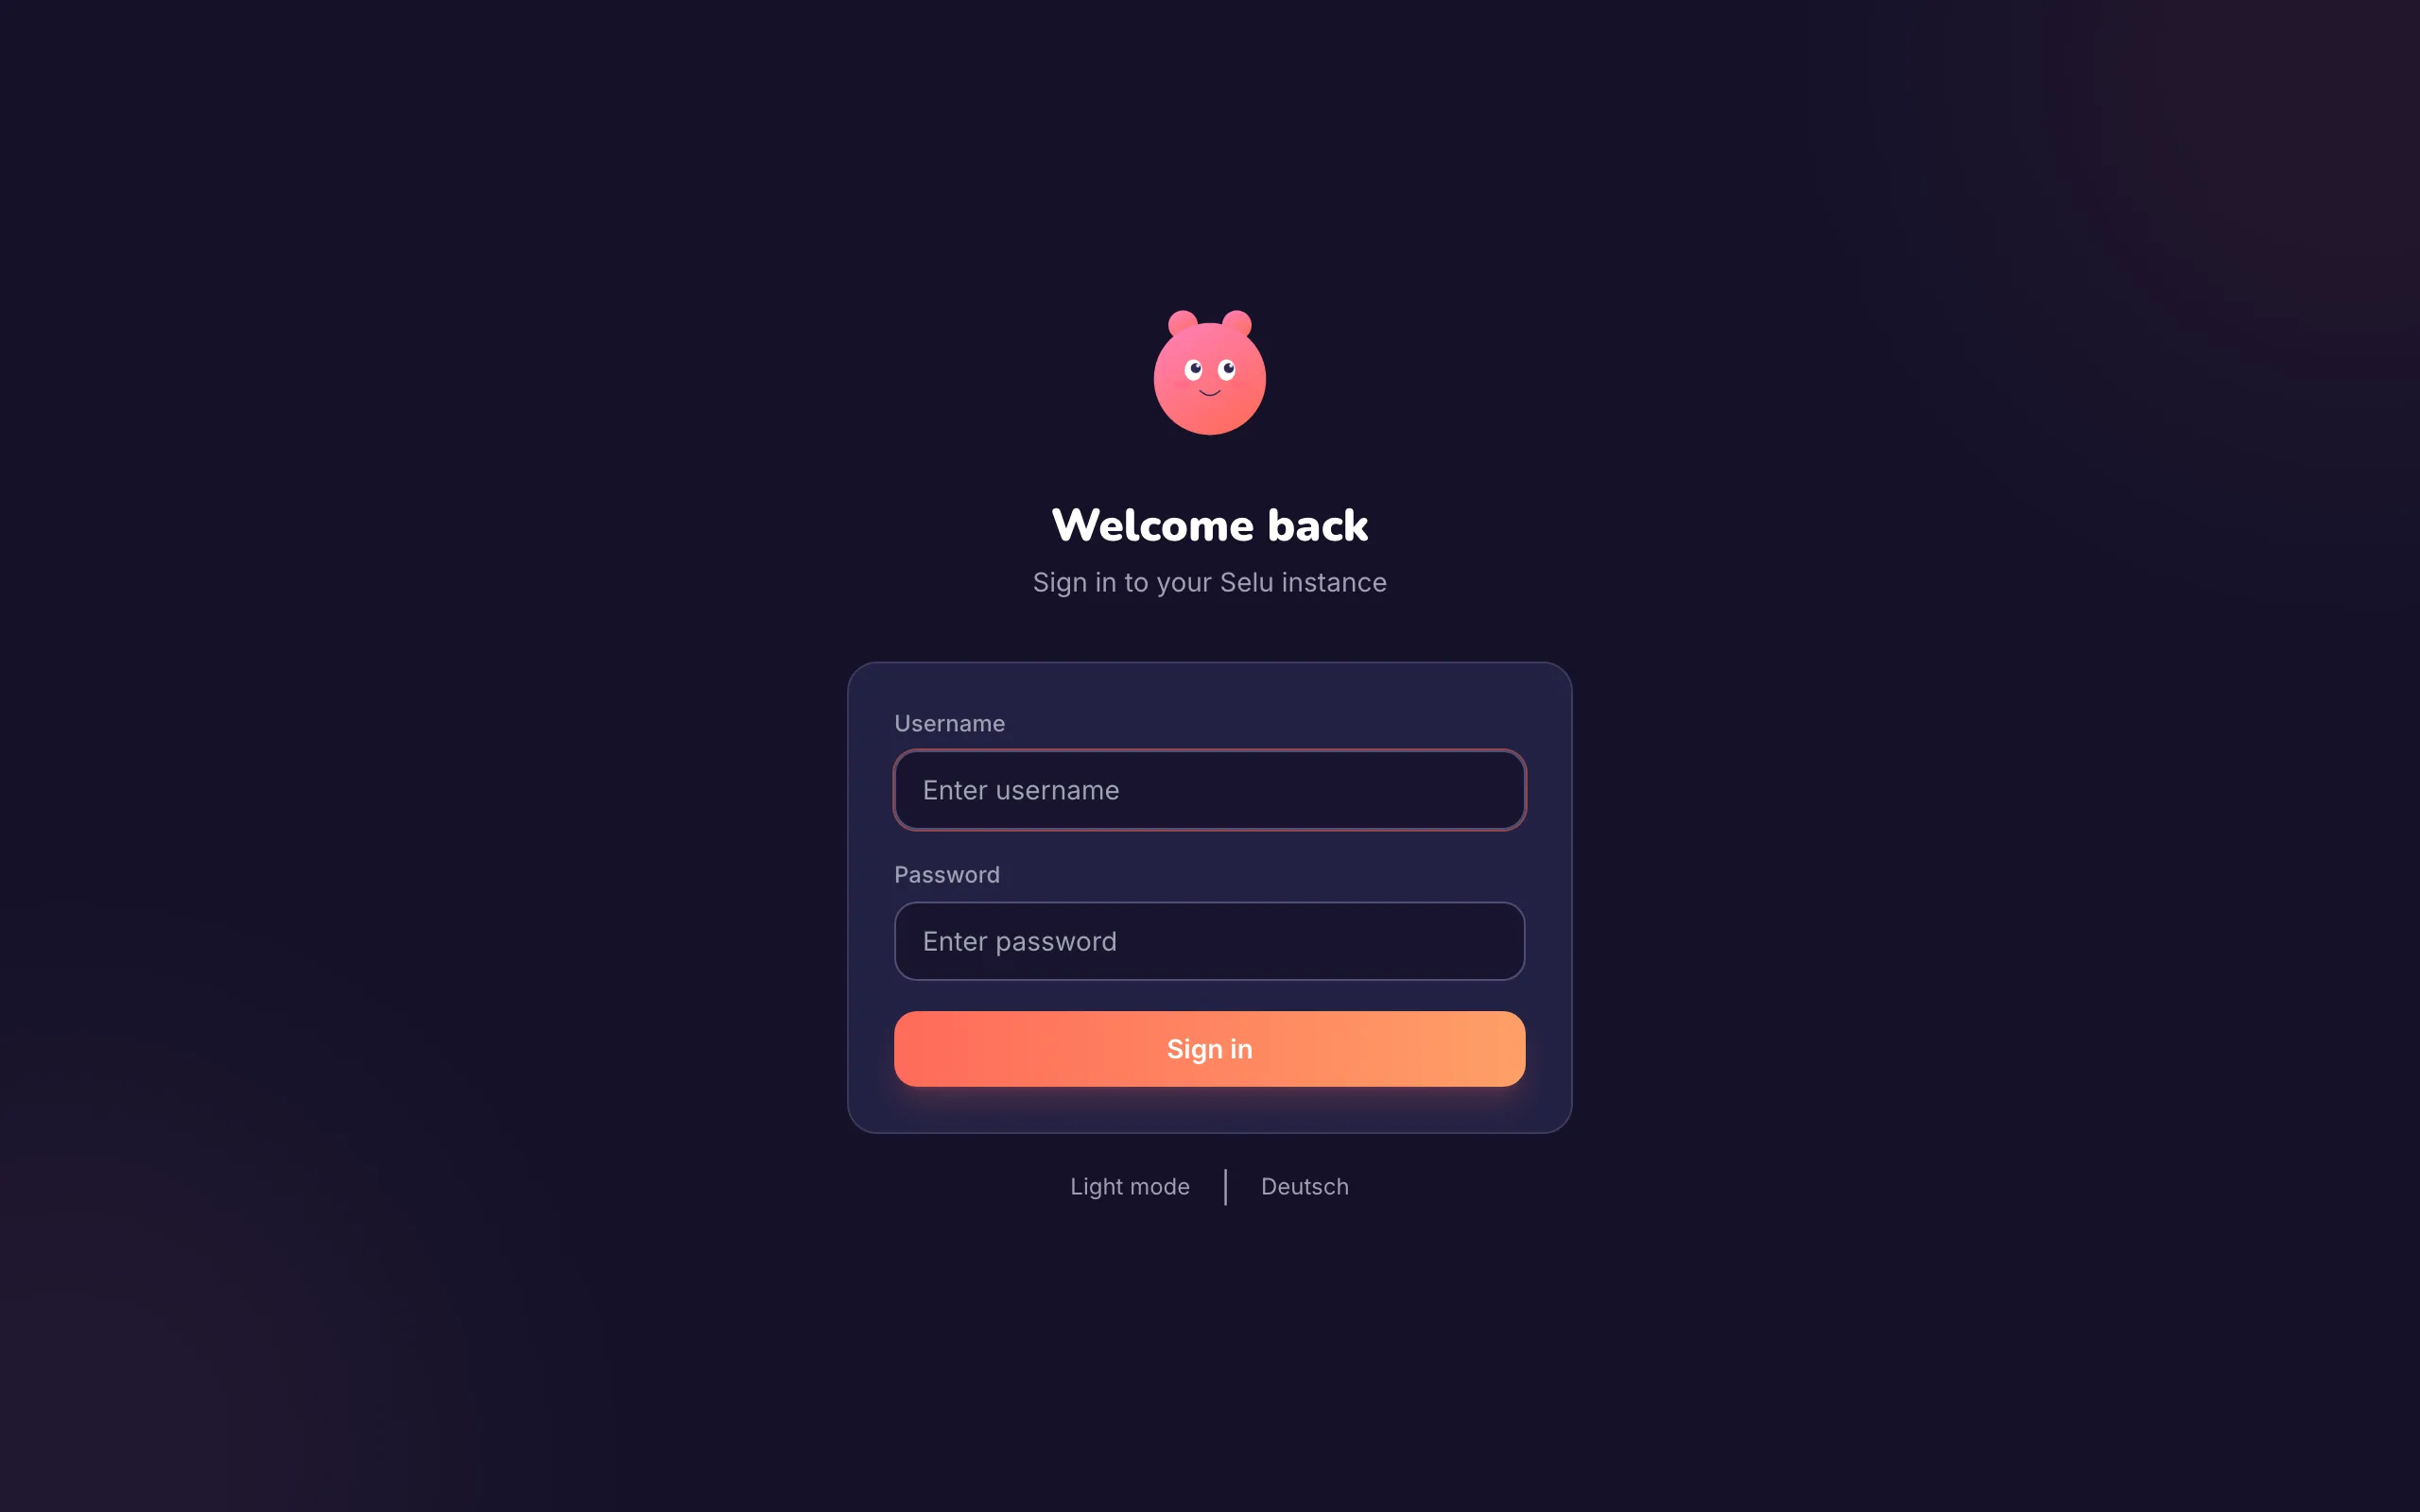
Open your browser and go to:
You’ll see the Selu welcome screen.
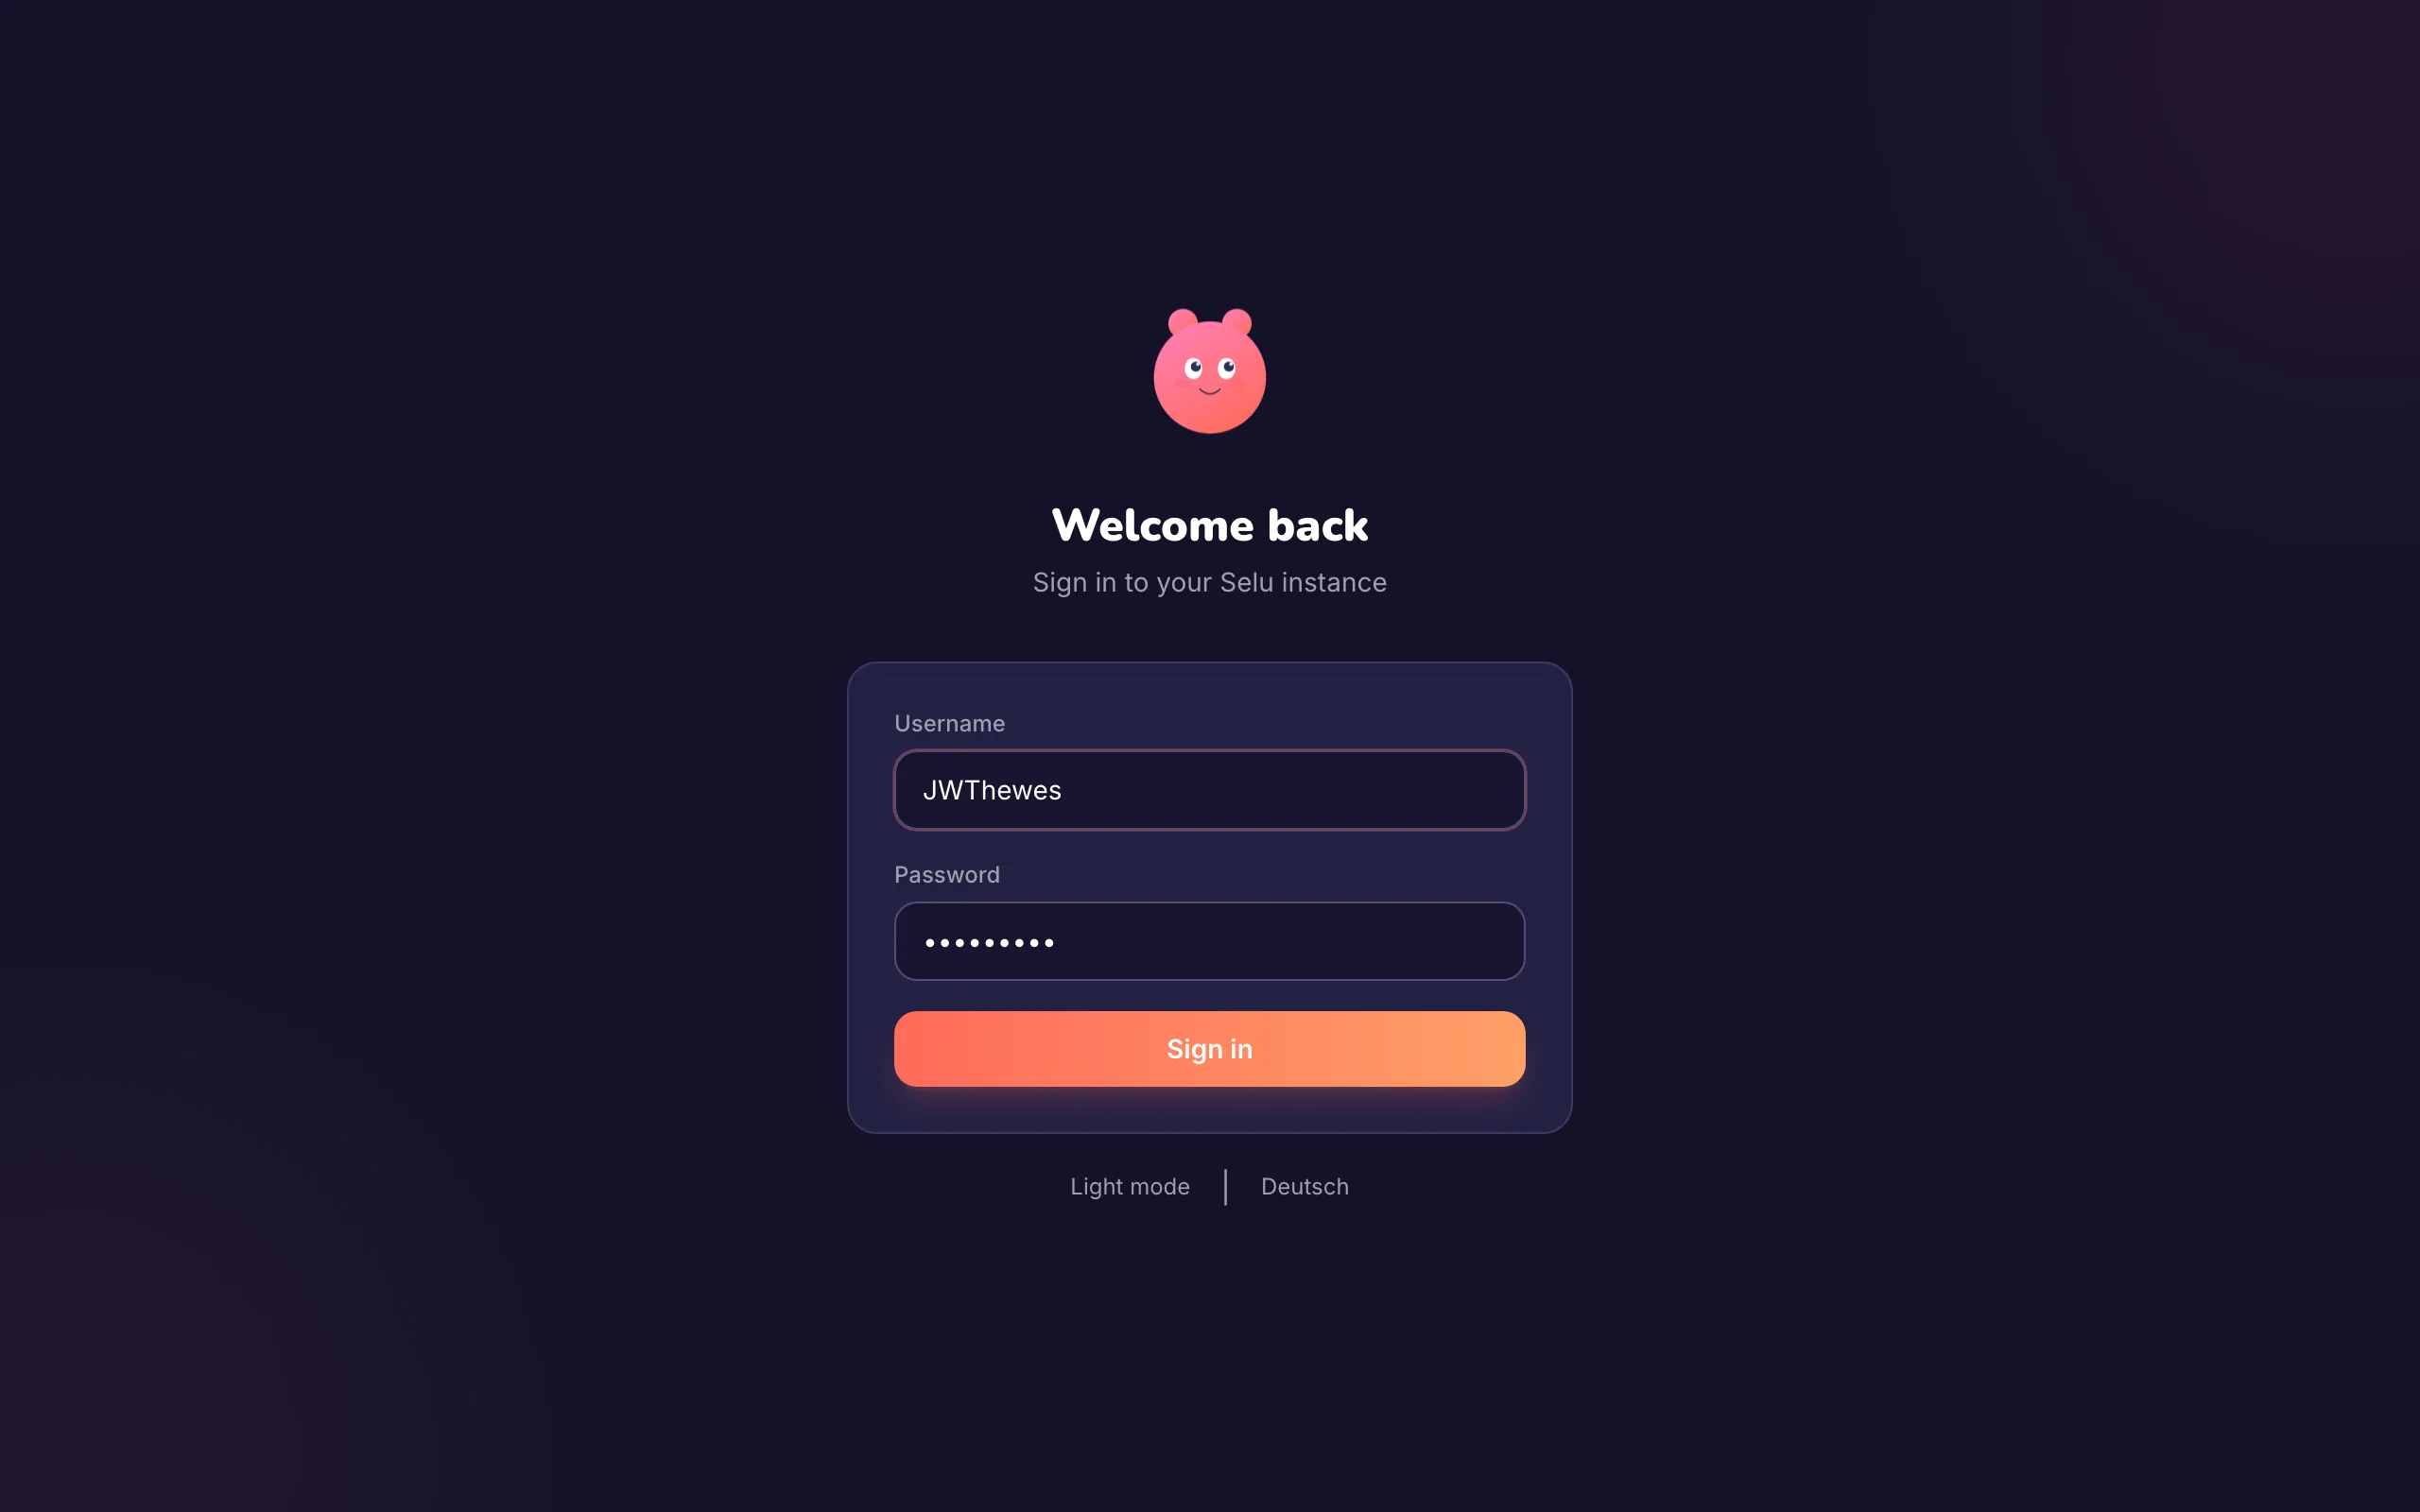
Pick a username and password, then click Create account.
This is stored locally on your machine — nothing is sent anywhere.
After creating your account, you’ll be logged in automatically. You’ll land on the Chat screen — it’ll be empty for now. That’s normal.
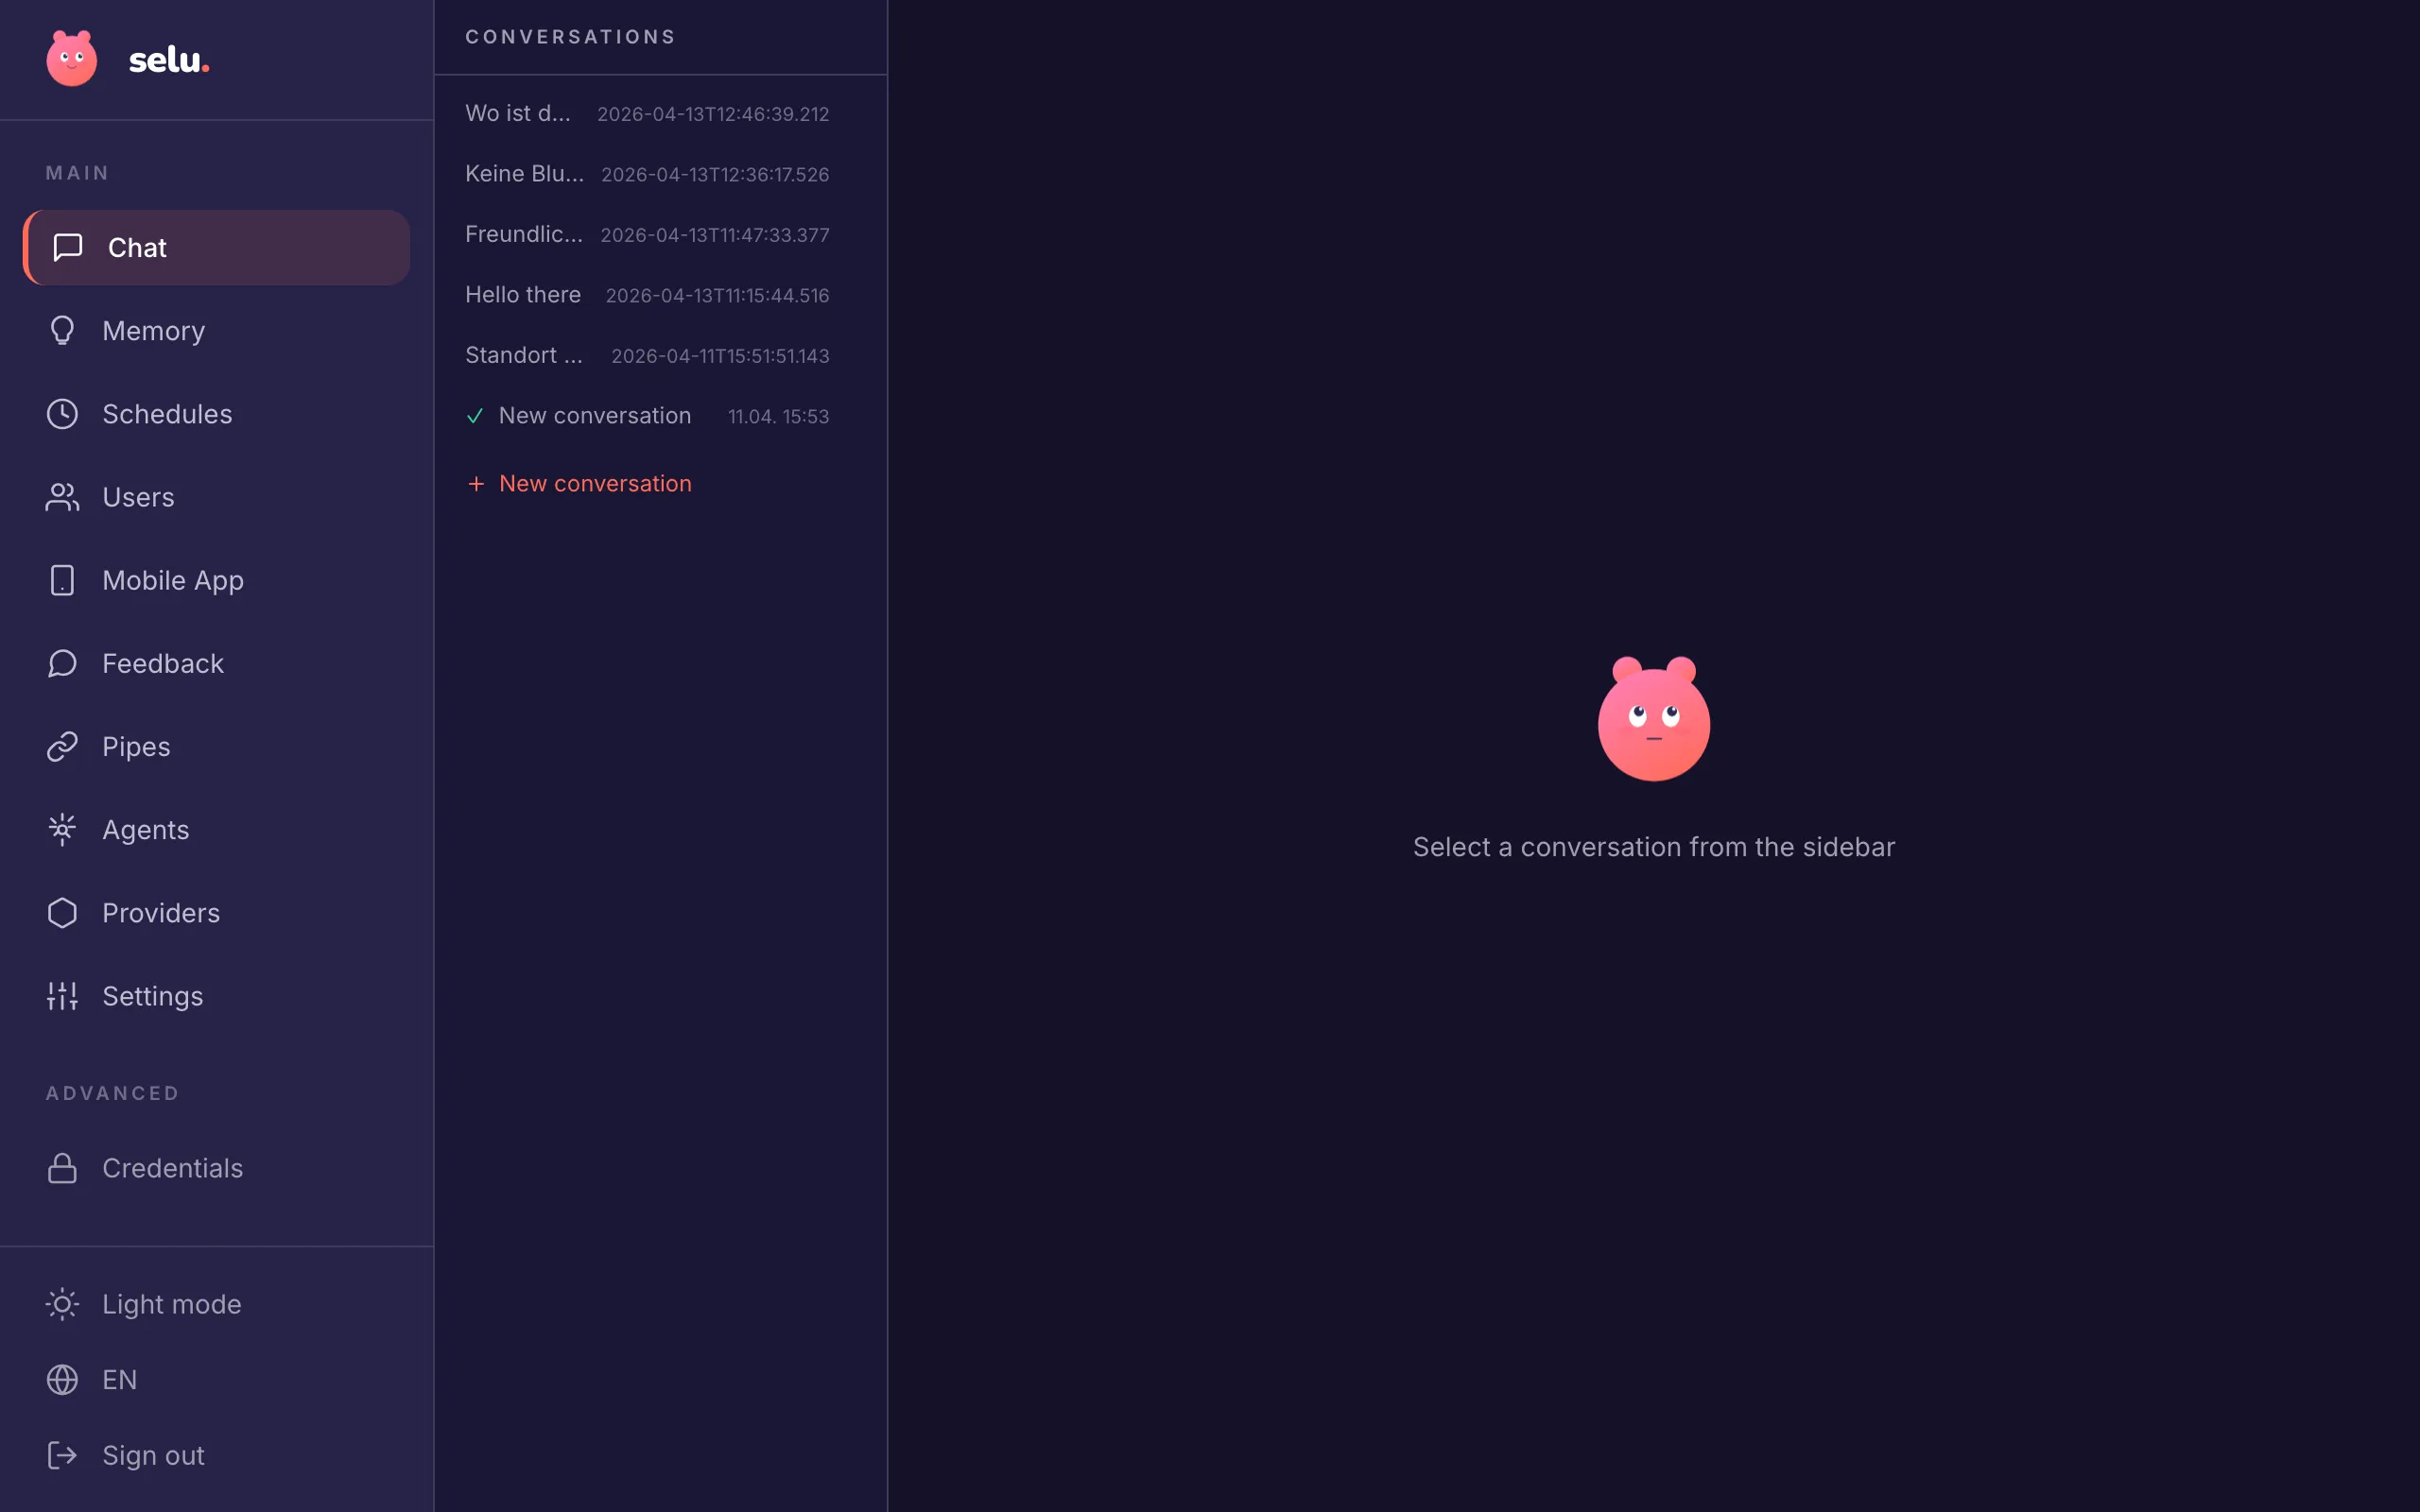
Click Providers in the left sidebar.
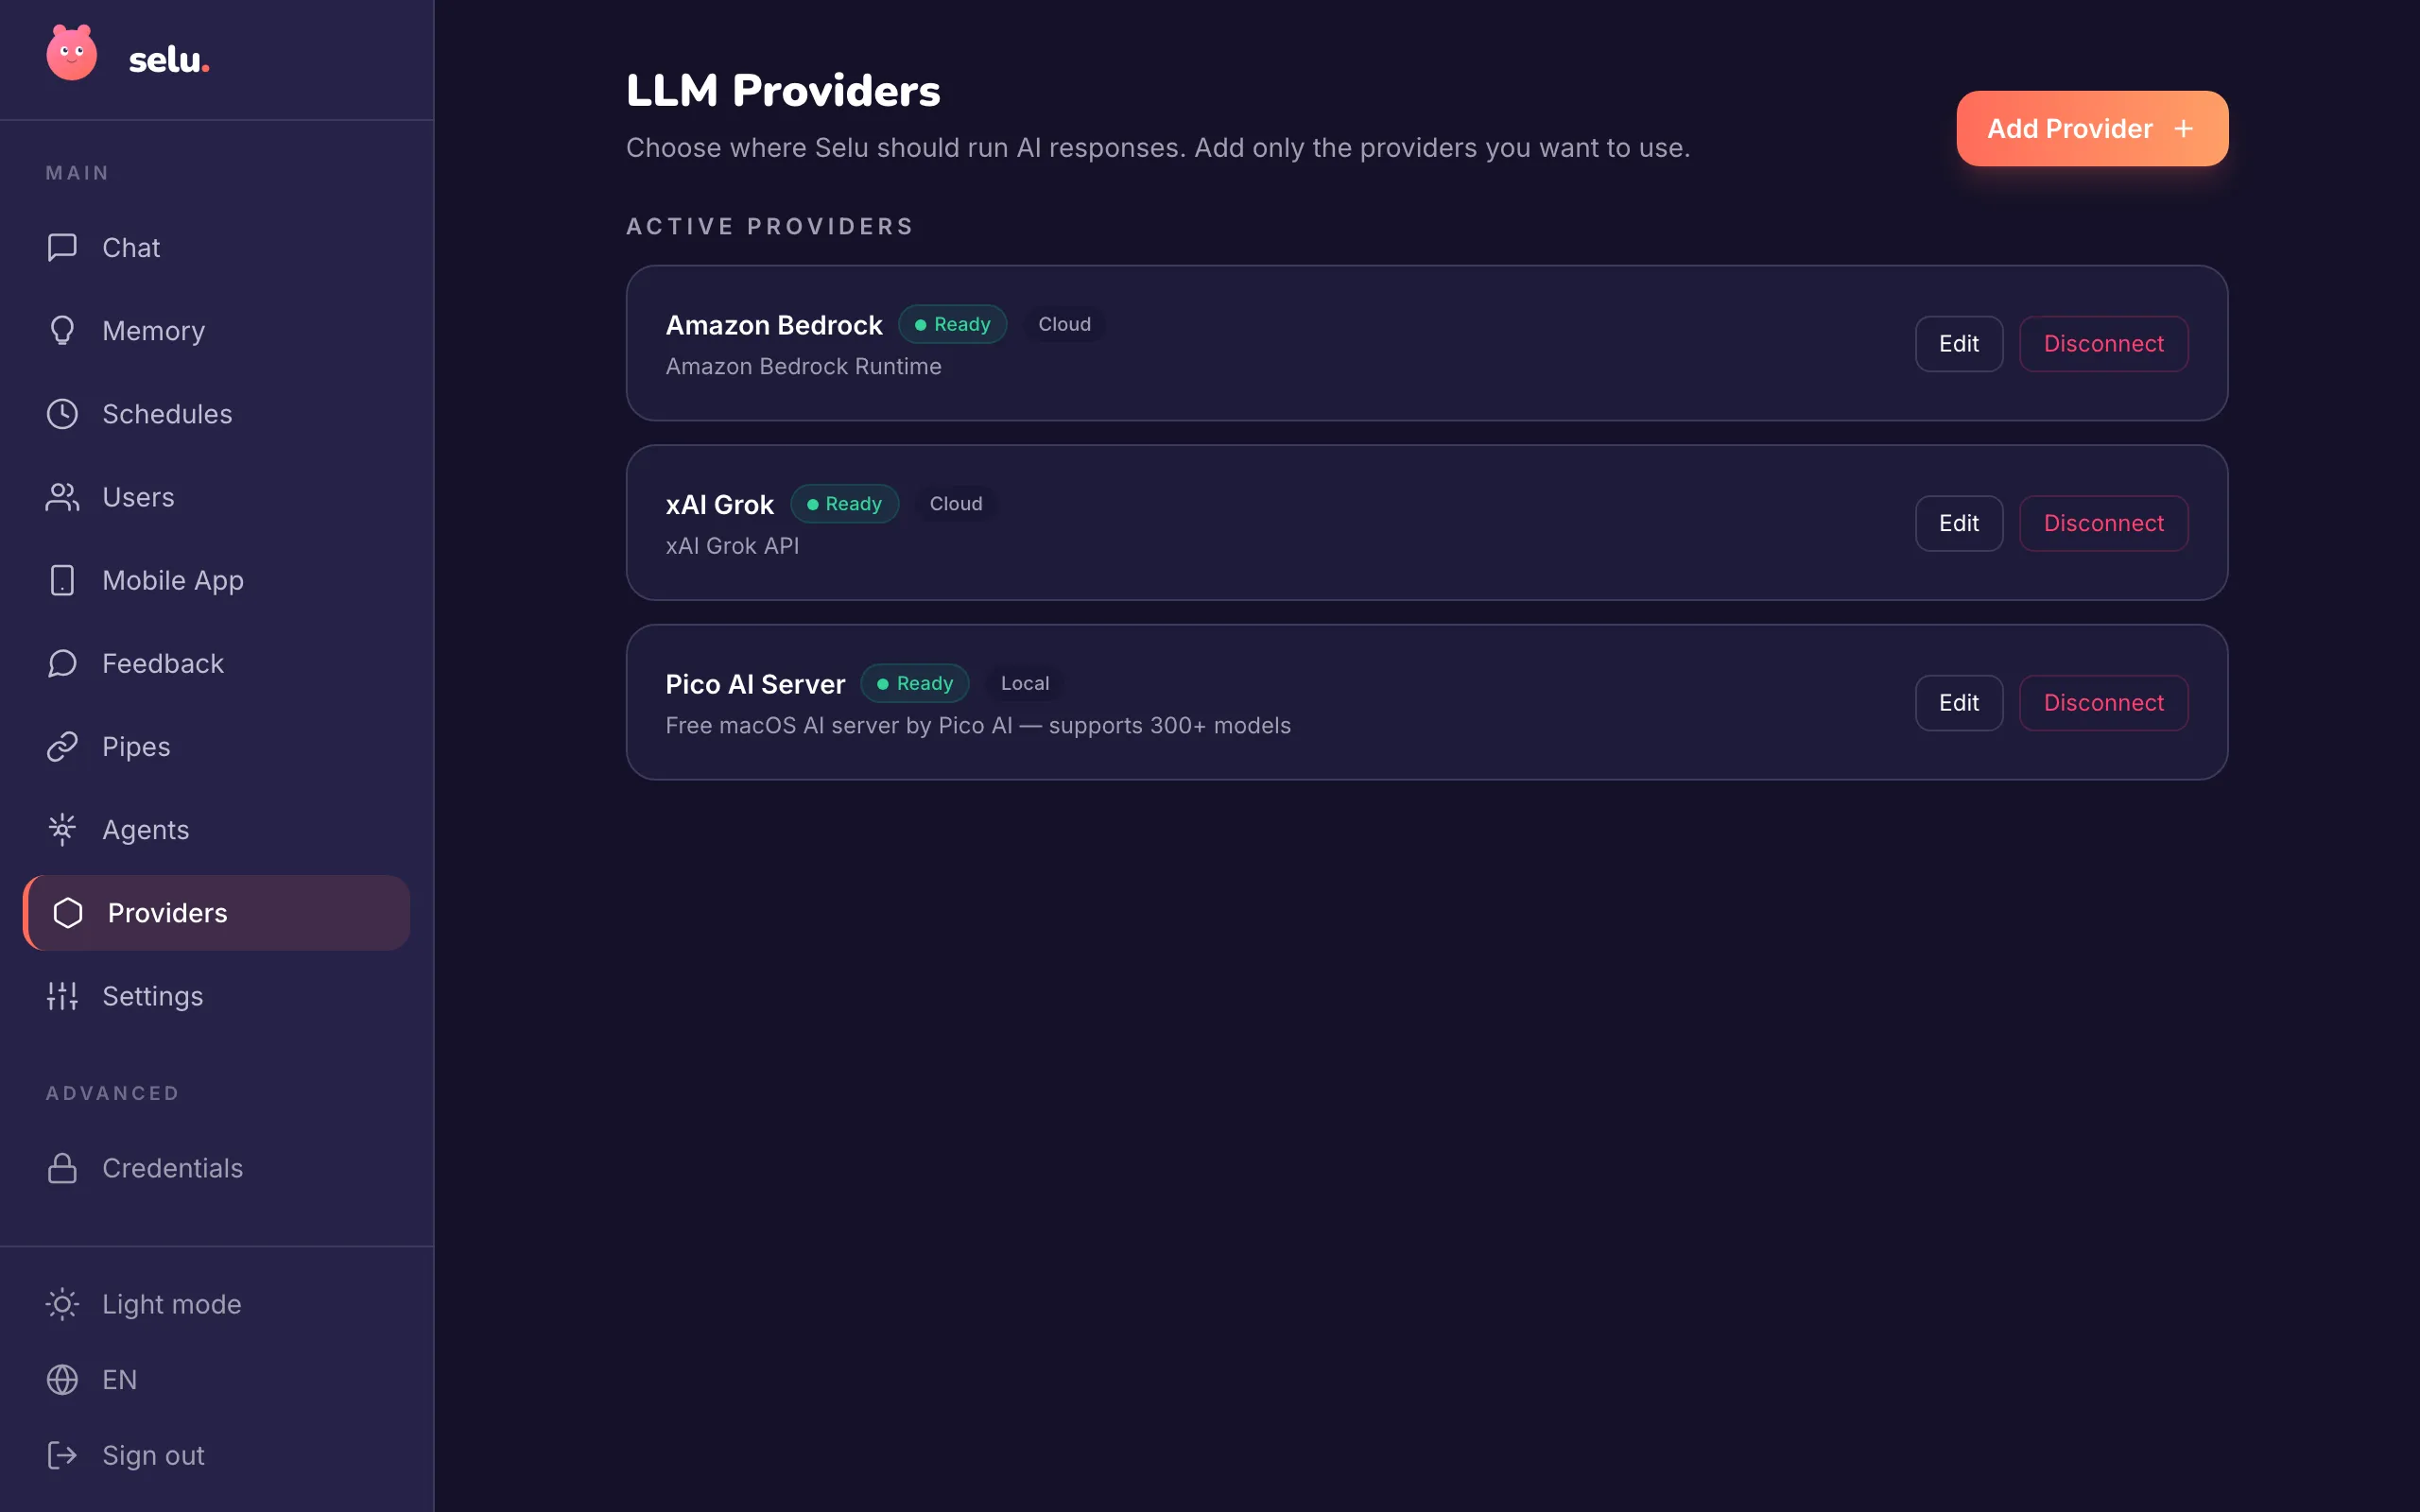
You’ll see a list of language model providers that Selu supports.
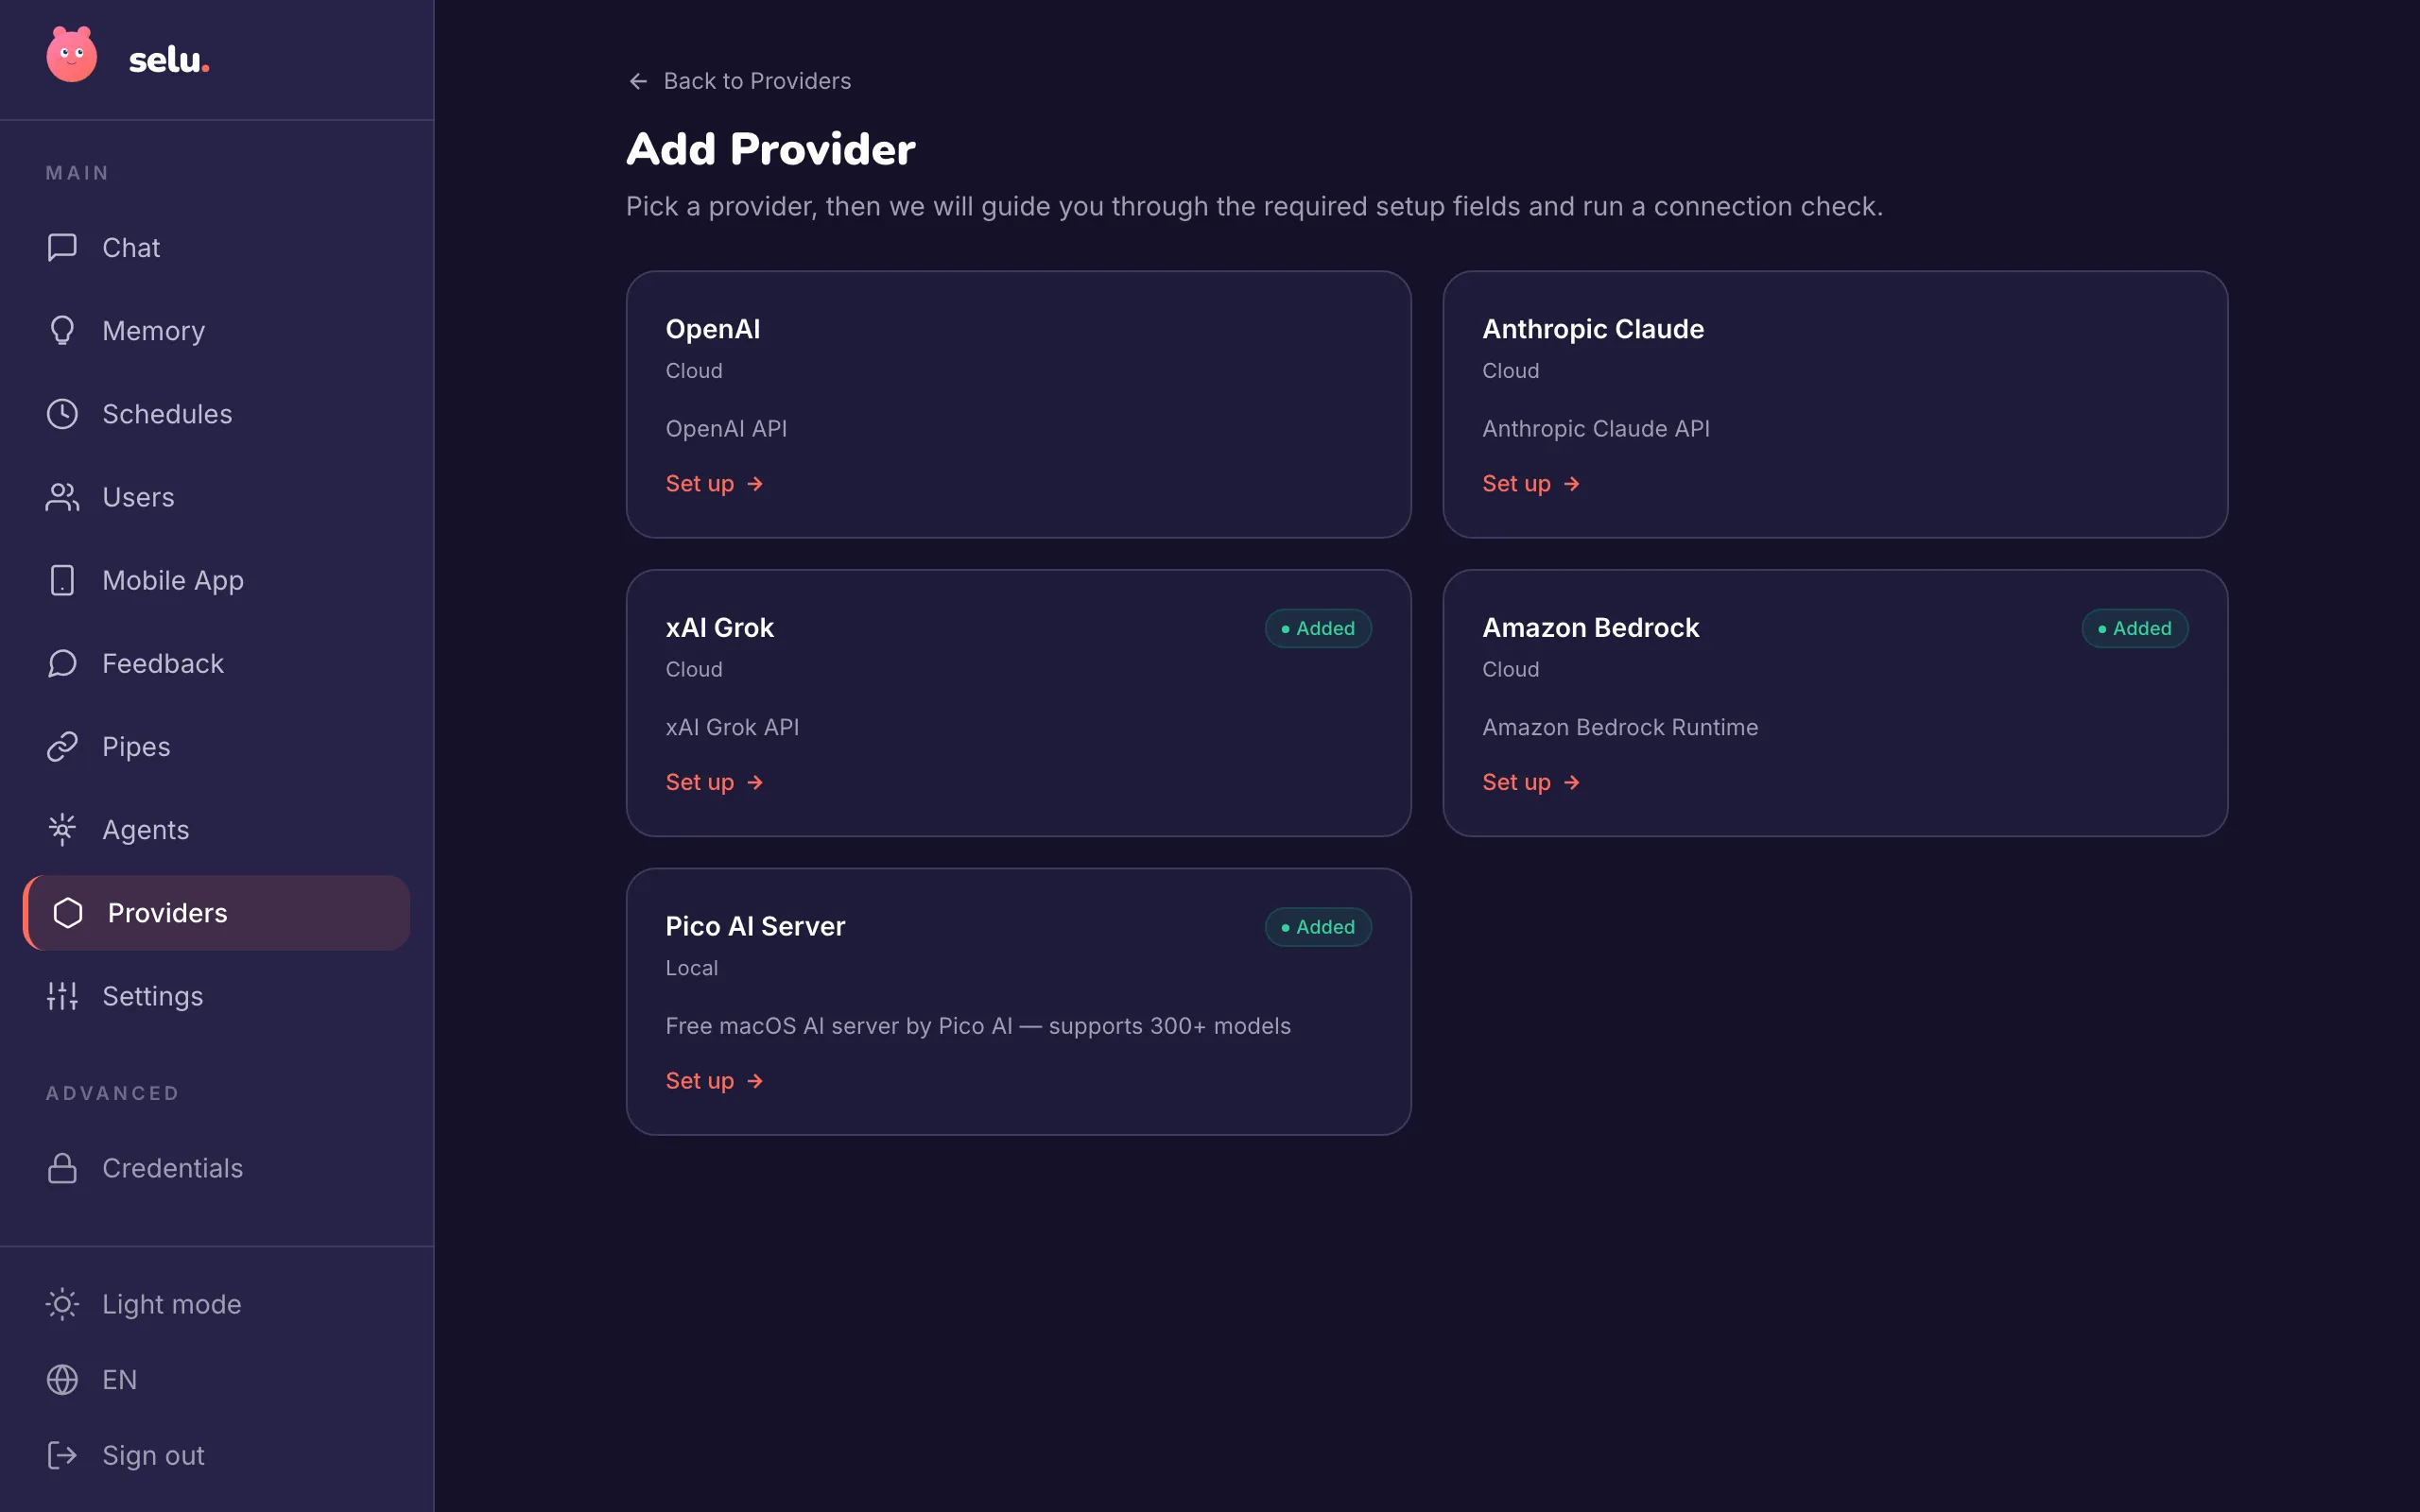
Choose one of the providers below. If you don’t have an API key yet, follow the link to create one — it only takes a minute.
Select OpenAI from the list and paste your API key.
Don’t have one? Sign up at platform.openai.com and create an API key under API keys in your account settings.
Select Anthropic from the list and paste your API key.
Don’t have one? Sign up at console.anthropic.com and create an API key in the dashboard.
Select Amazon Bedrock and enter your AWS credentials (Access Key ID, Secret Access Key, and region).
Make sure your AWS account has Bedrock model access enabled.
Selu will run a connection check automatically. You should see a green checkmark or success message.
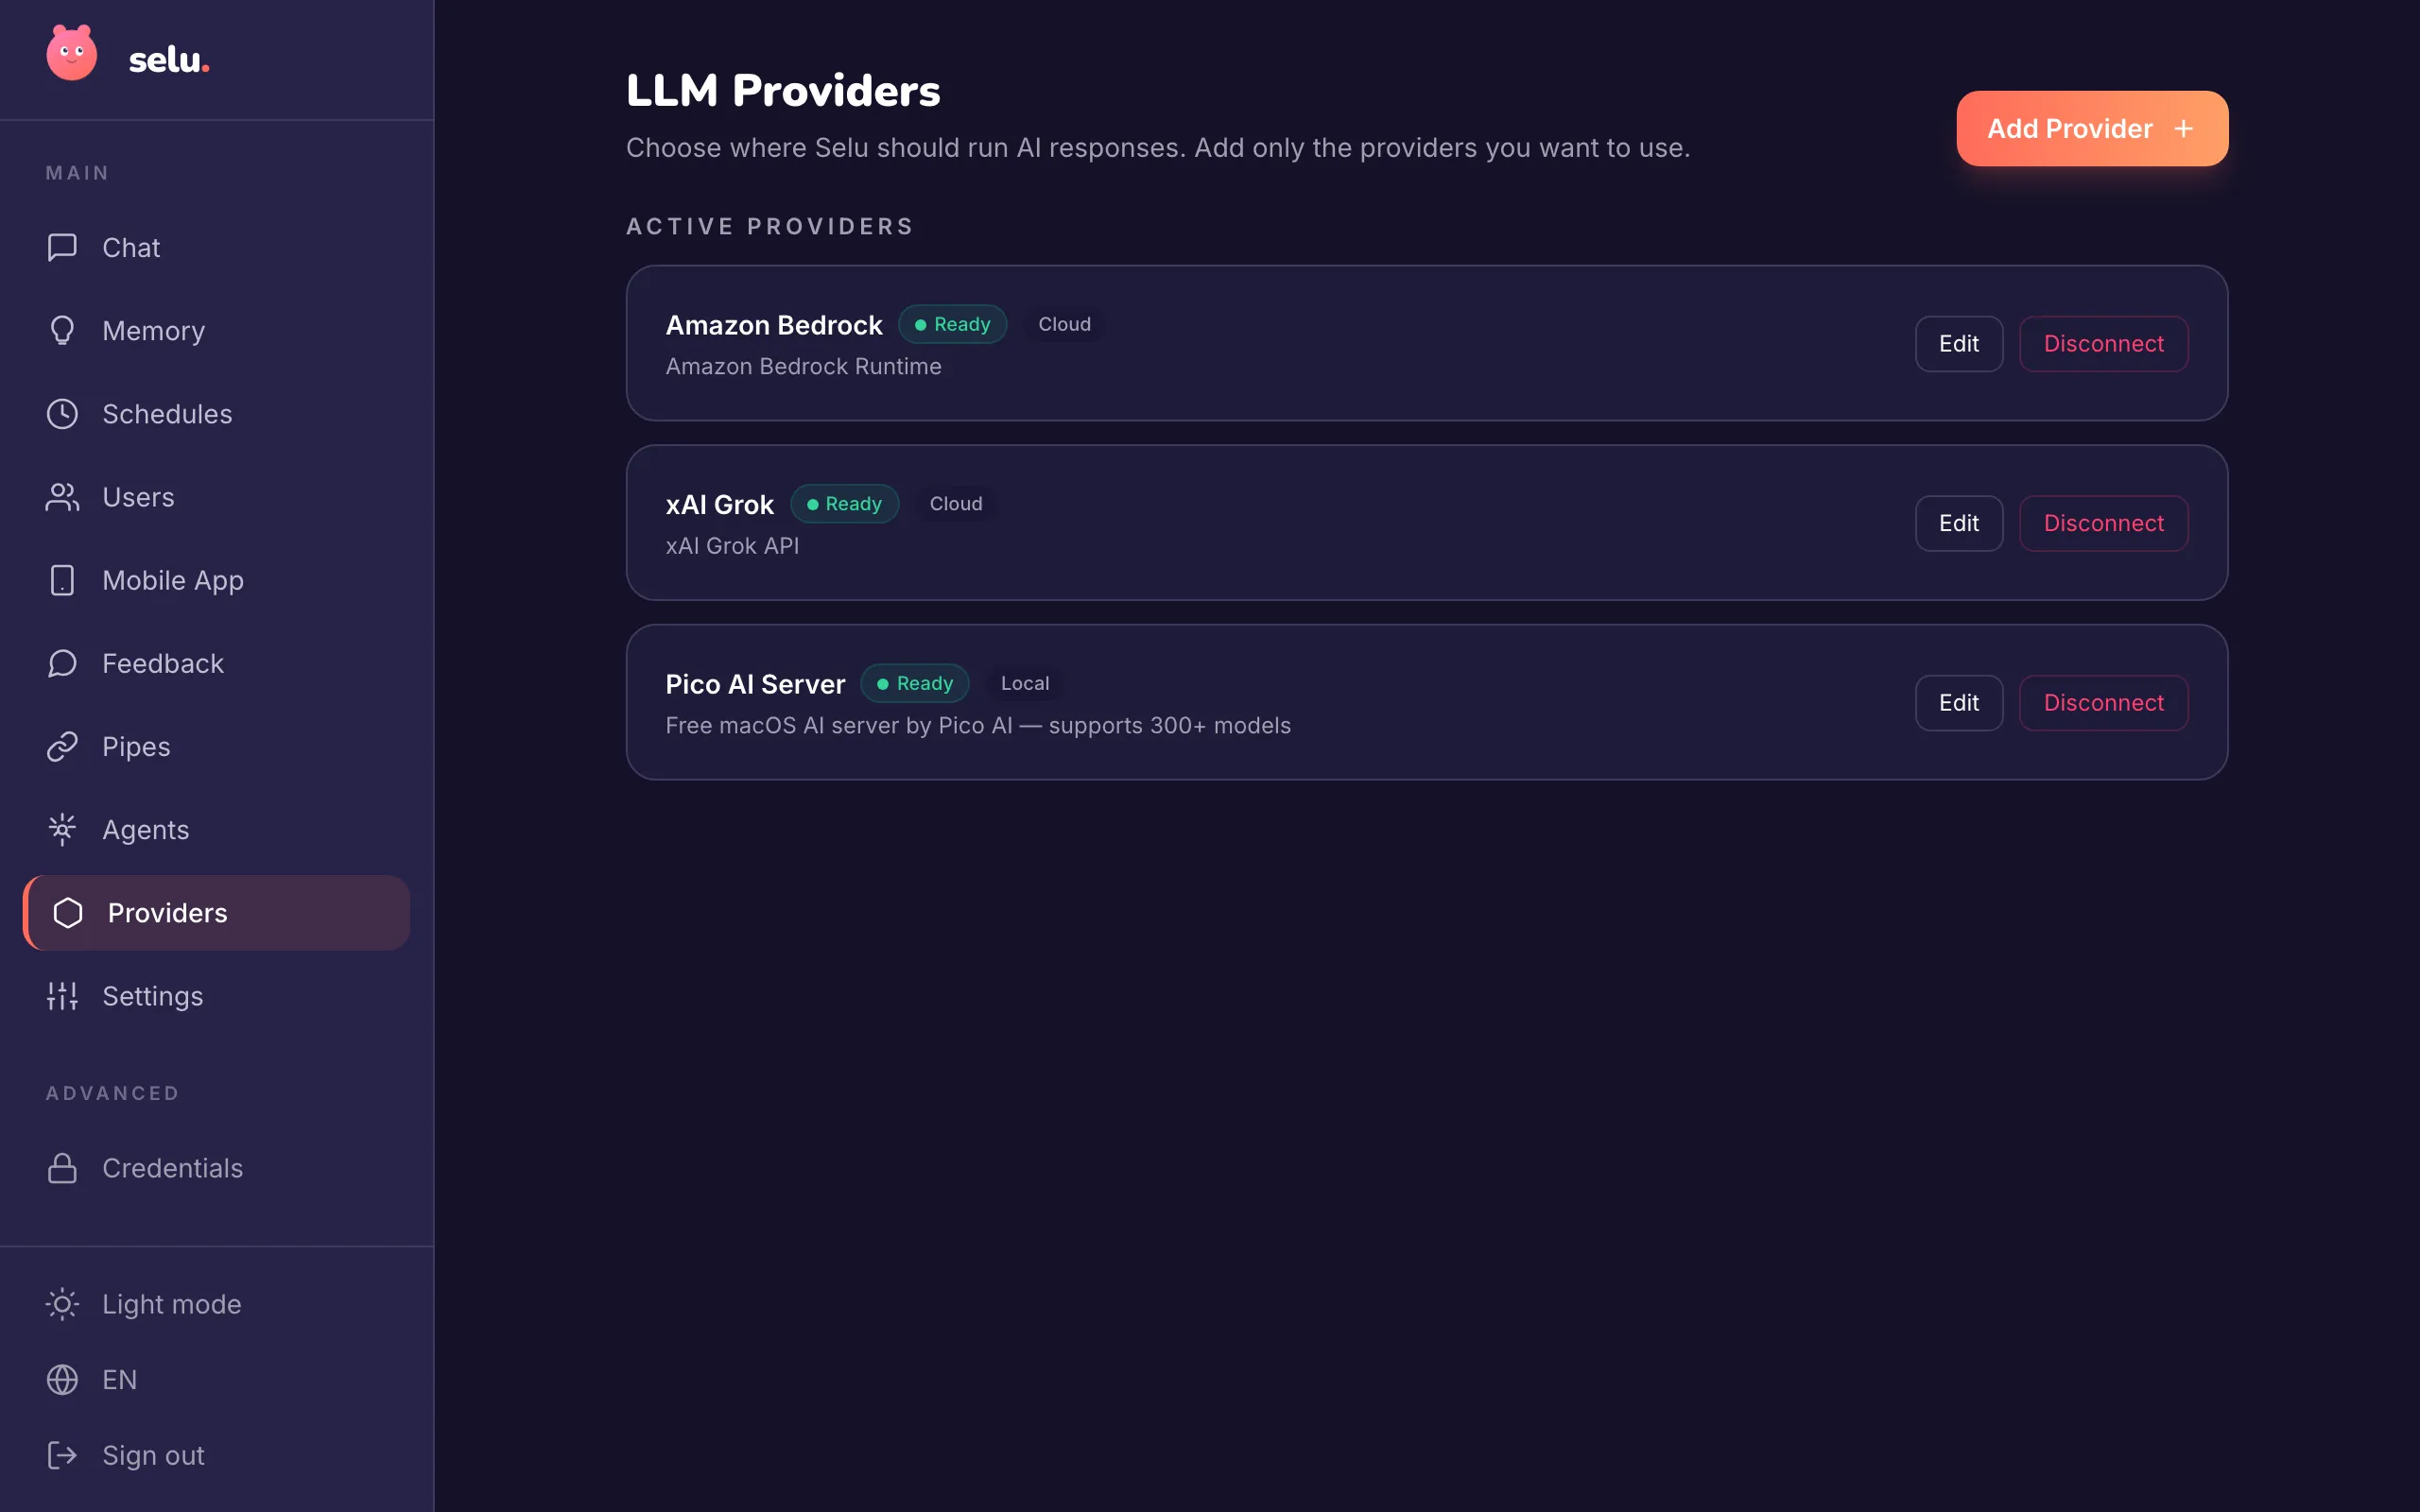
Click Agents in the left sidebar.
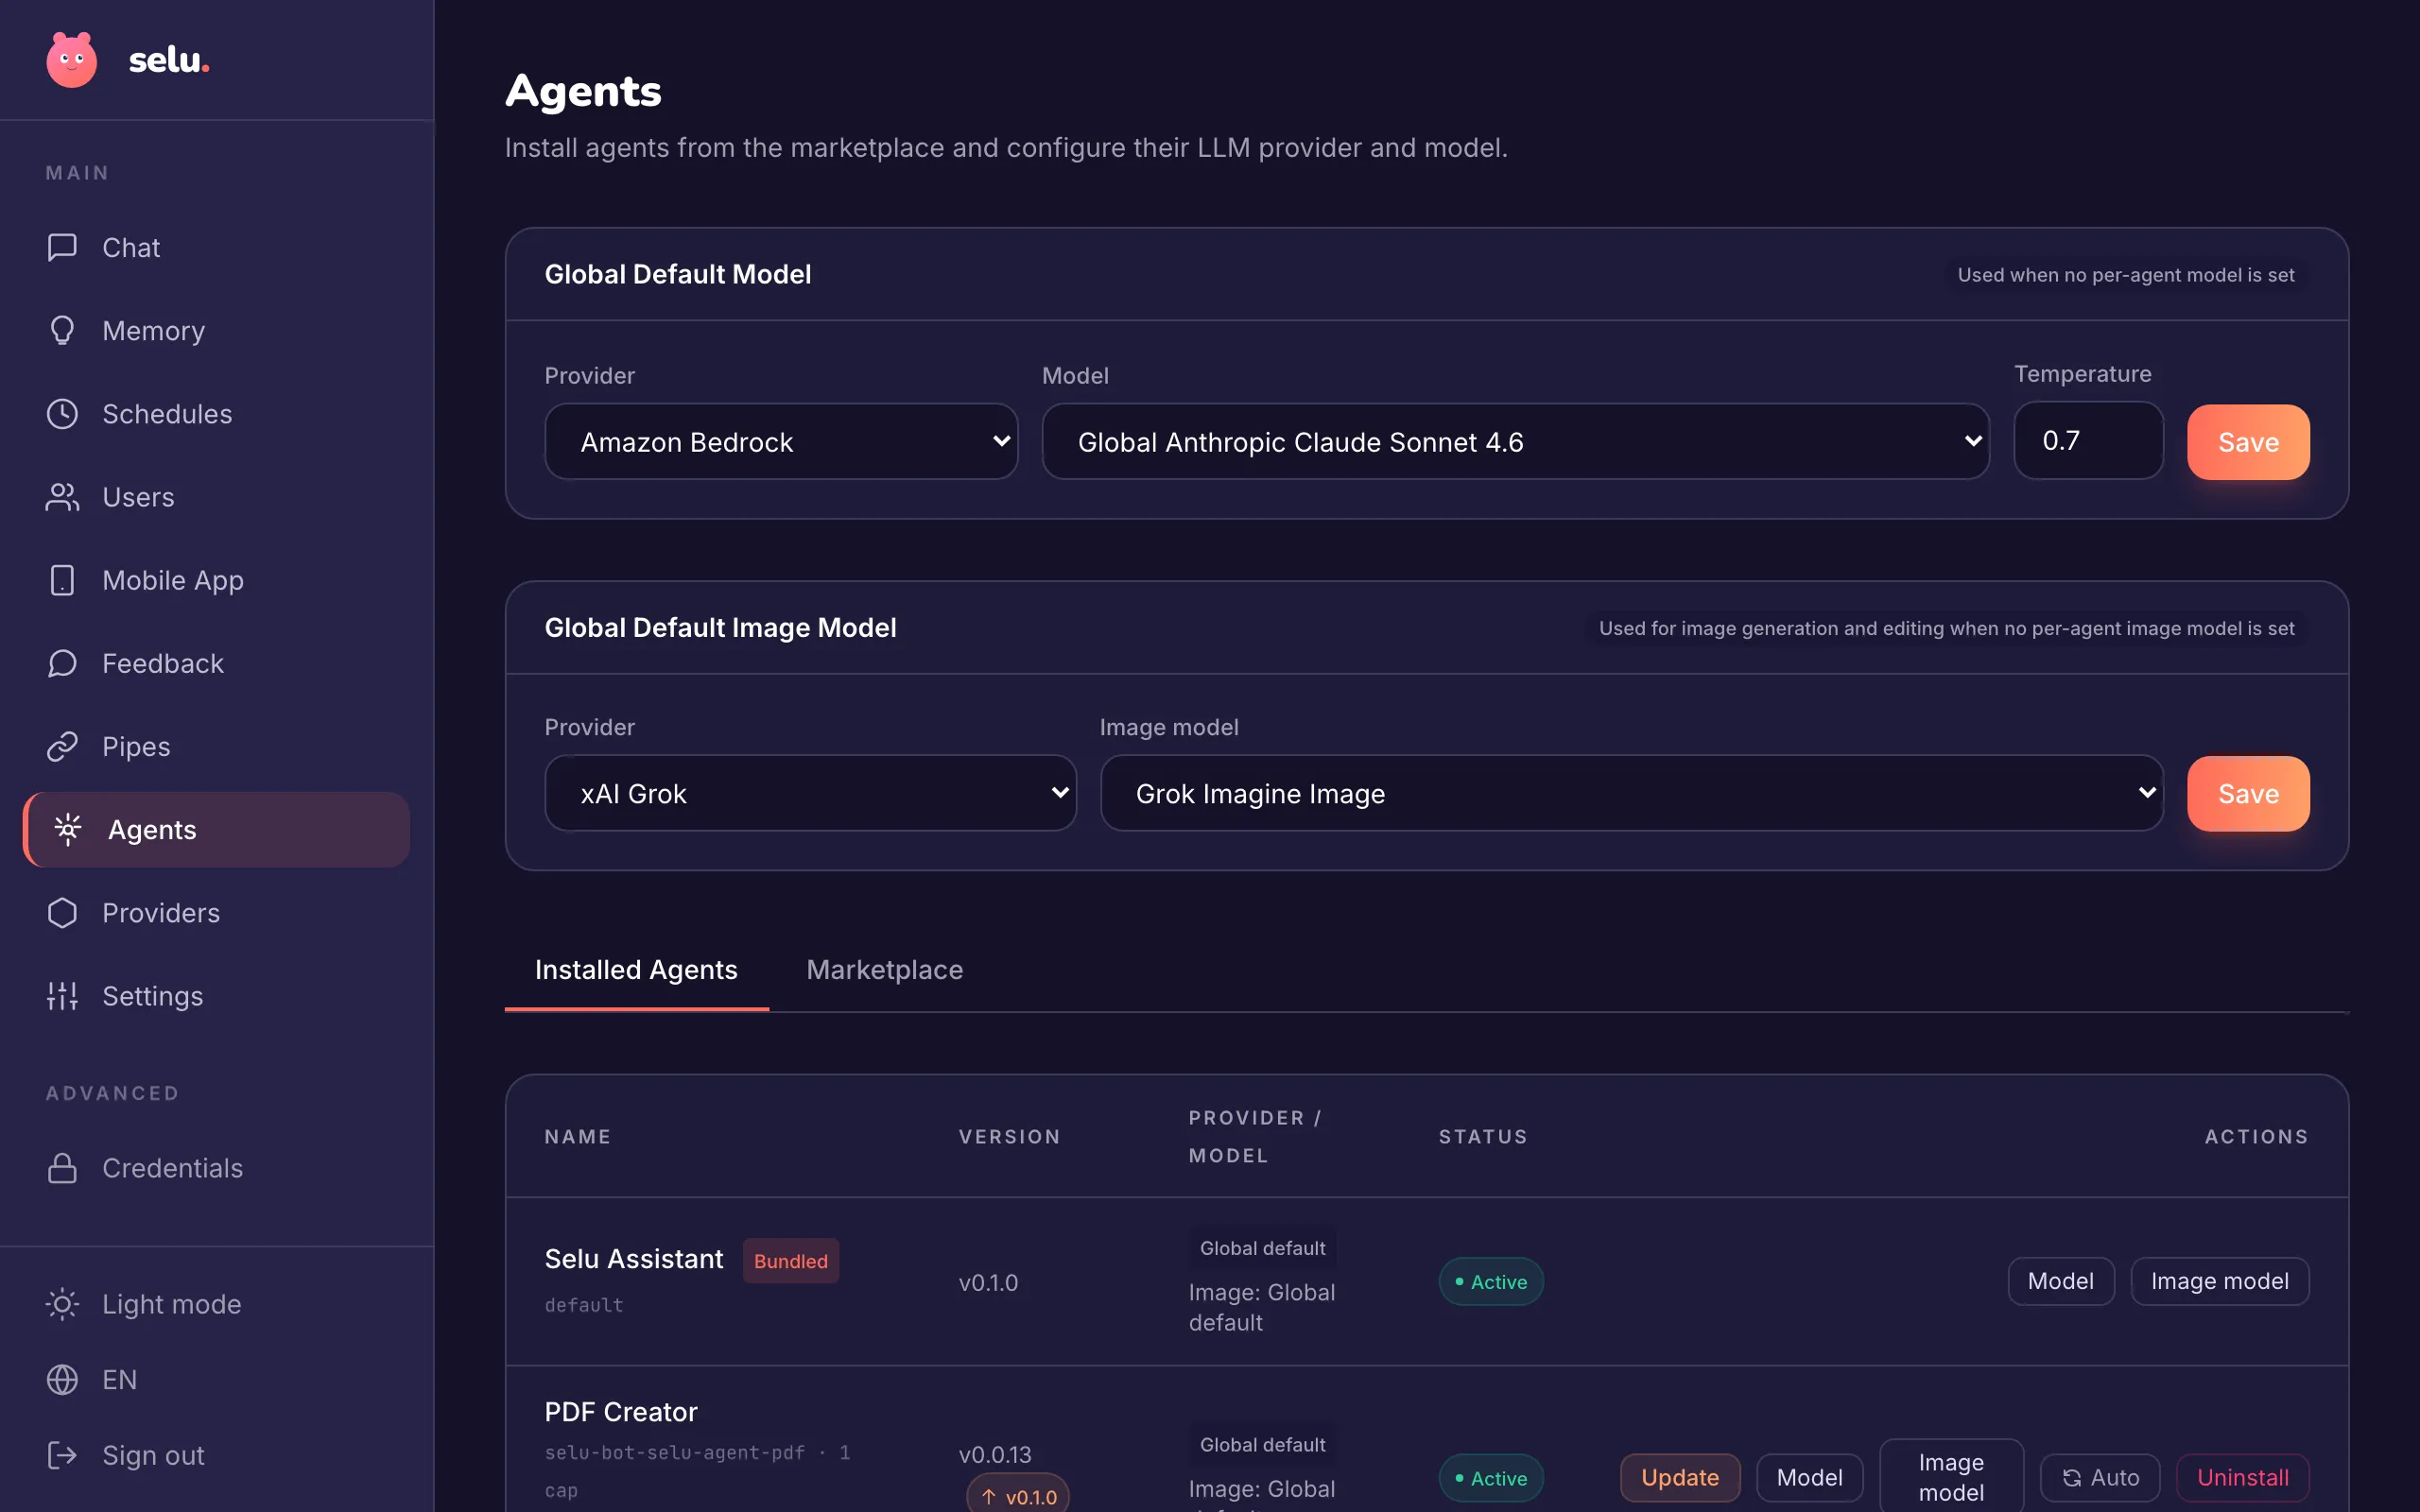
At the top of the Agents page, click the Marketplace tab. You’ll see a collection of ready-made agents.
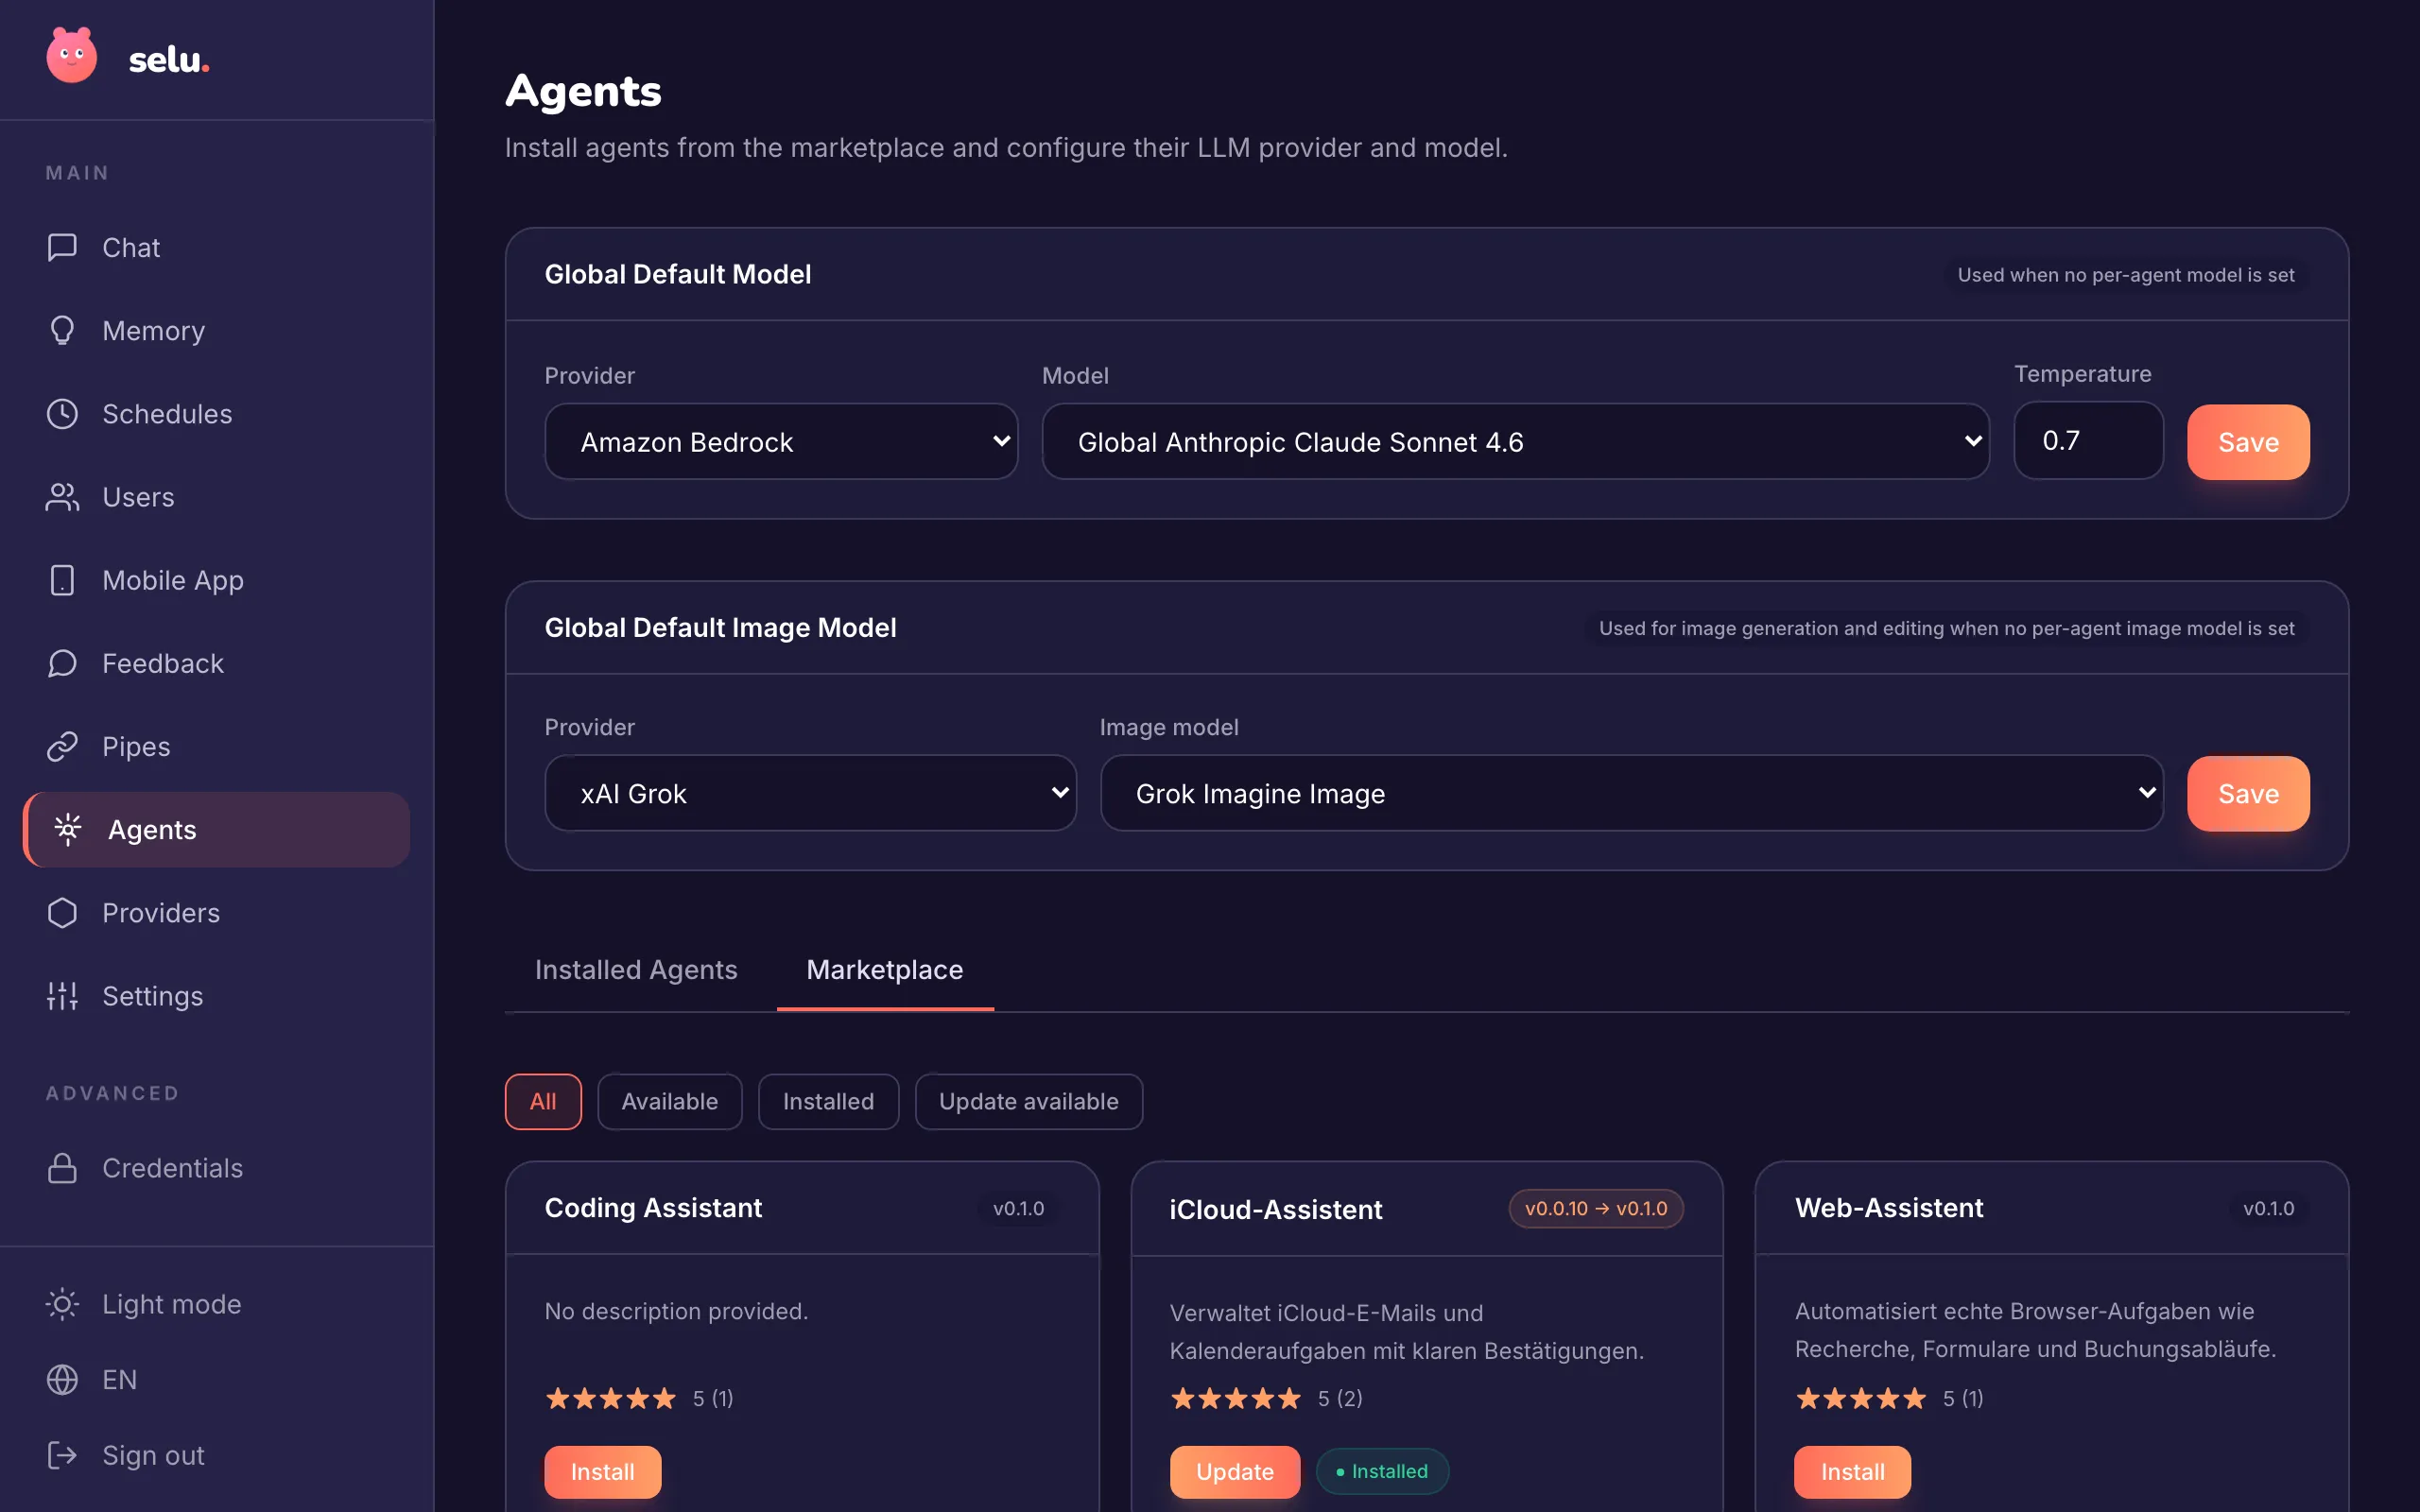
Find the General Assistant agent and click Install. It’s a great all-rounder for getting started.
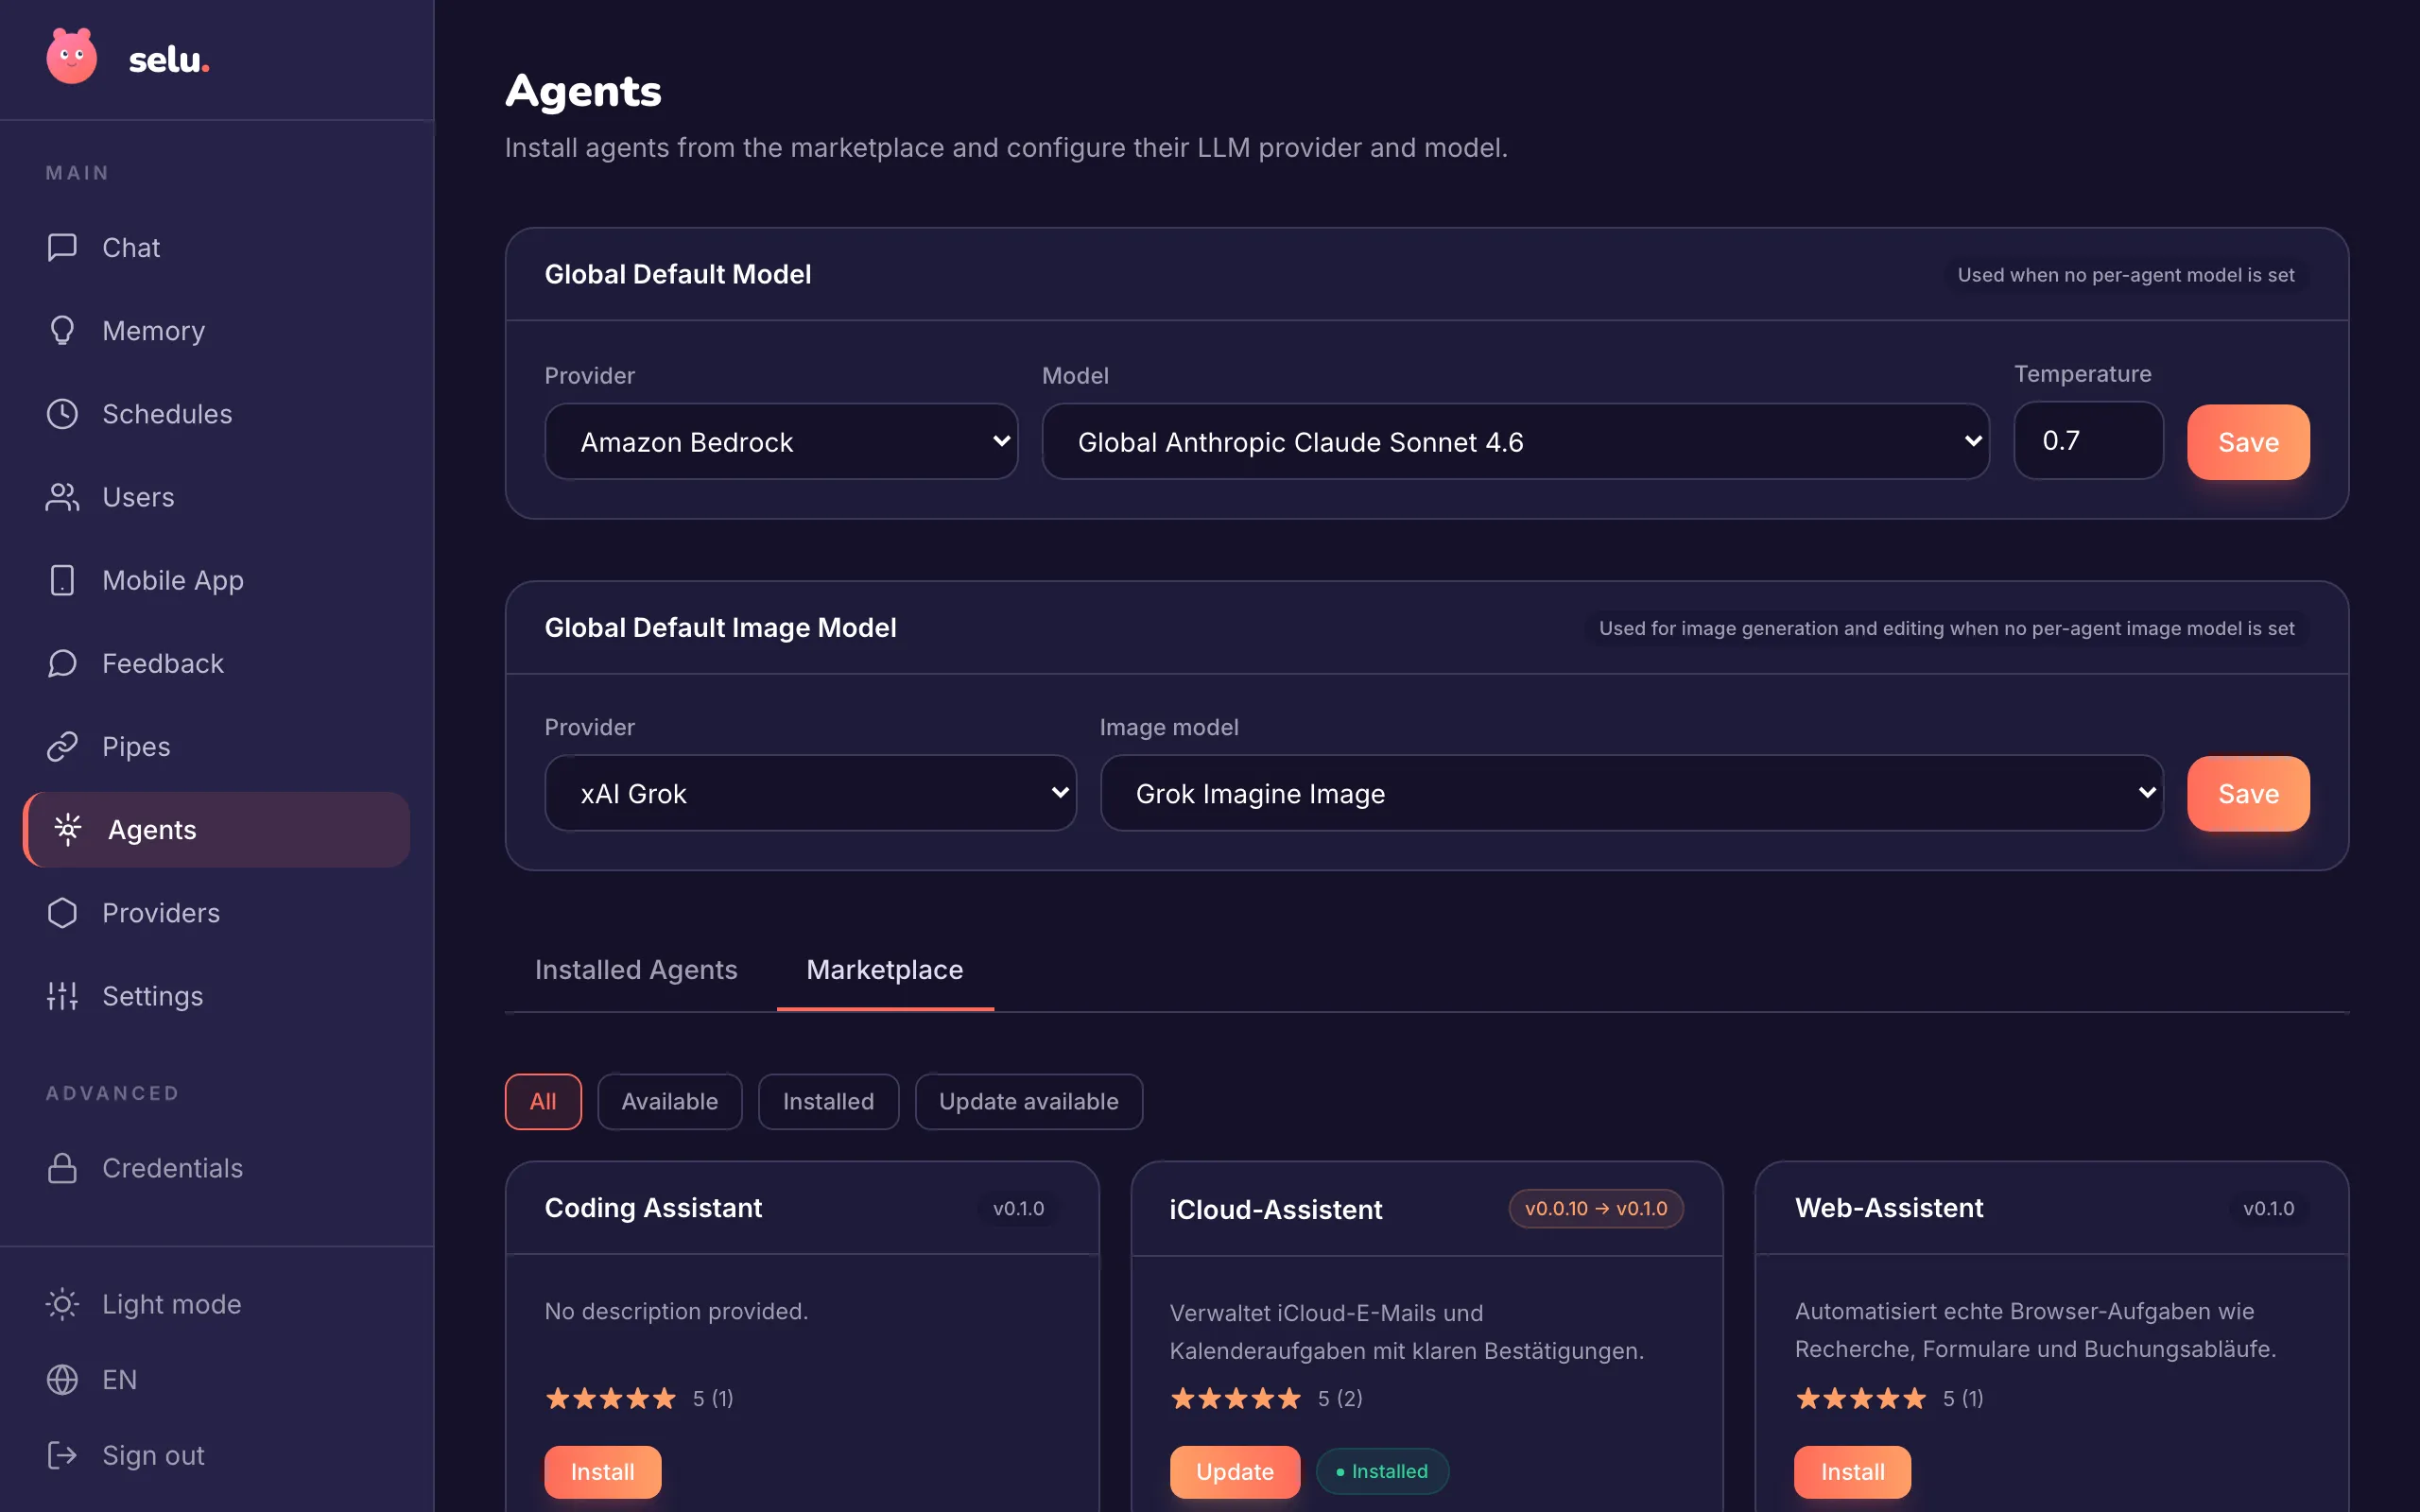
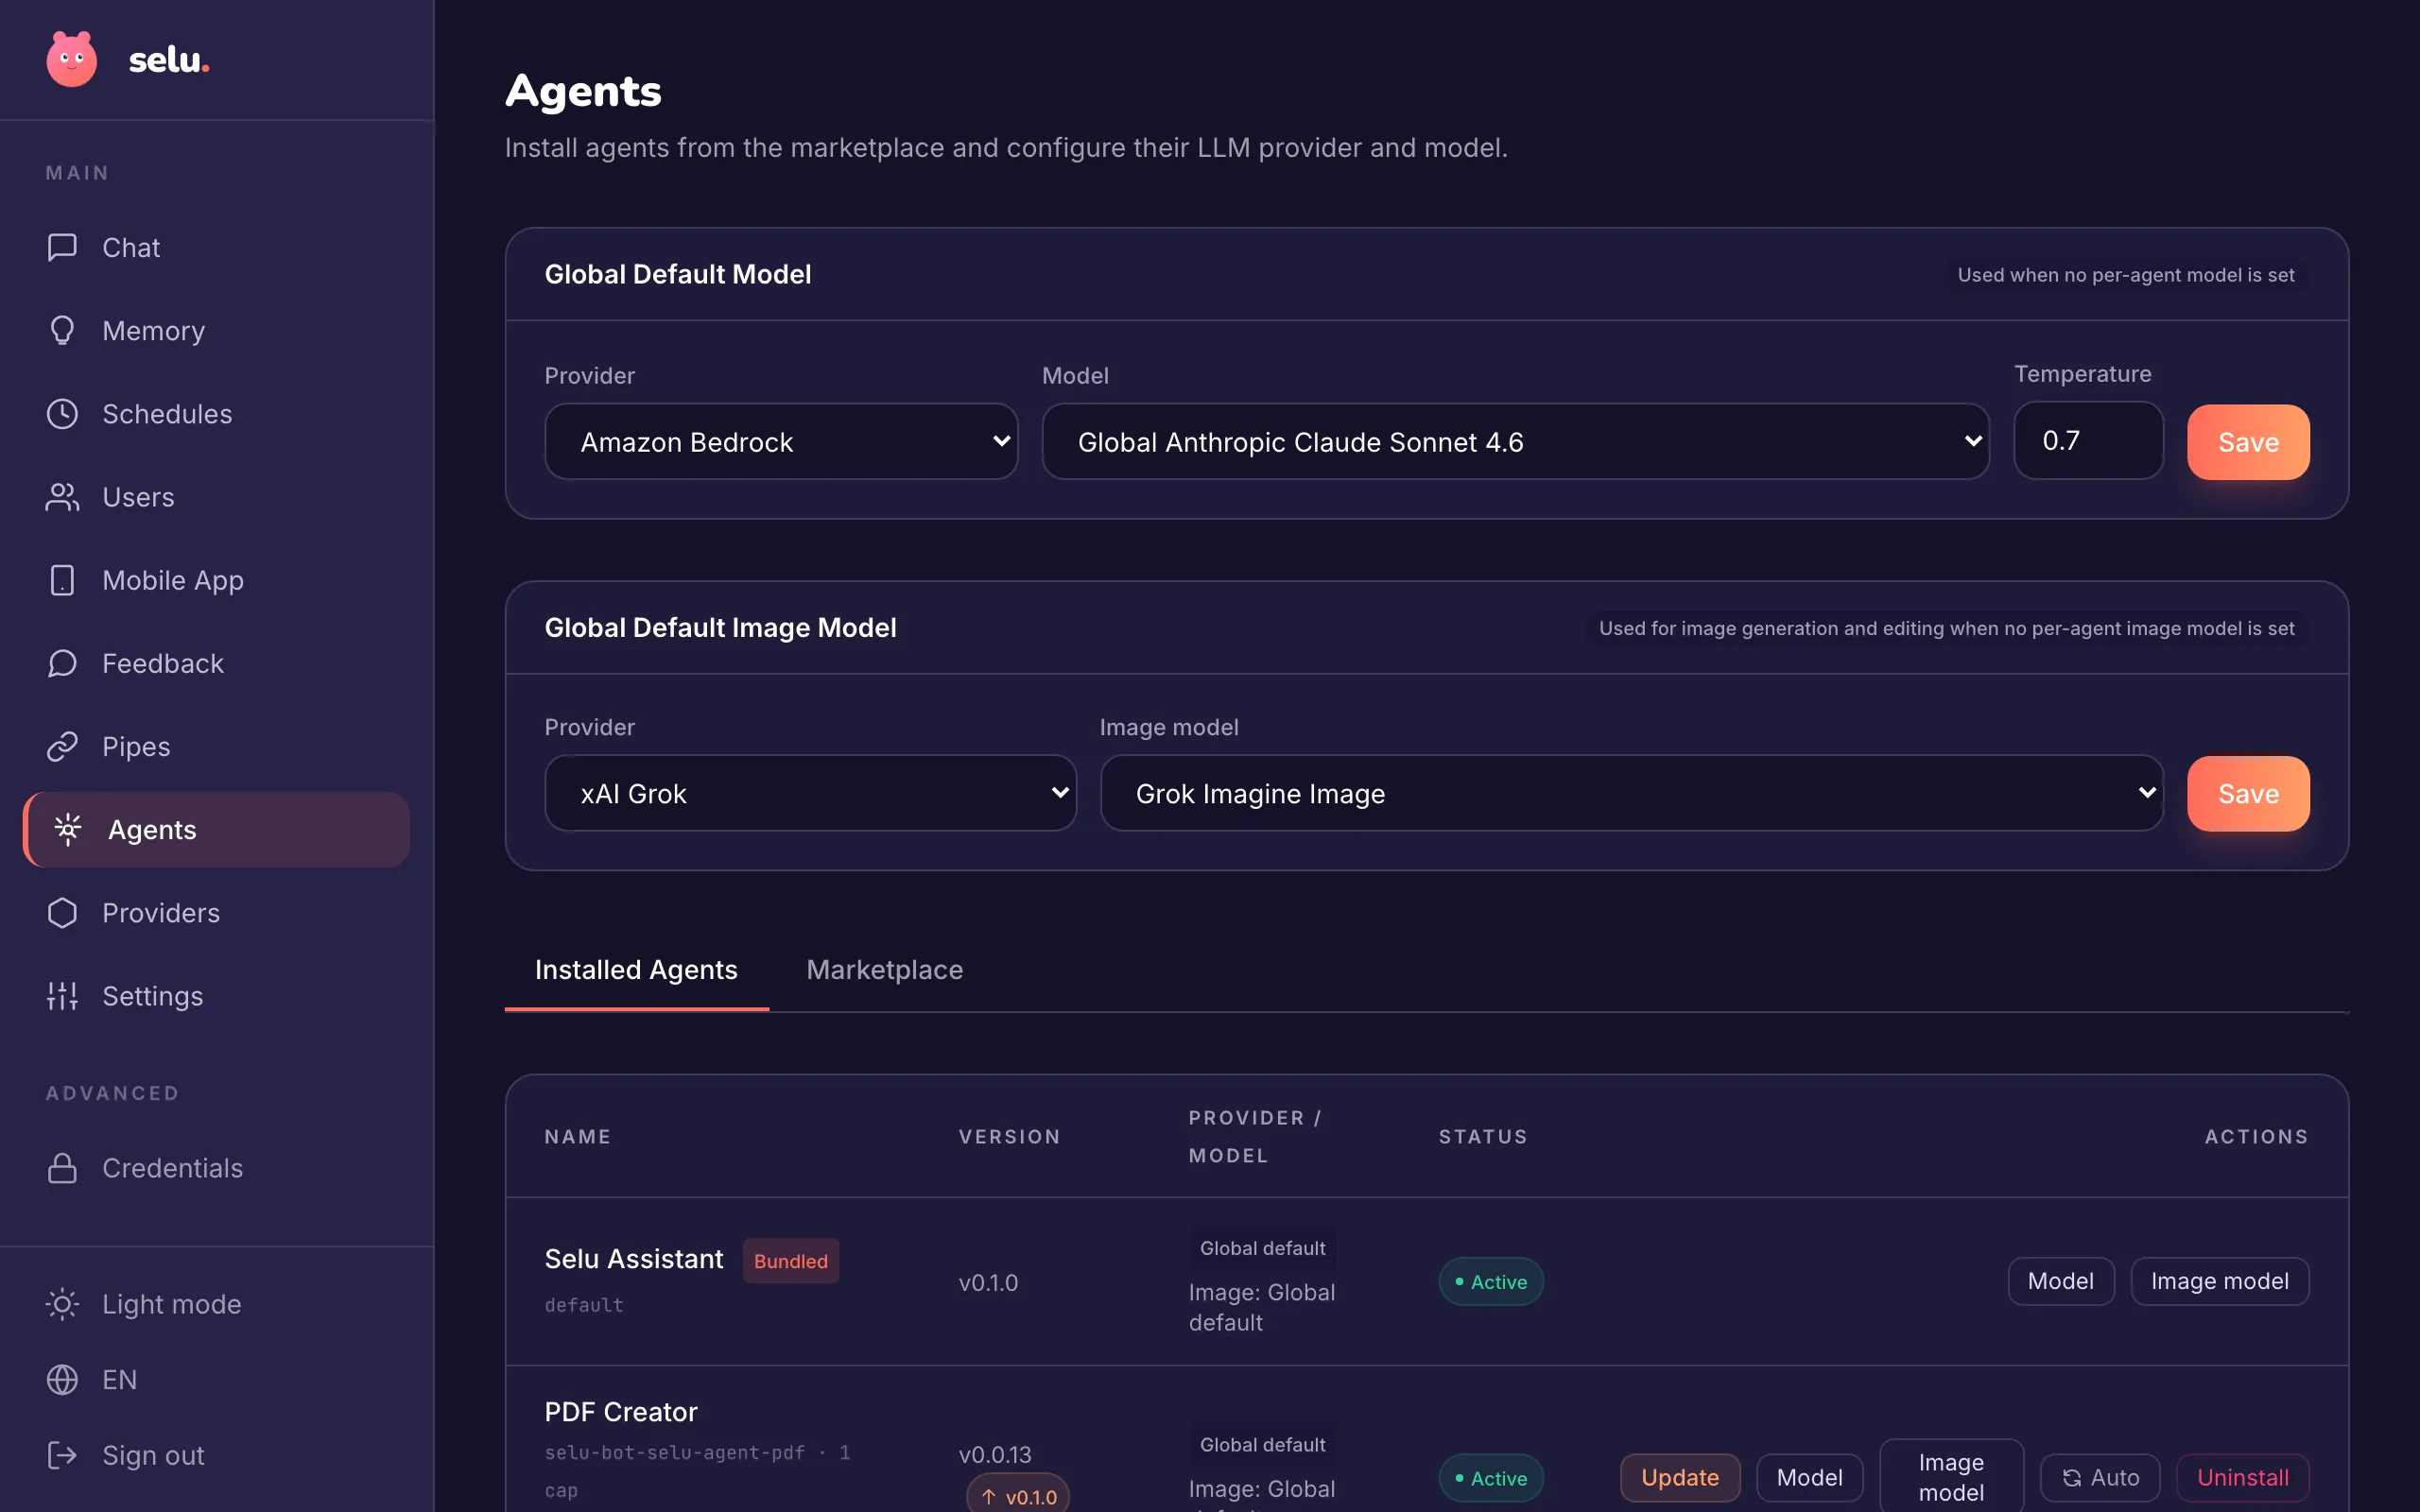
Selu will download and configure the agent. After a few seconds, it appears on the Installed tab.
Click Pipes in the left sidebar.
A pipe connects your chat to an agent — think of it as the line between you and your AI.
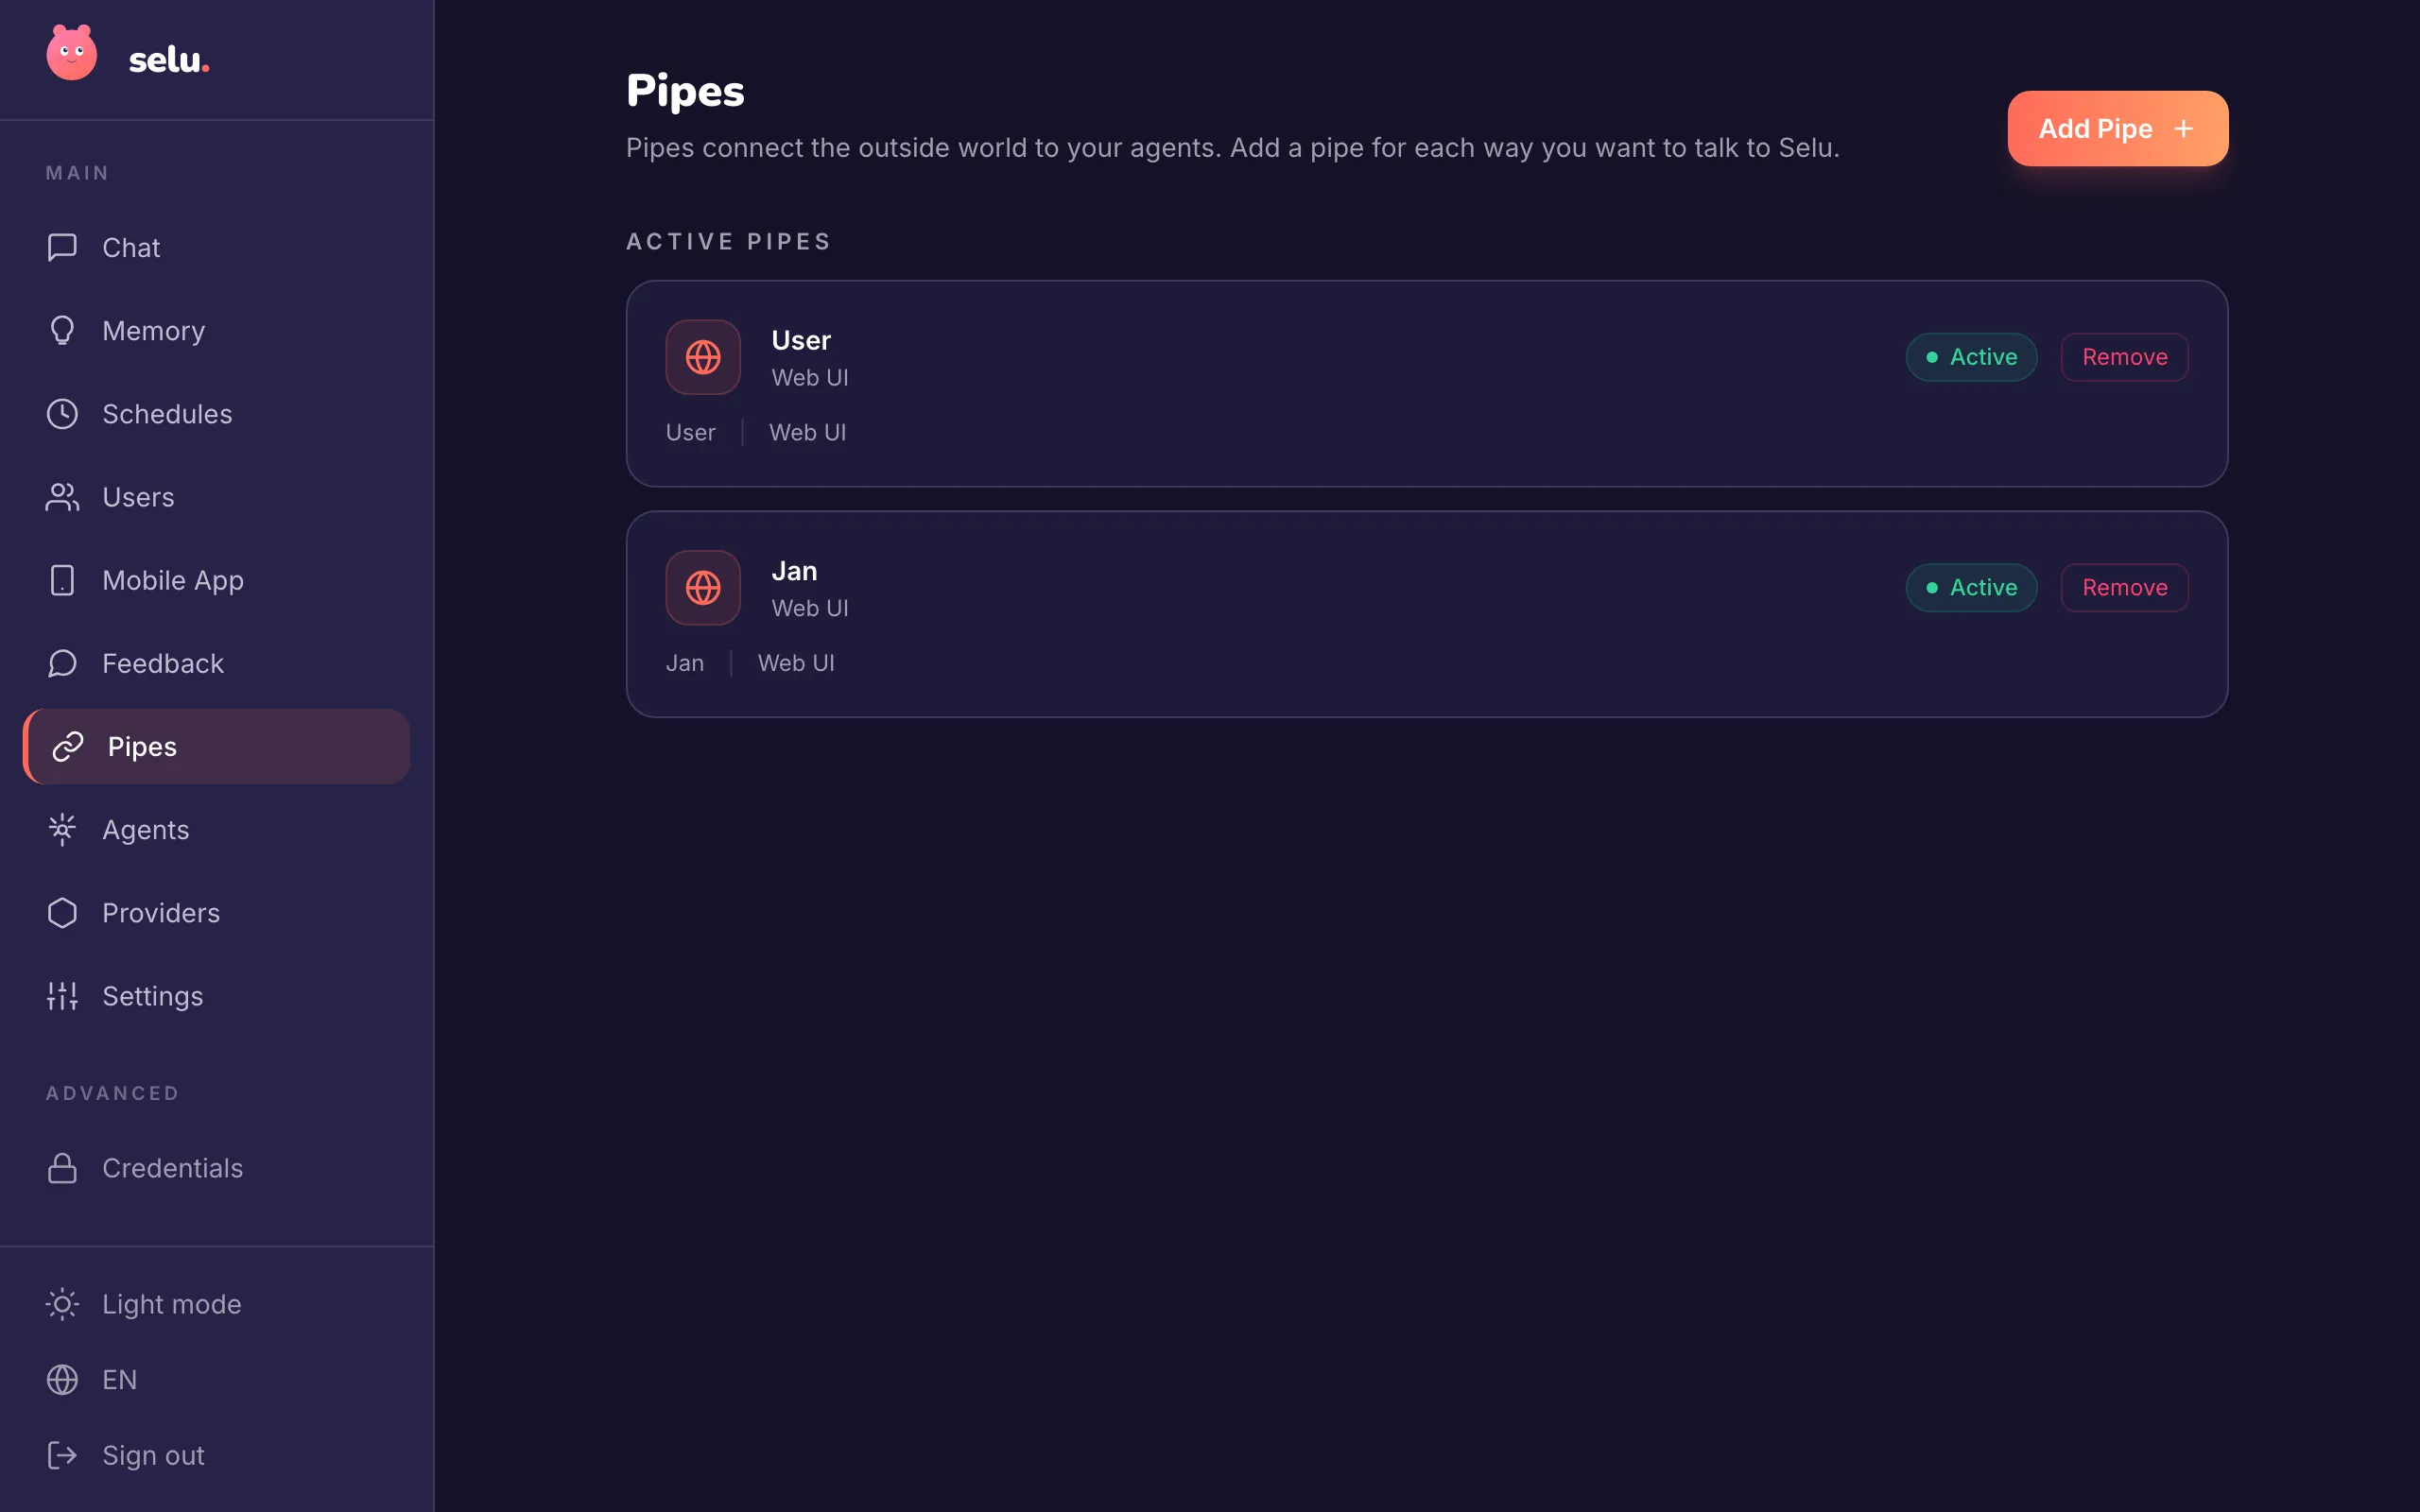
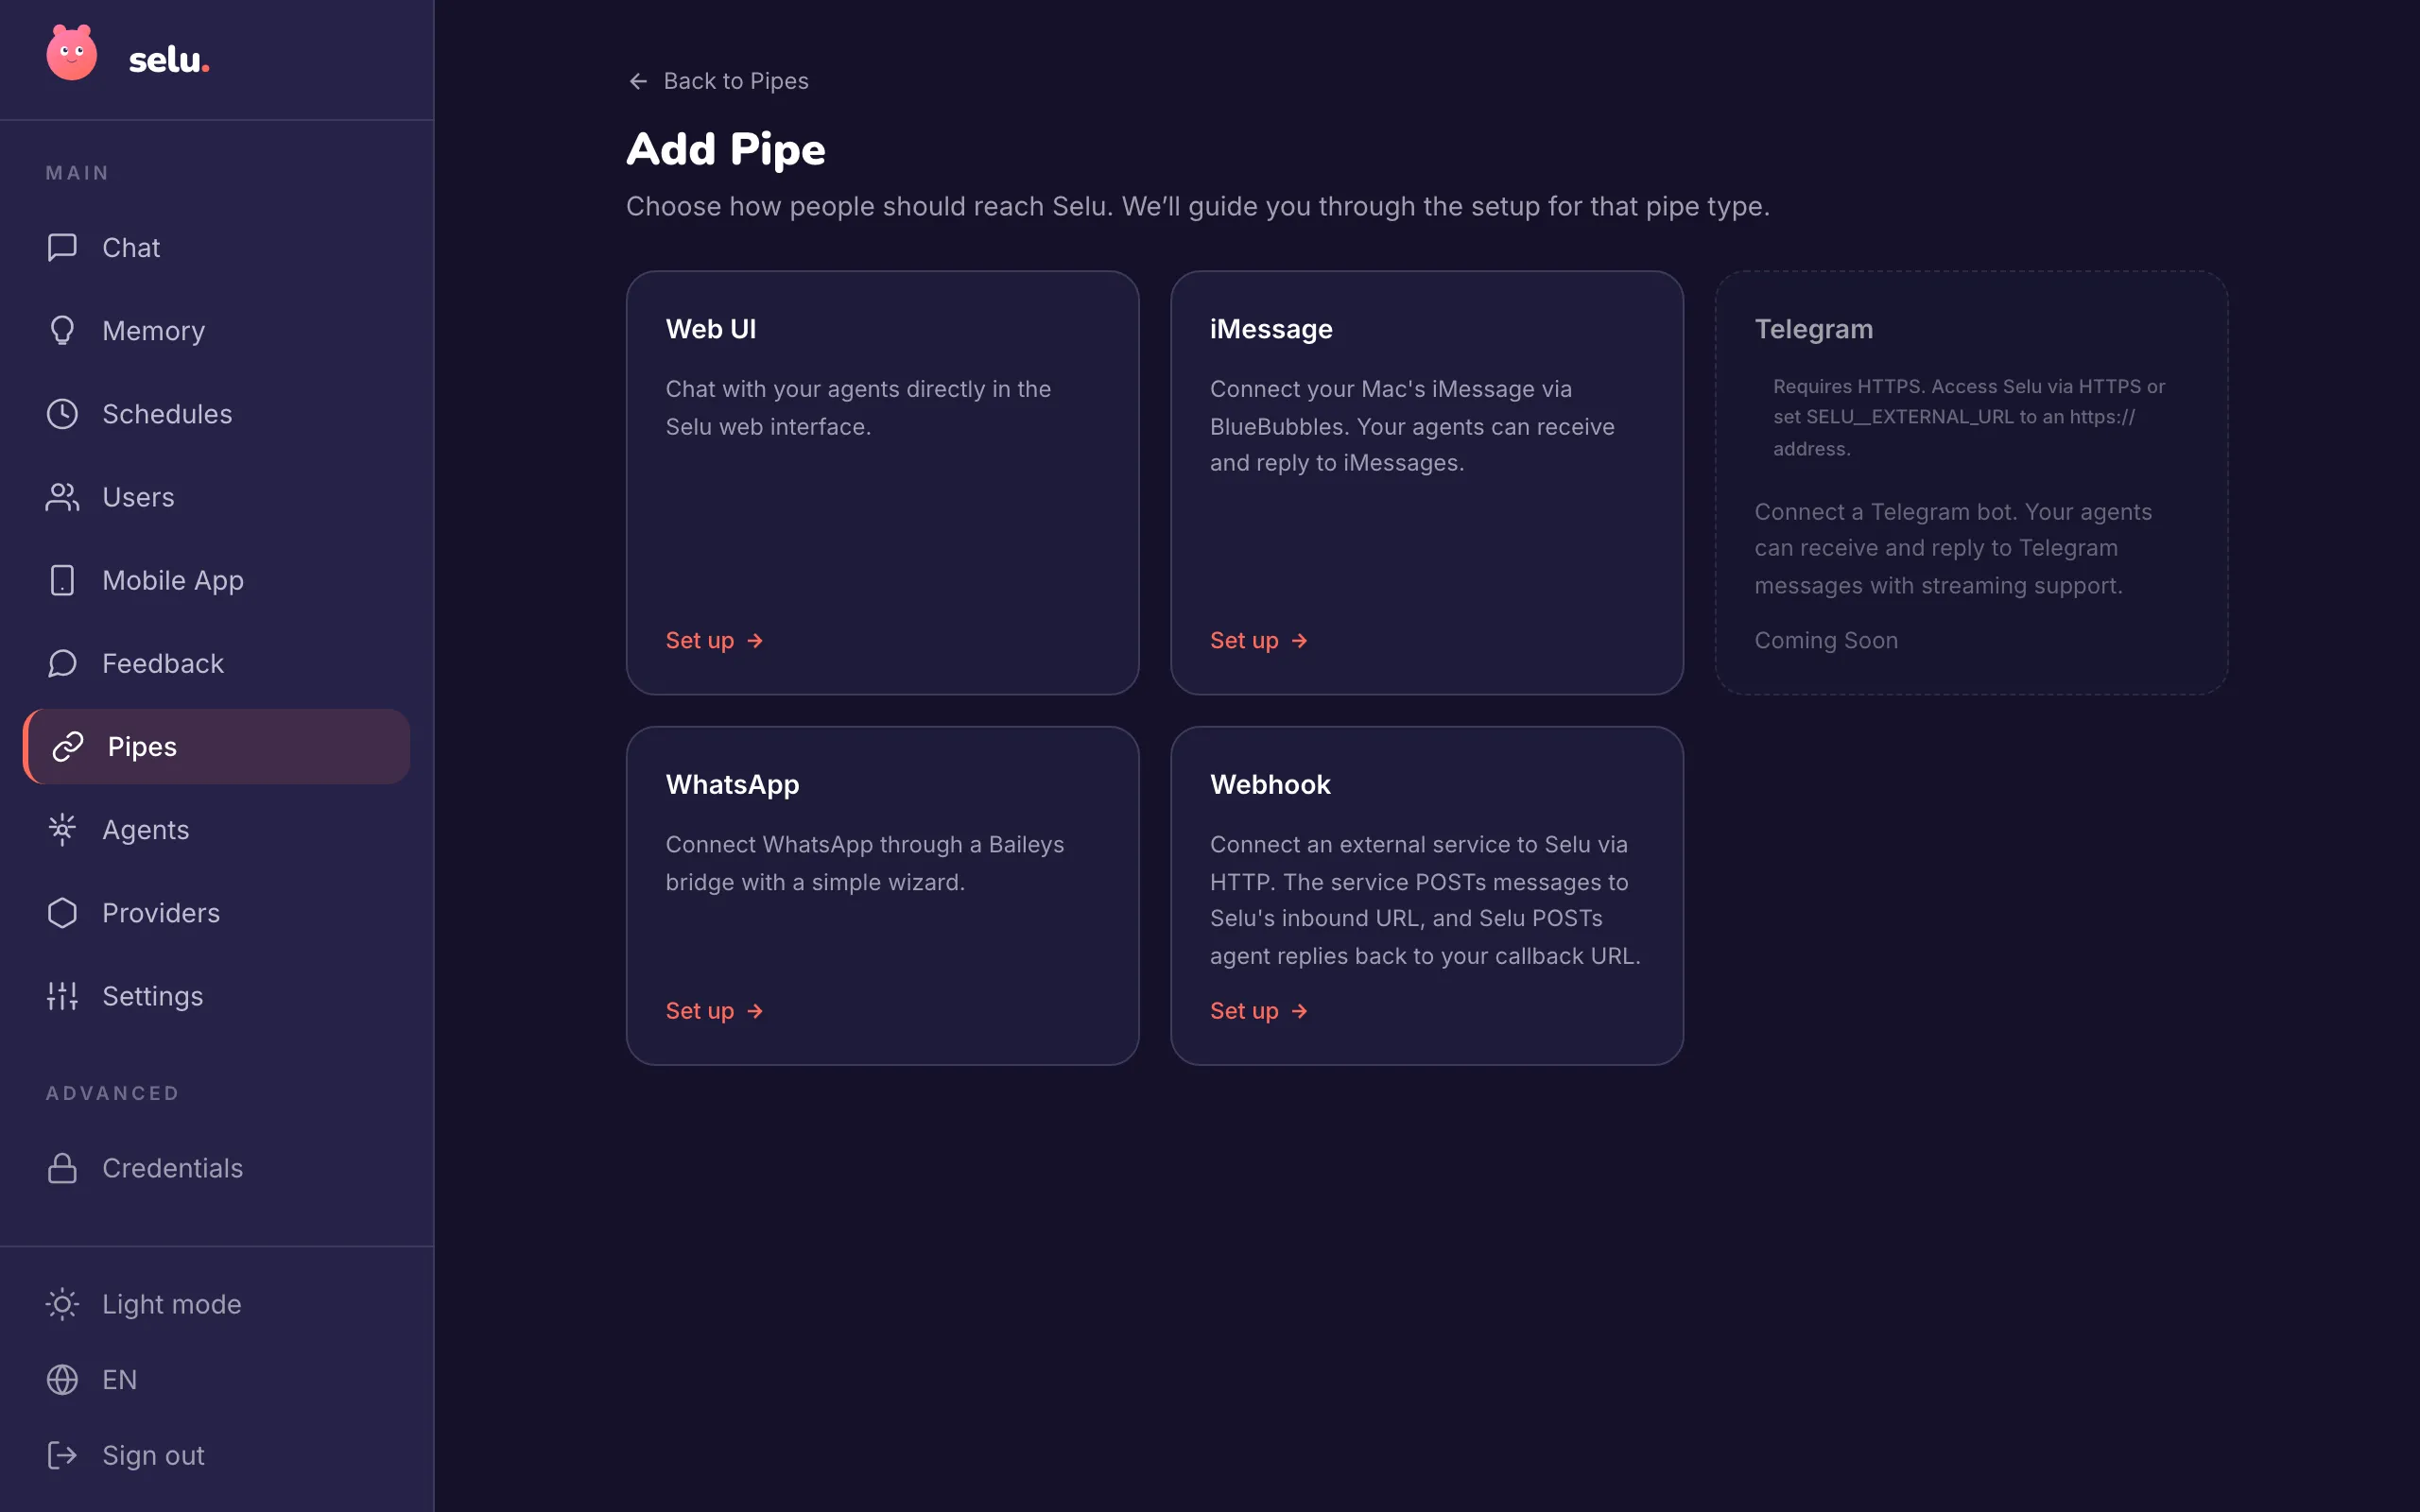
This lets you chat directly in the Selu dashboard — the quickest option.
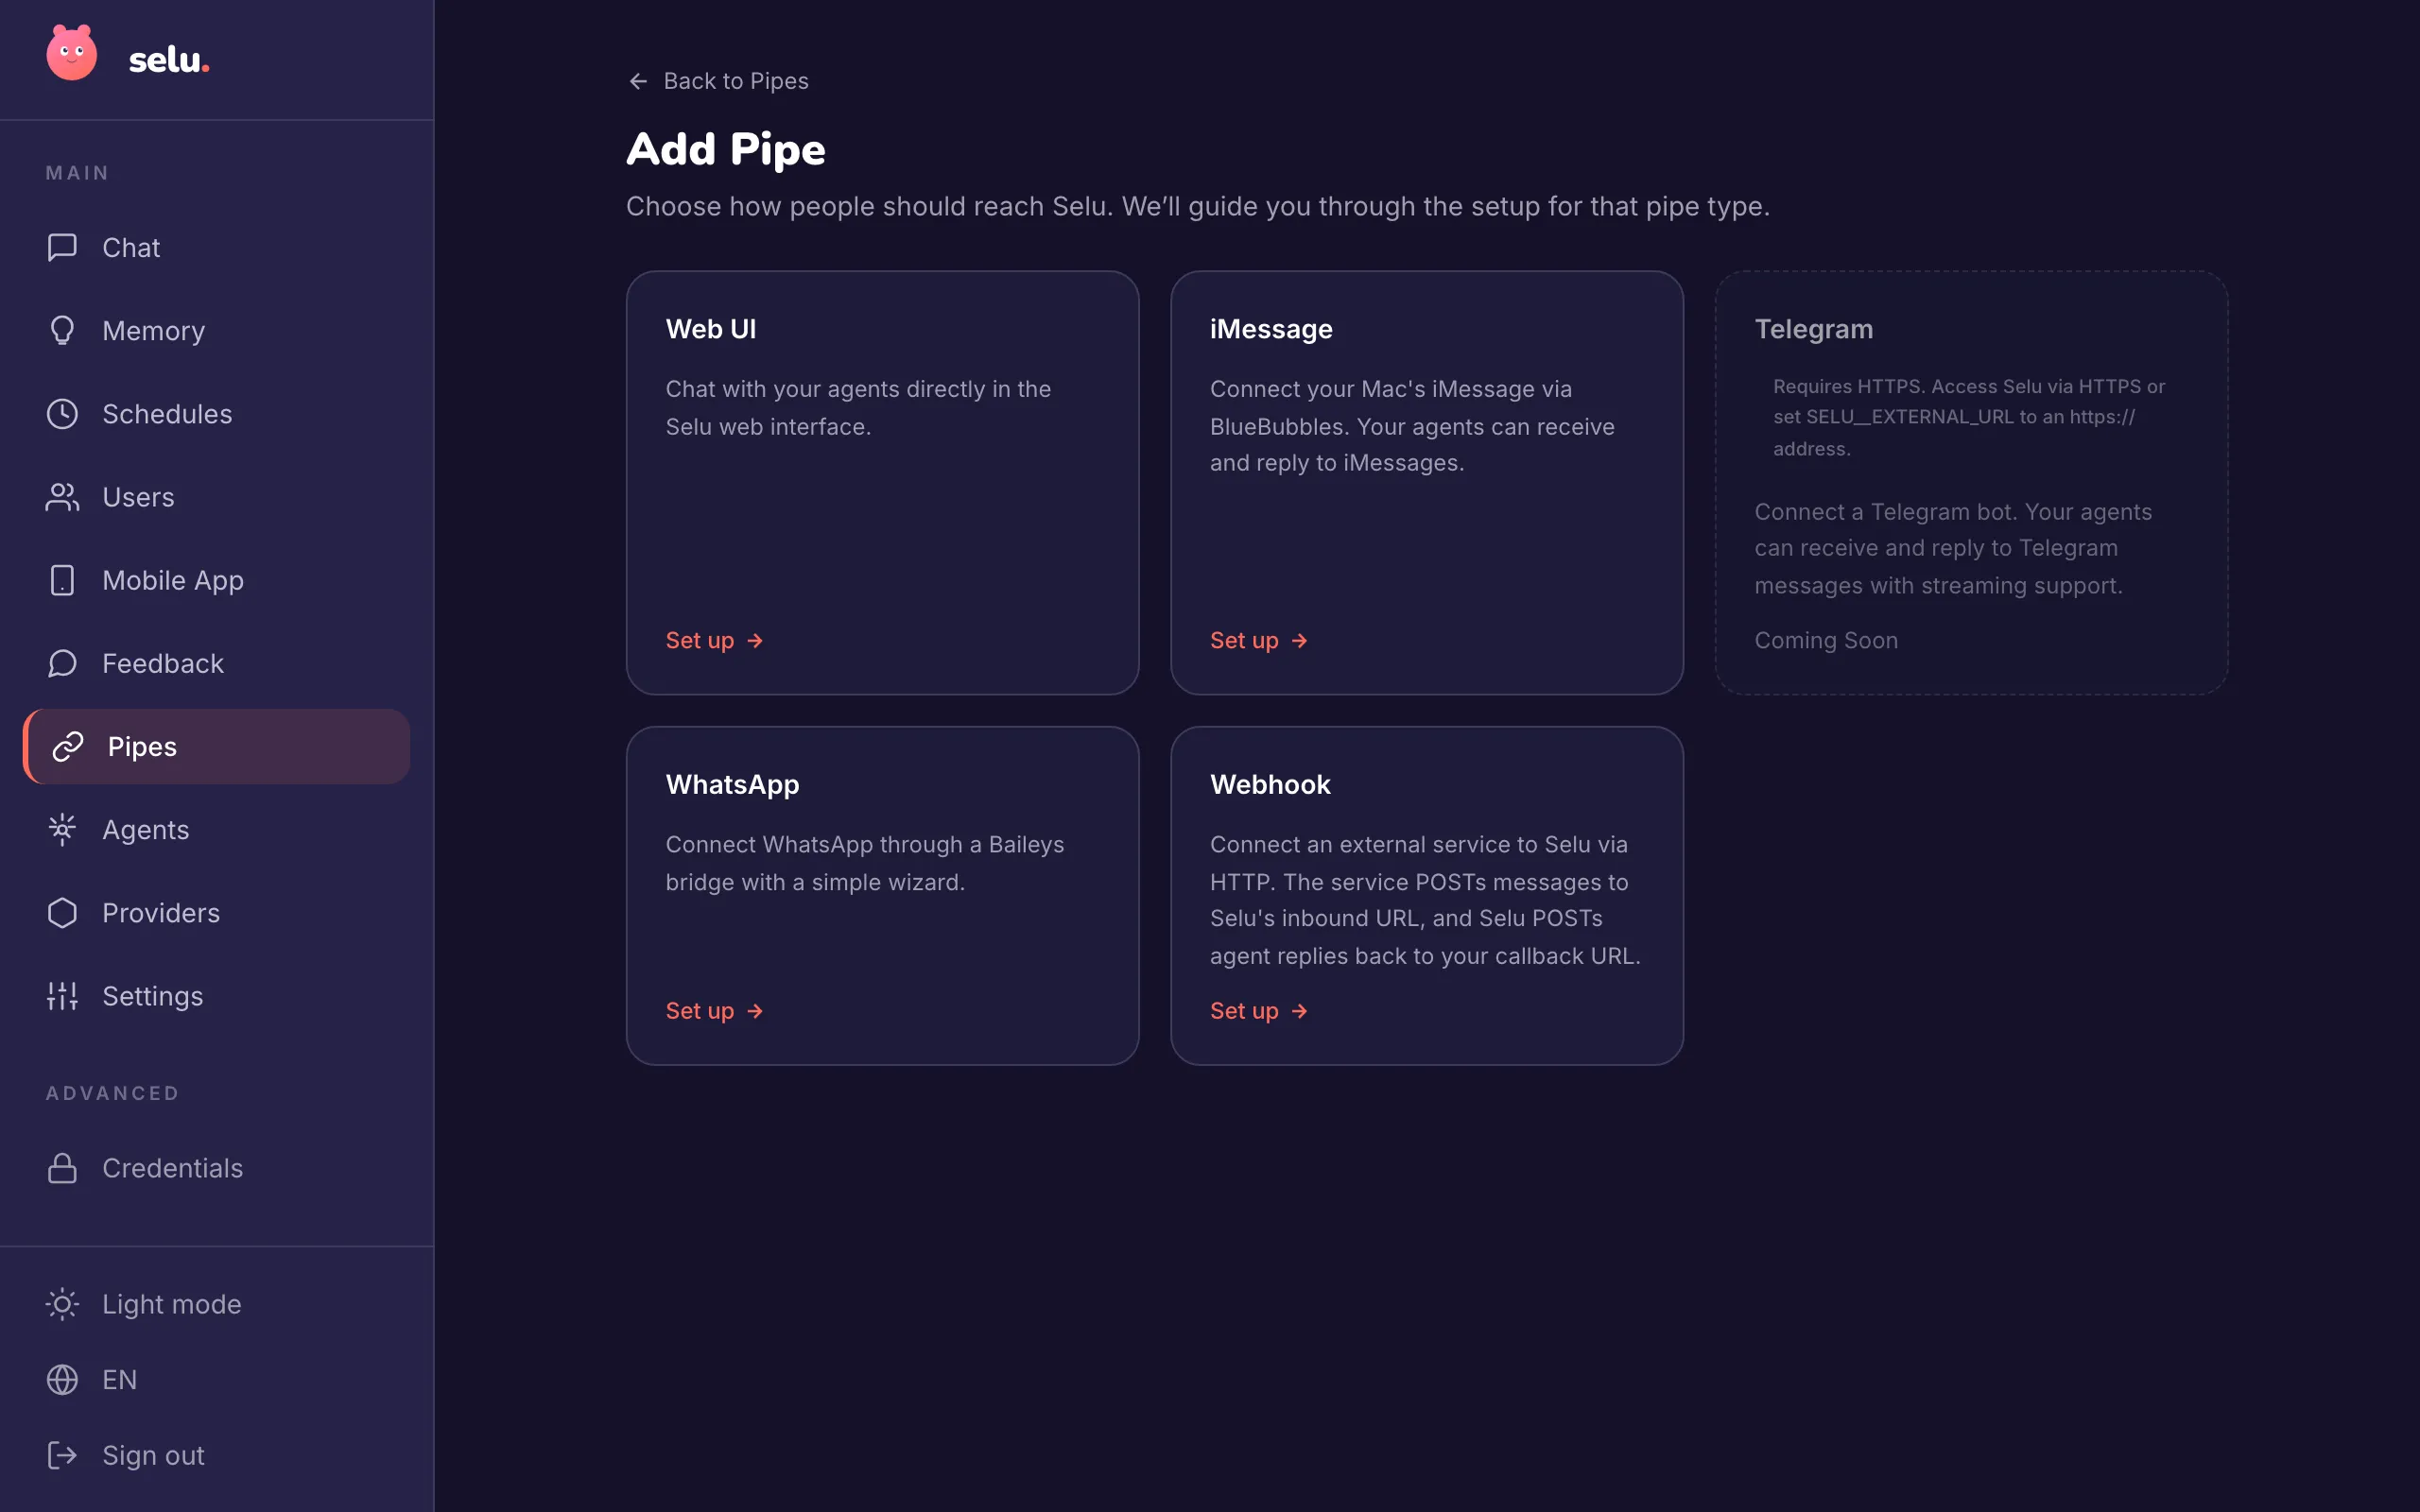
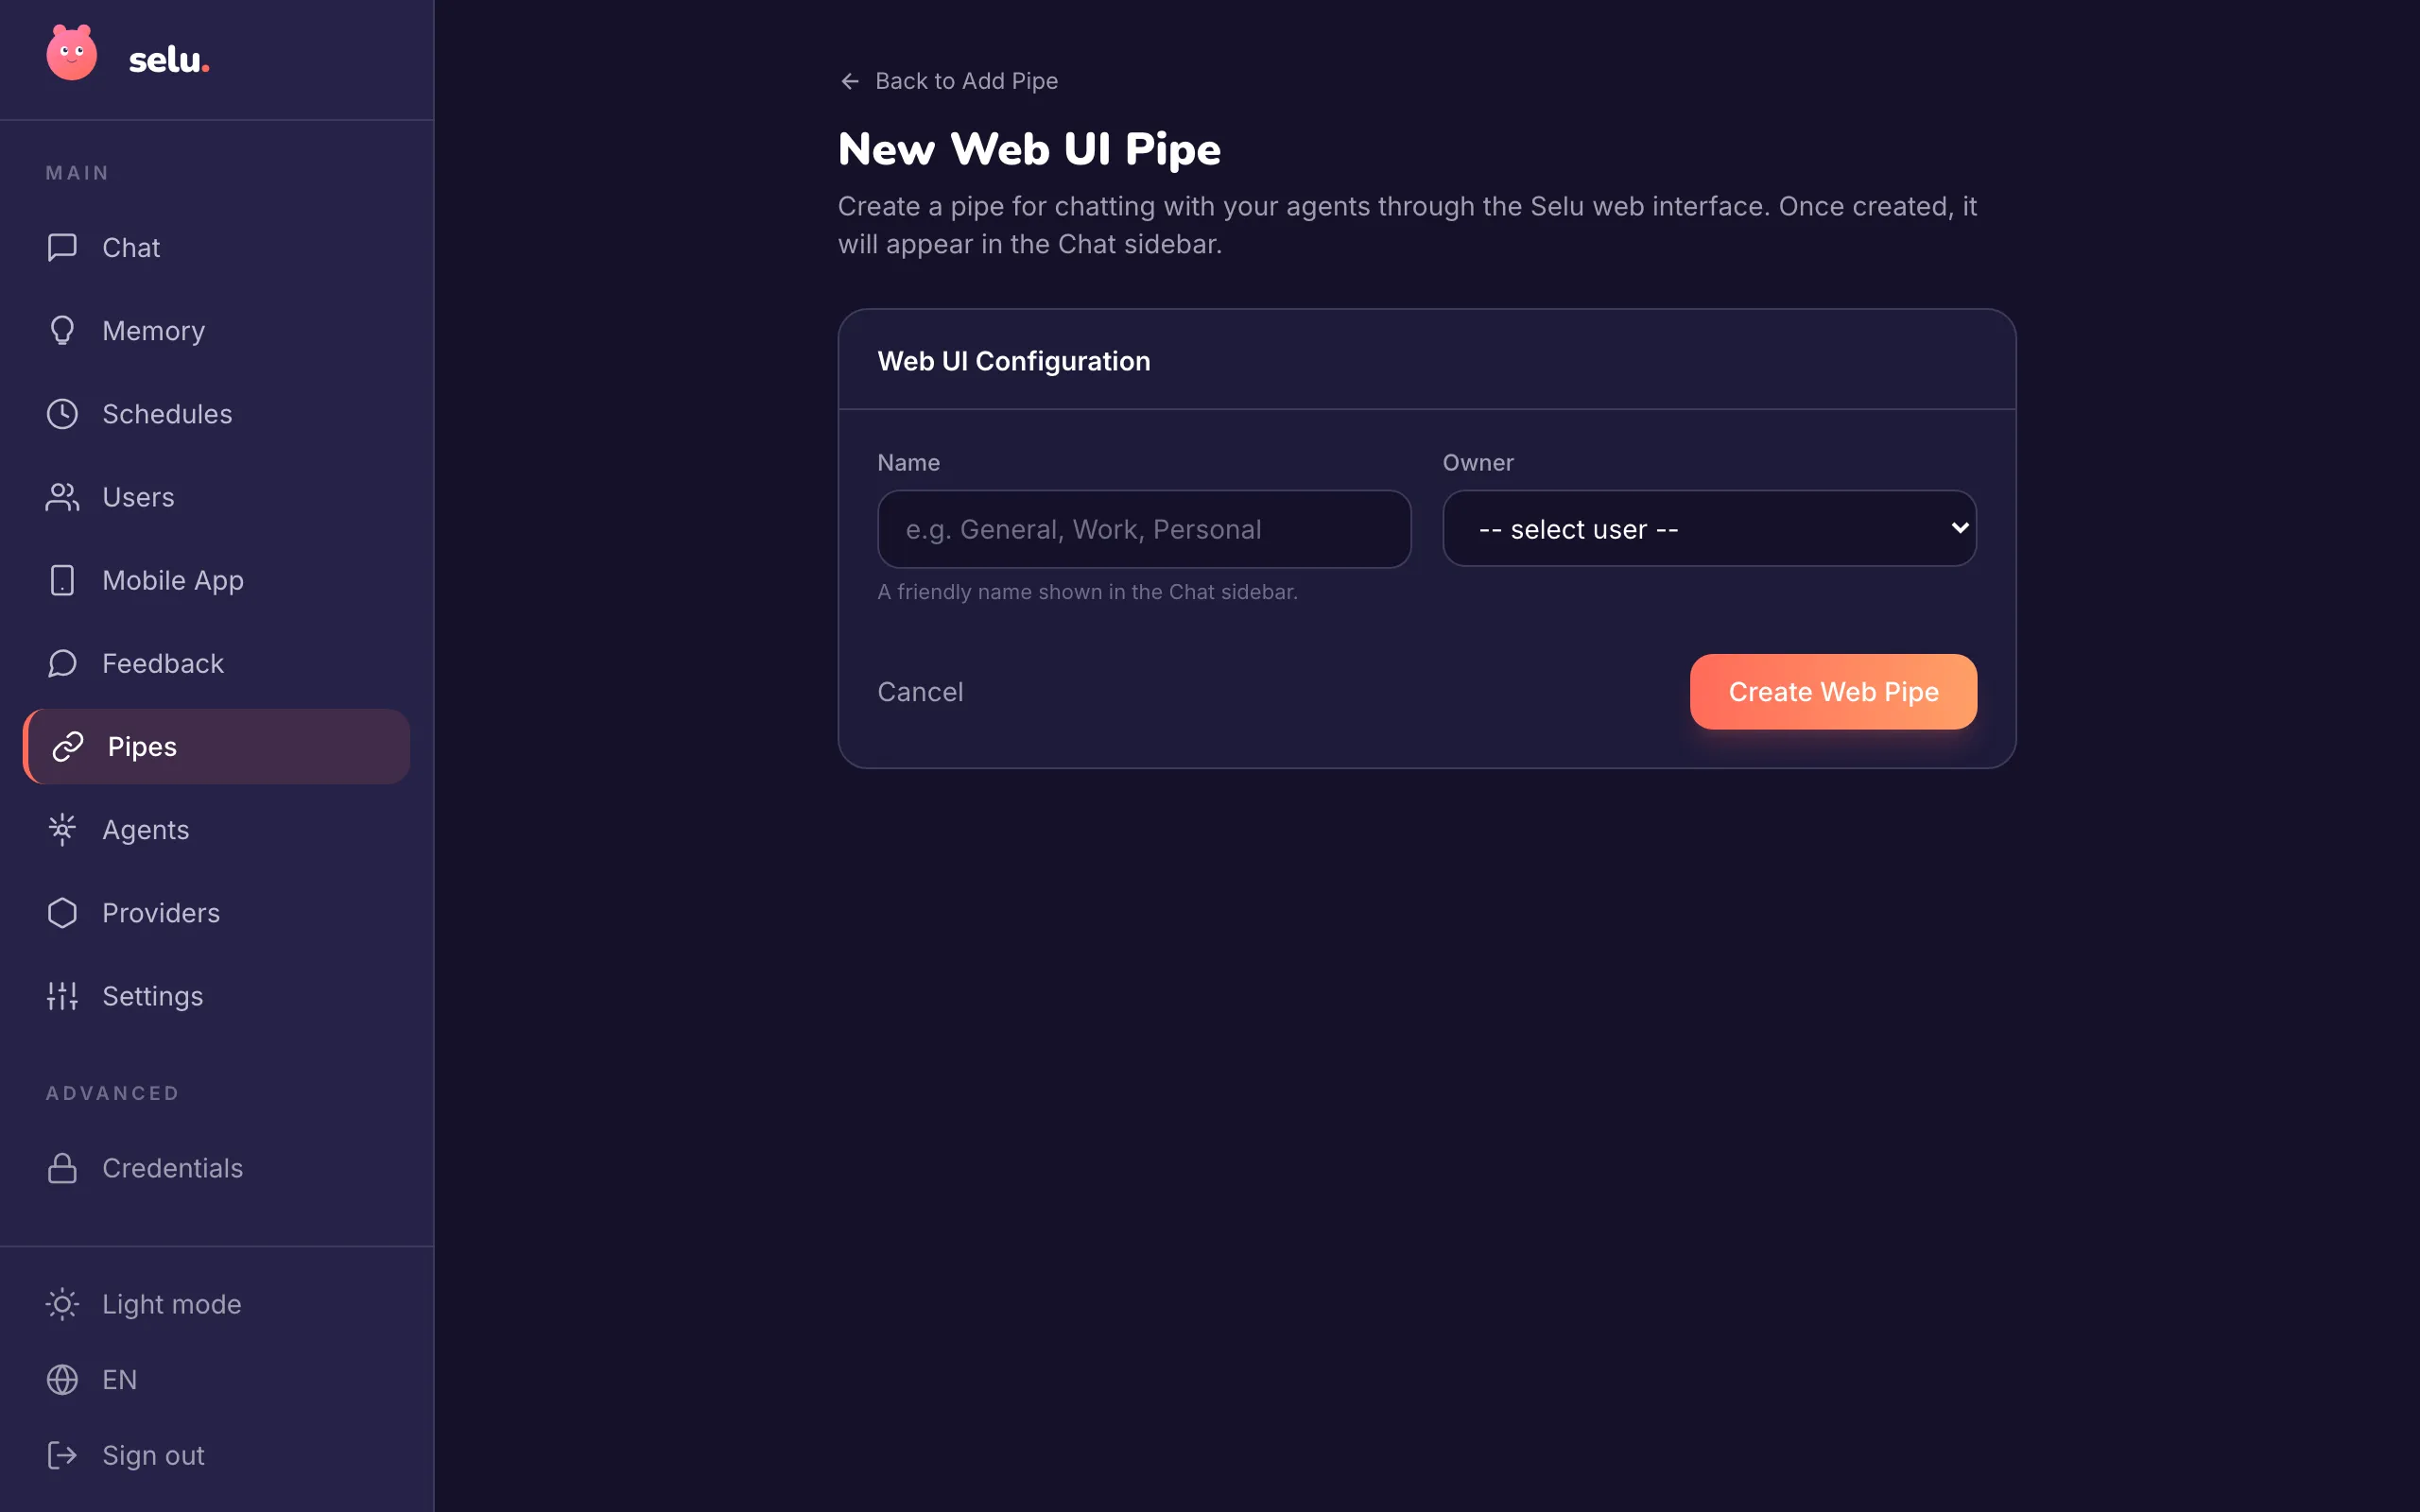
Type a name (like “My Chat” or “General”) and click Create Web Pipe.
Click Chat in the left sidebar. You’ll see your new pipe listed.
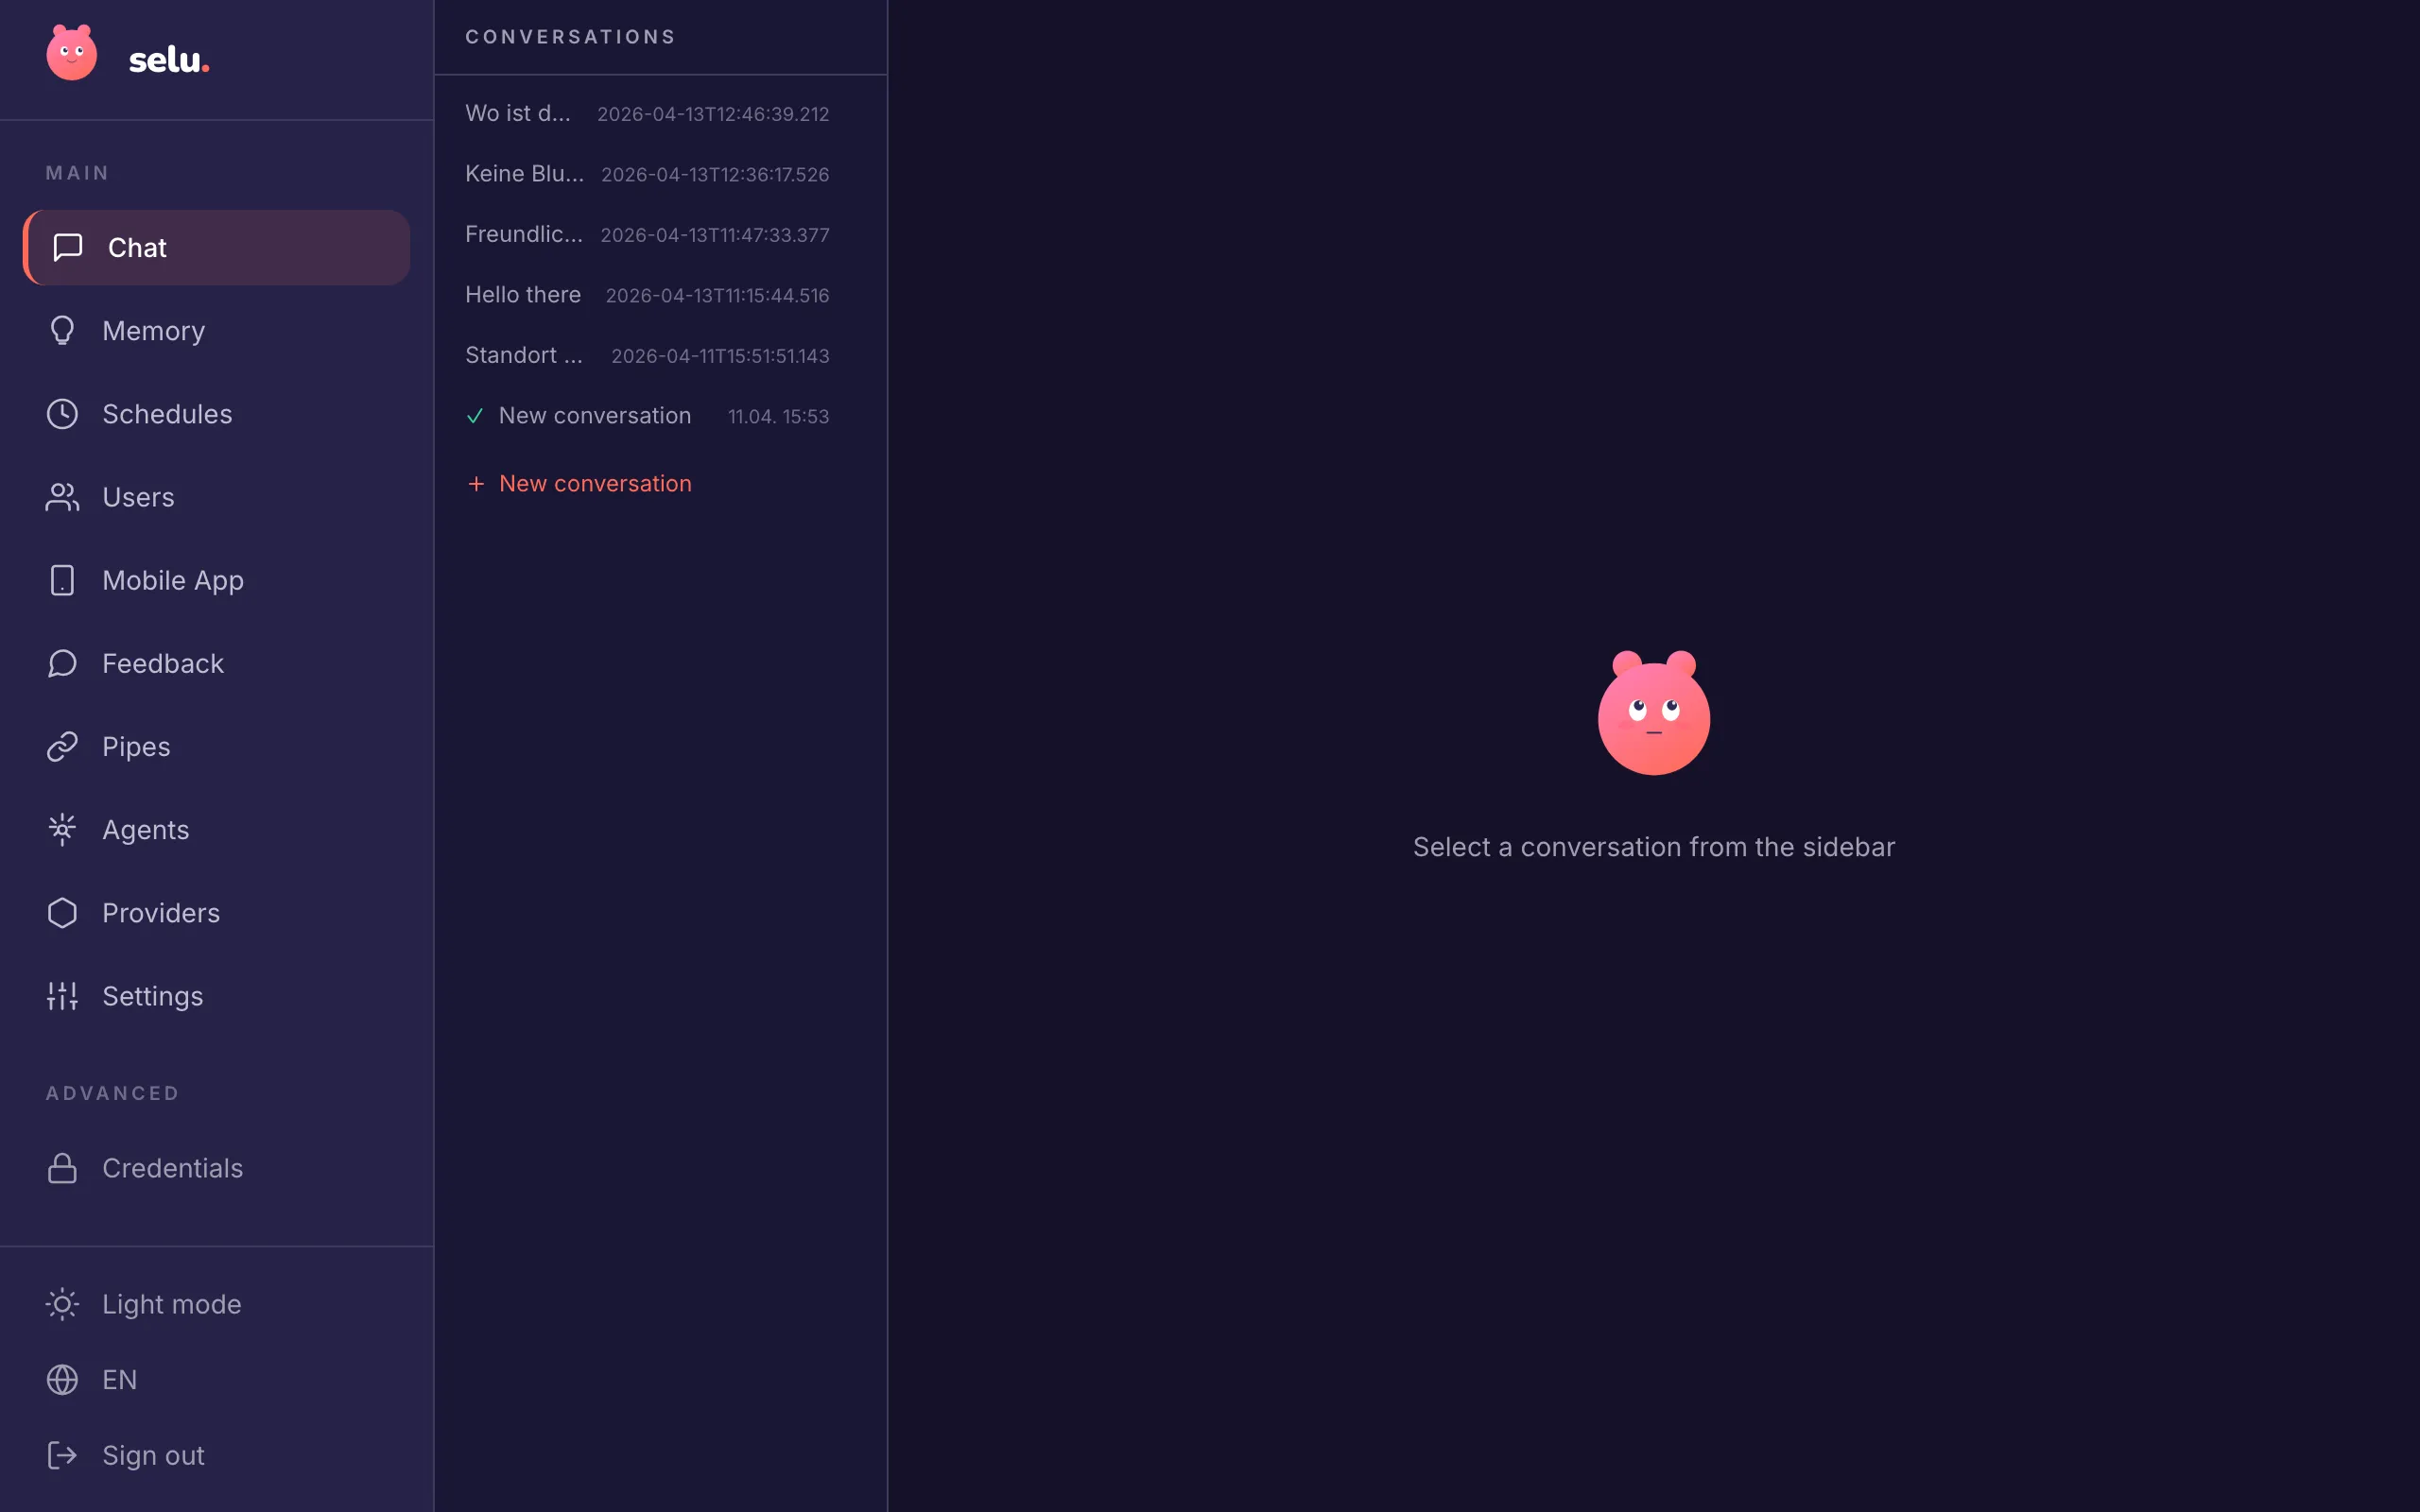
Click New conversation.
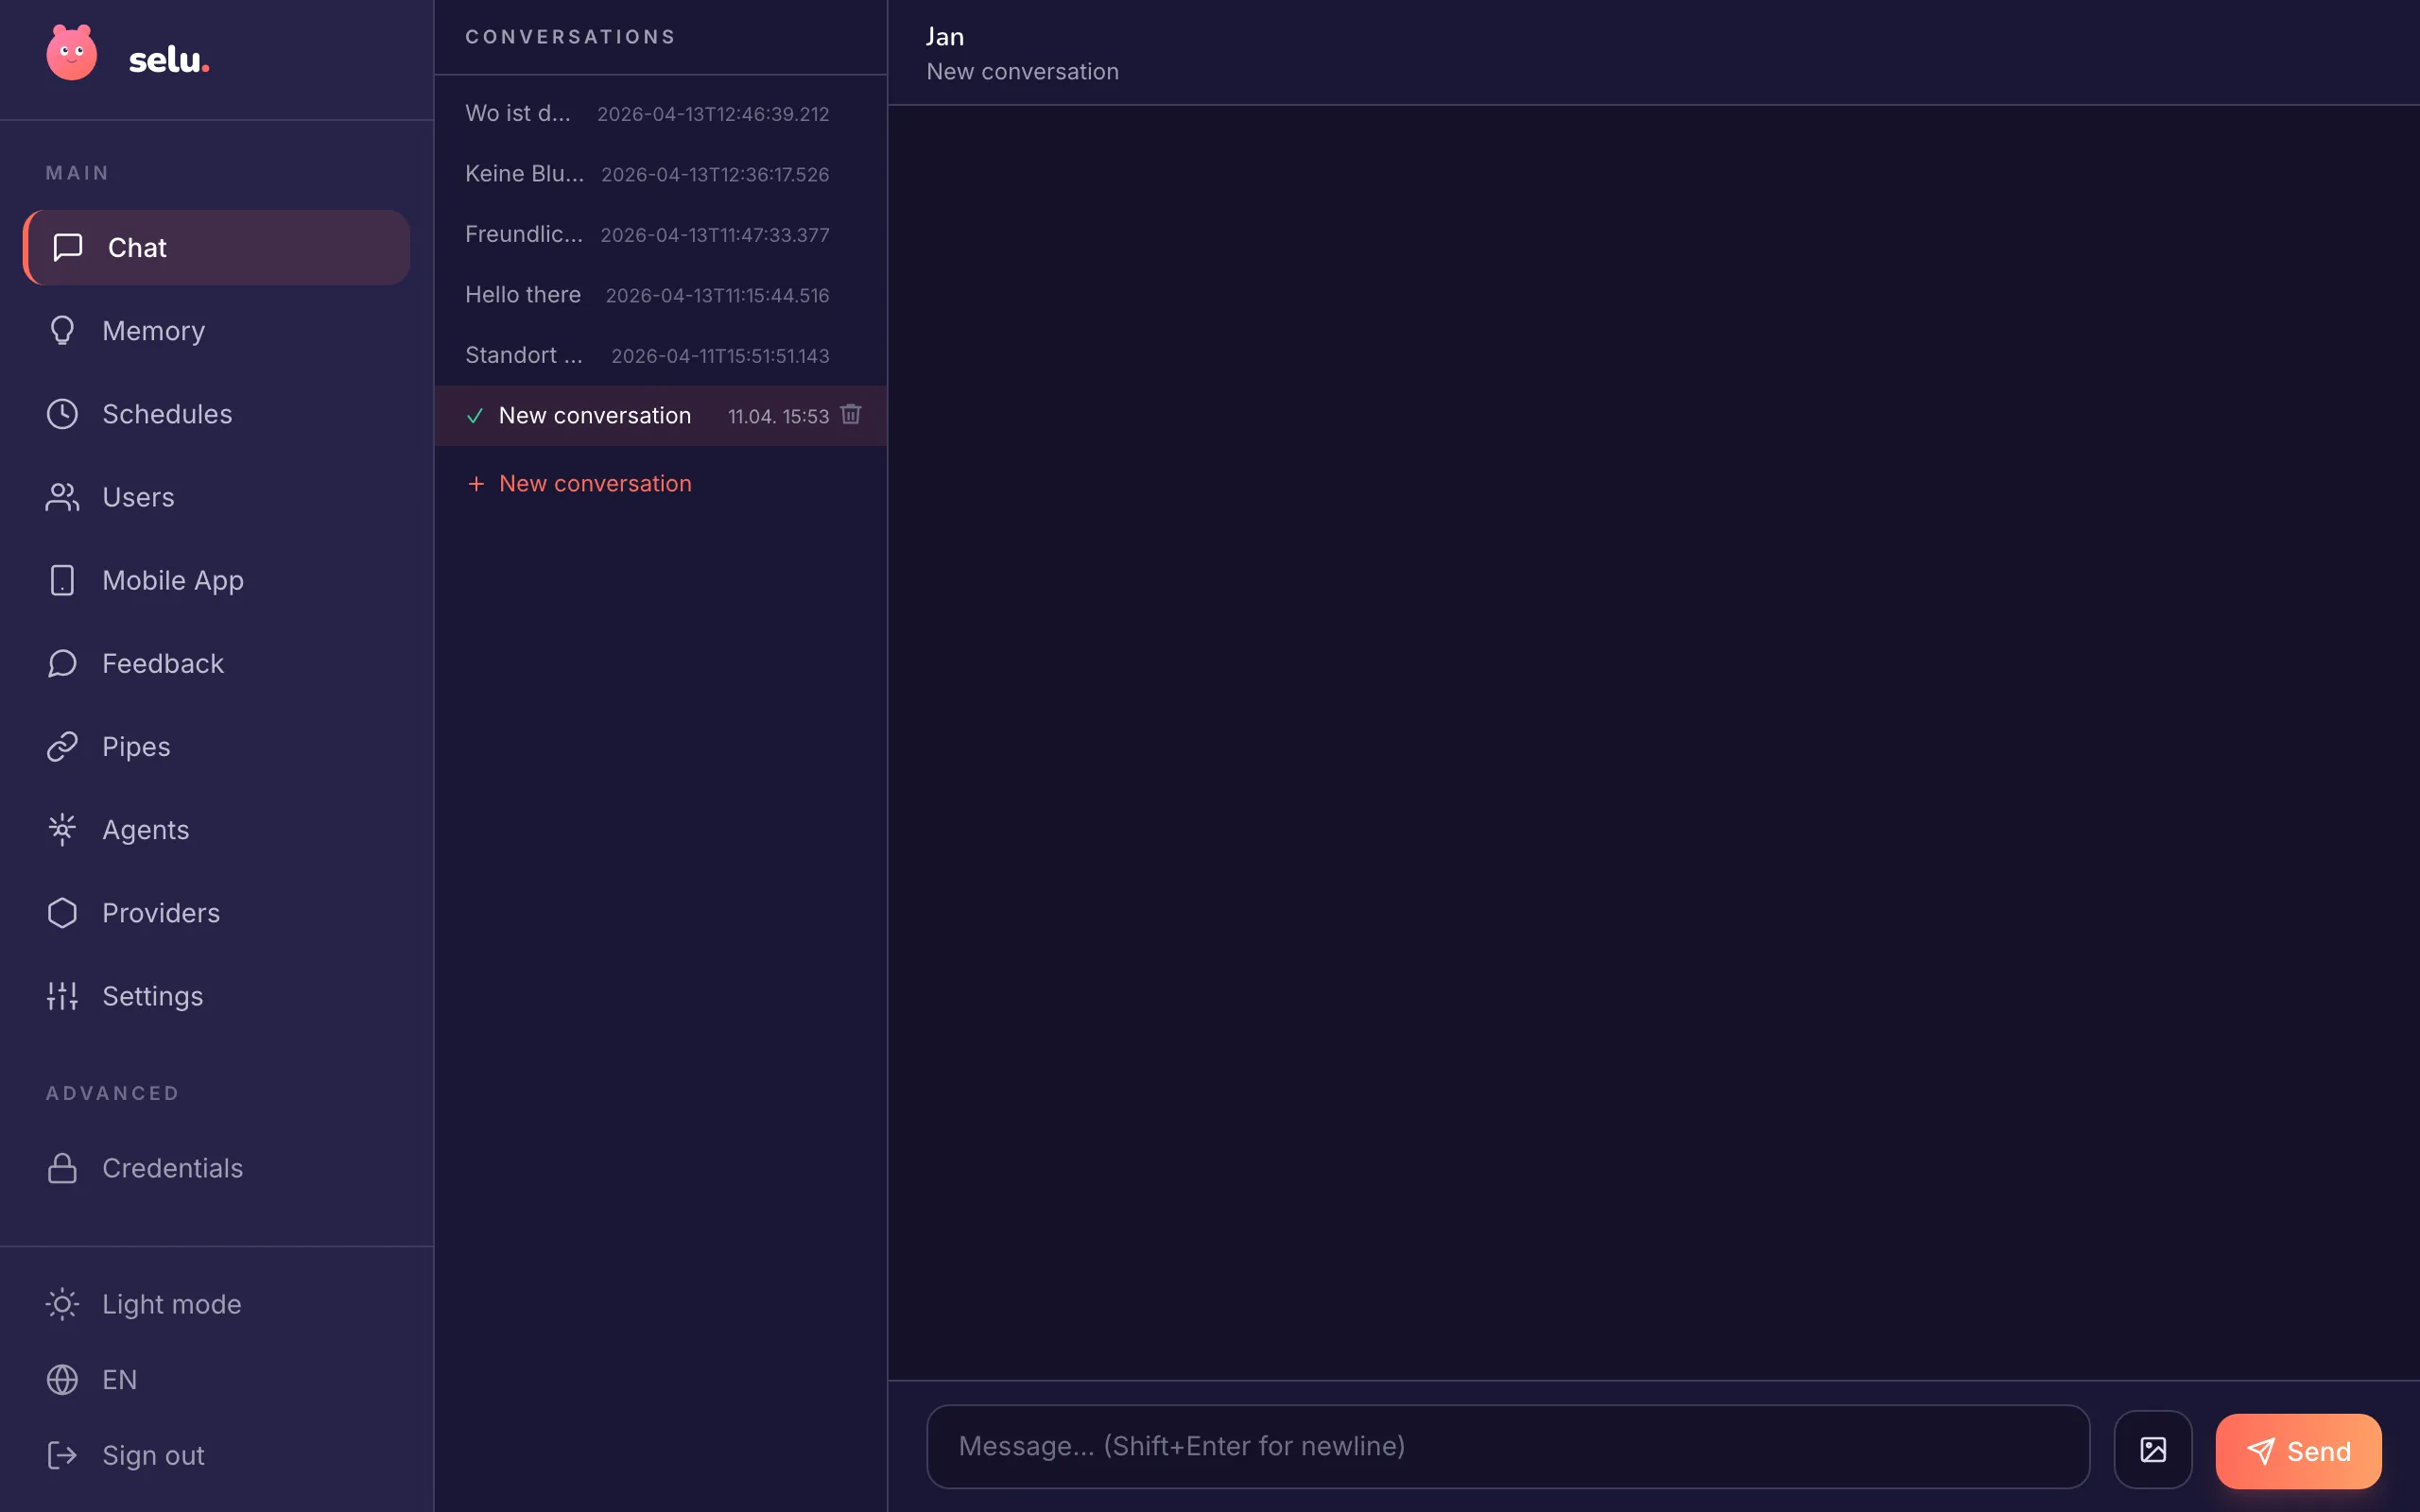
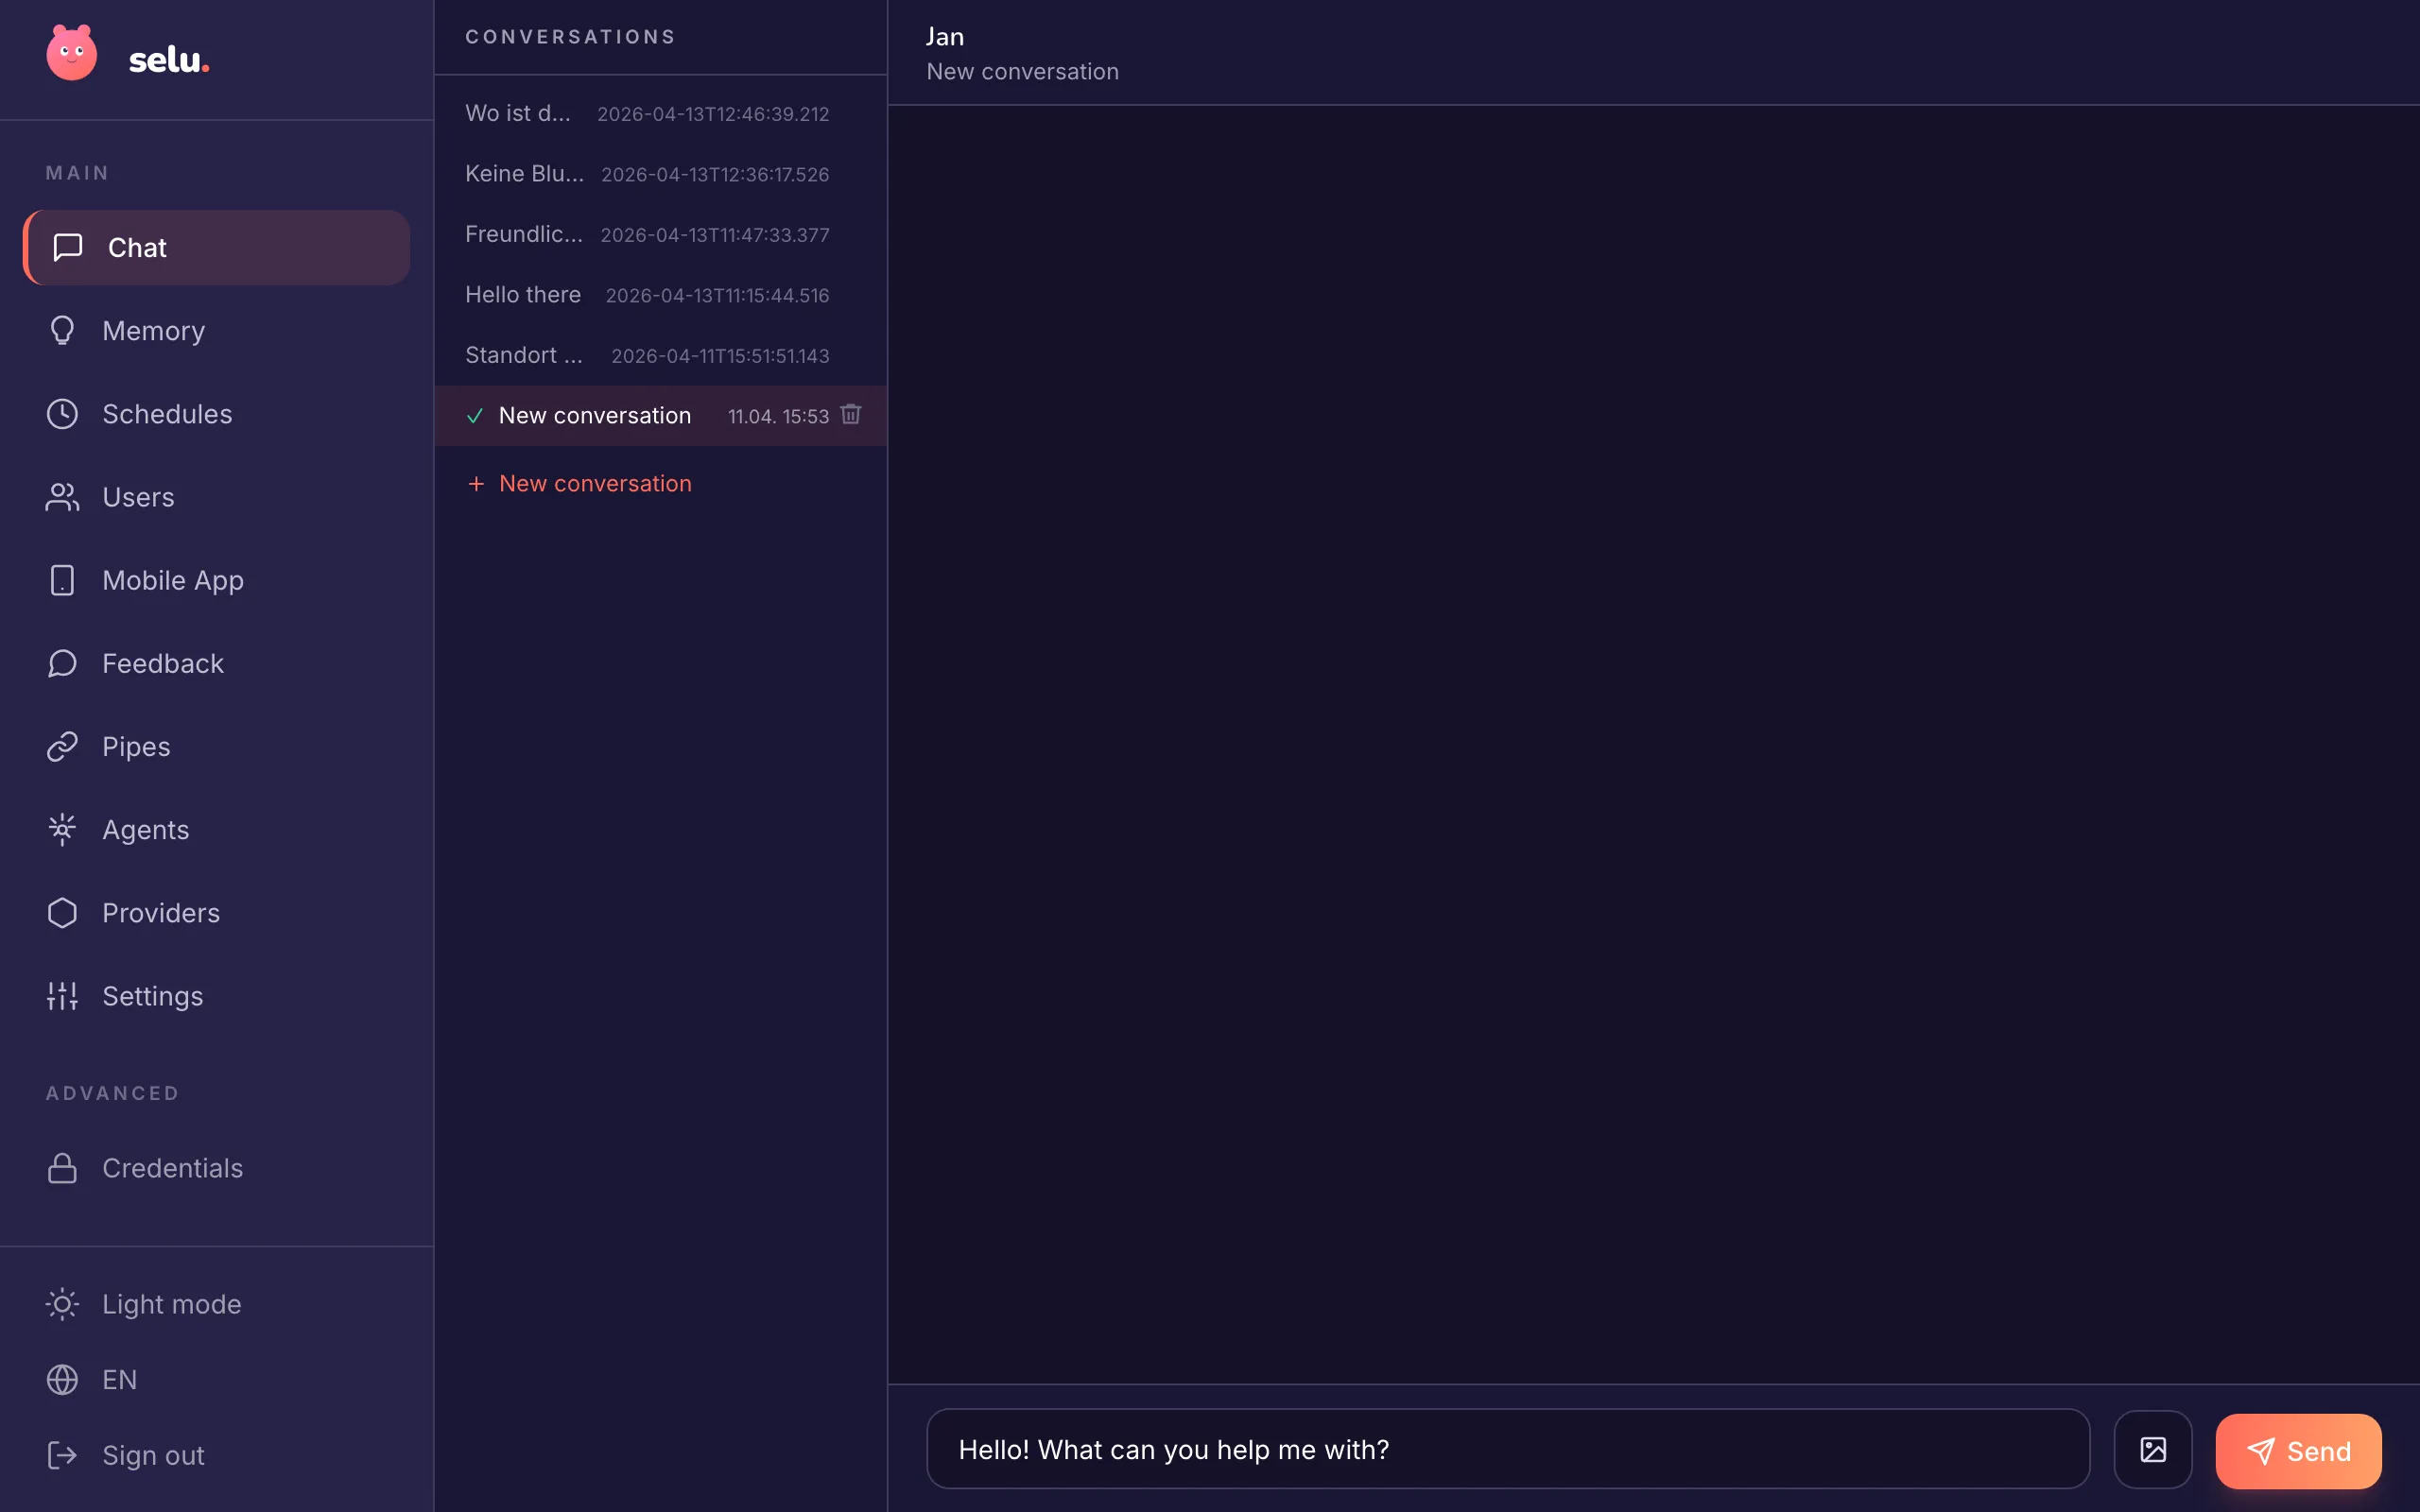
Type something like “Hello! What can you do?” and hit Send.
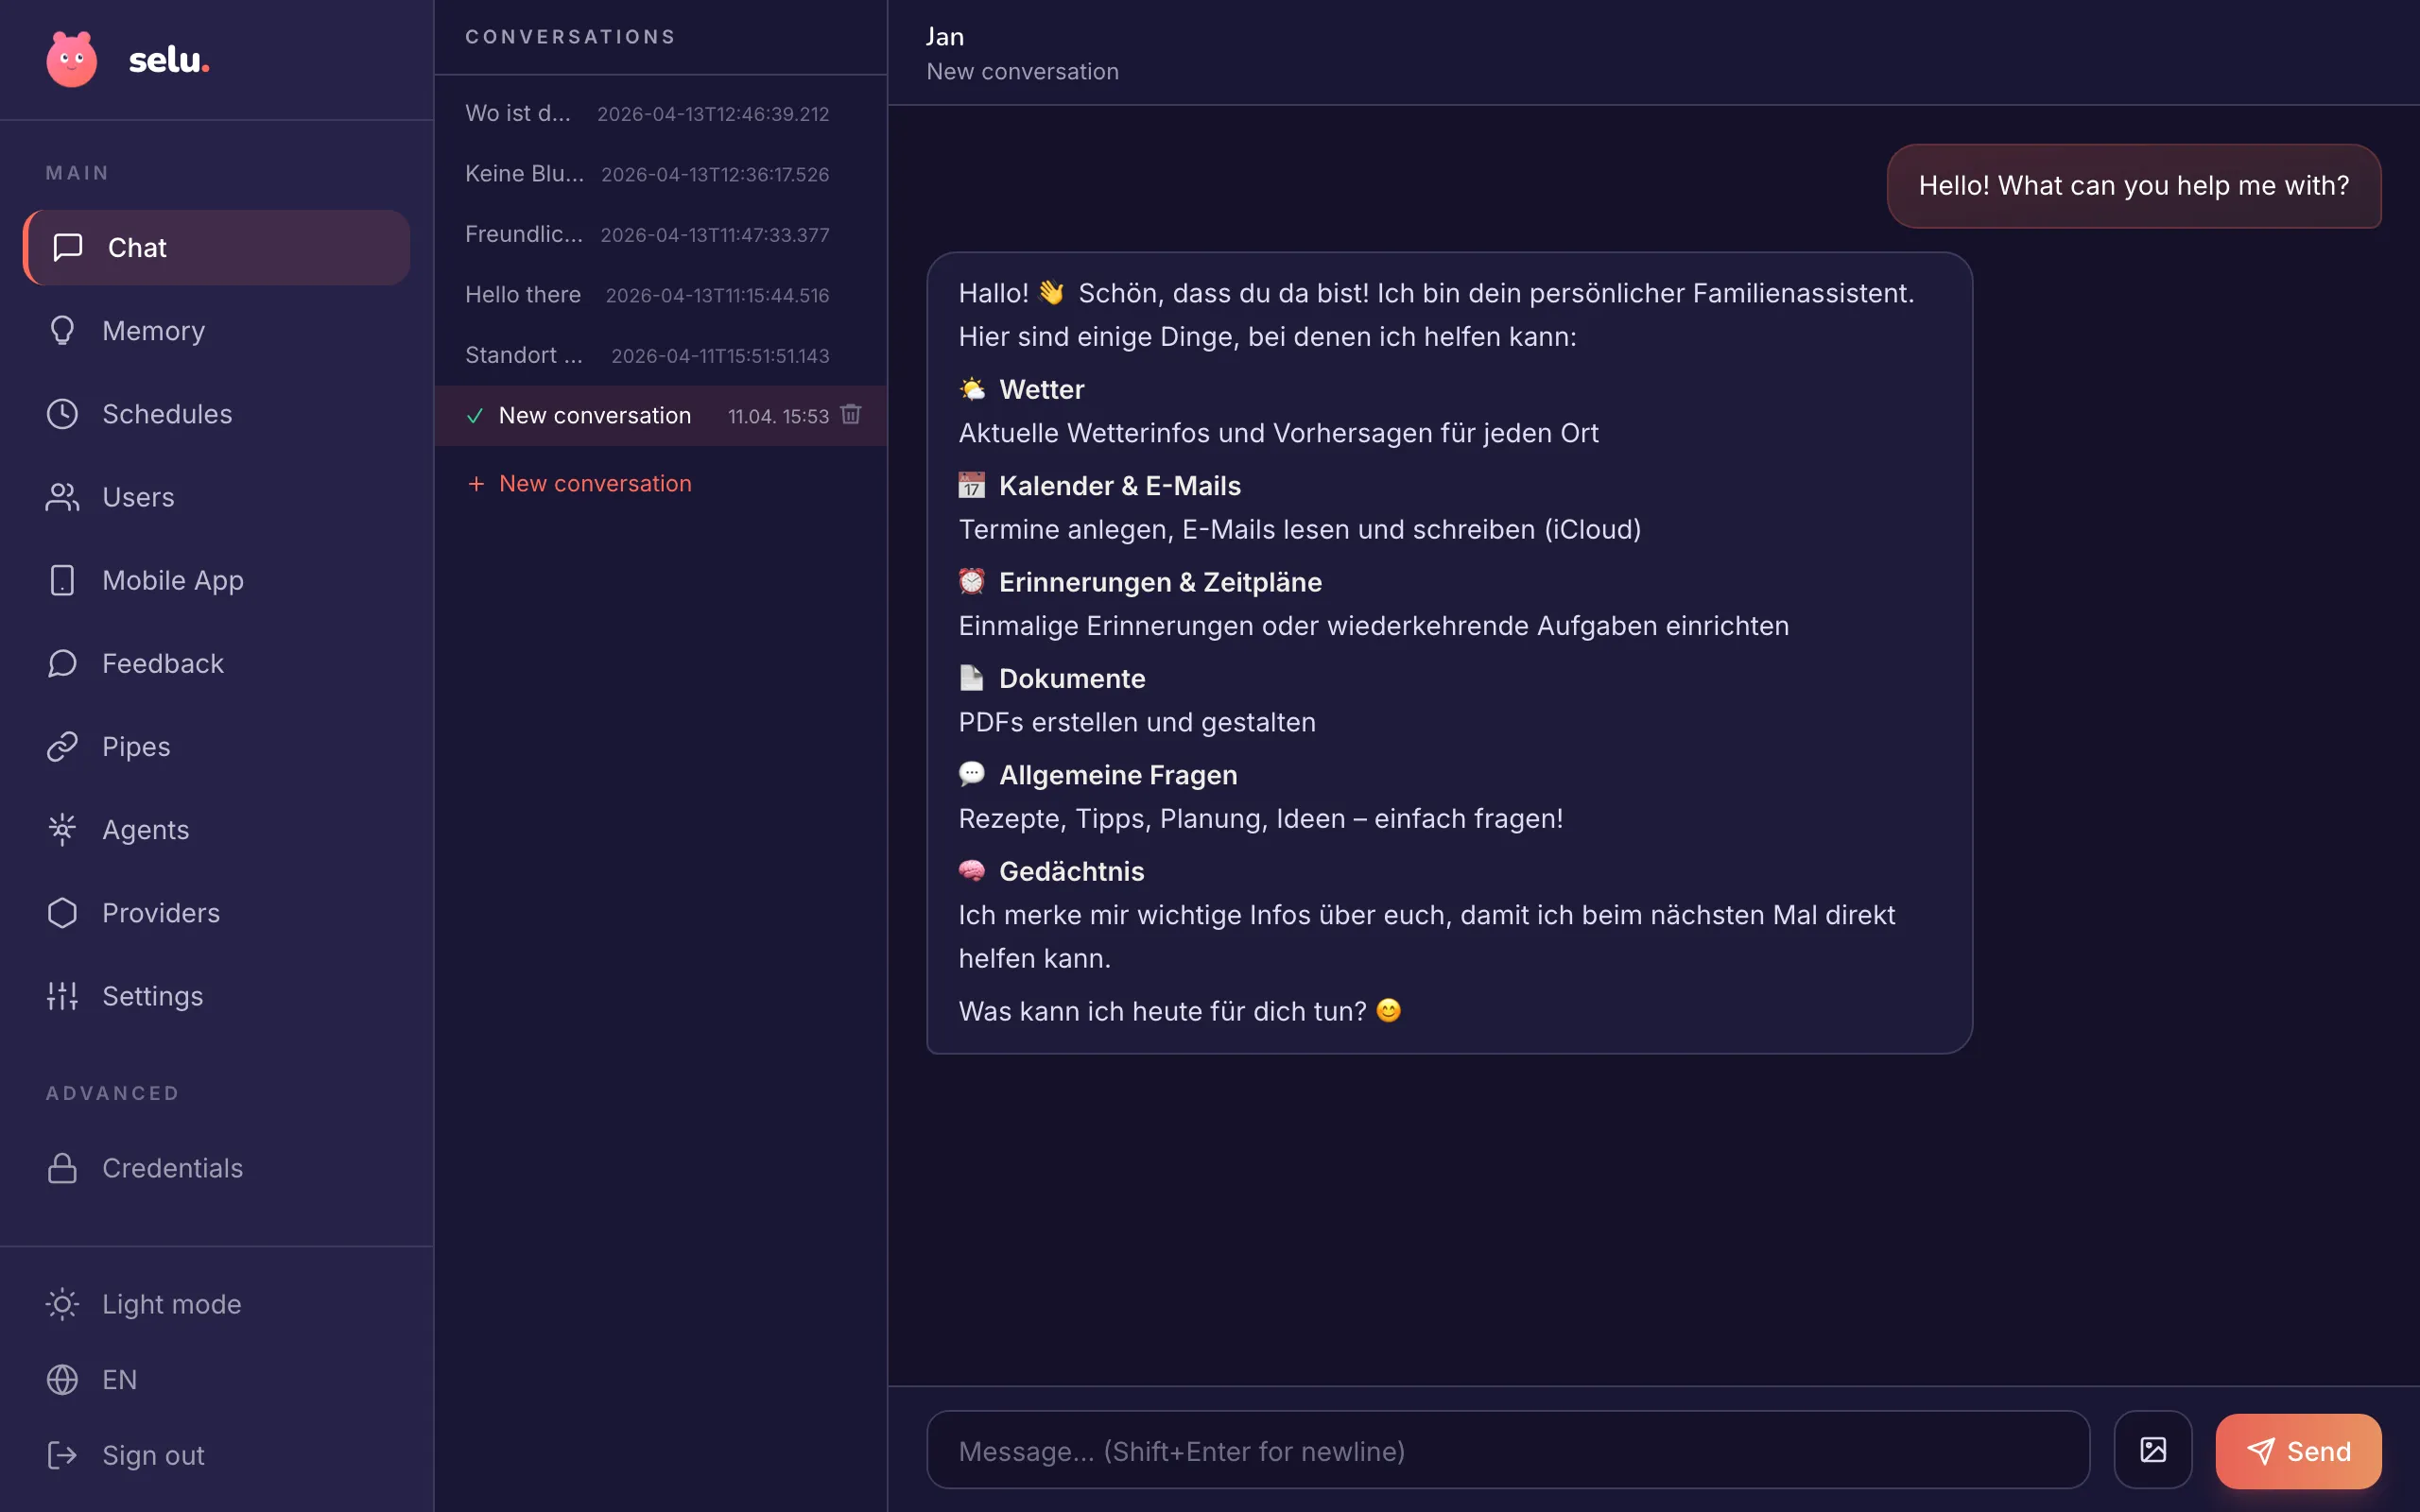
Your agent should respond within a few seconds. Congratulations — you have an AI agent running on your own machine.
When you send a message, here’s what Selu does:
No third party sees your conversation — except the language model provider if you’re using a cloud-based model. Everything else stays on your machine.
| Problem | What to do |
|---|---|
| Installer says Docker isn’t running | Open Docker Desktop (Mac/Windows) or run sudo systemctl start docker (Linux) |
| Port 3000 is already in use | Run the installer with --port 3001 |
| Can’t reach localhost:3000 | Check your firewall. On macOS, check Docker Desktop’s resource settings |
| Provider connection check fails | Double-check your API key — no extra spaces, full key copied |
| Agent doesn’t respond | Make sure a provider is connected and the agent is installed. Check logs with docker compose logs -f |
Explore your conversations
Learn how multi-turn conversations and capabilities work in Your First Conversation.
Chat from your phone
Set up Telegram, iMessage, or WhatsApp so you can message your agent on the go.
Try more agents
Browse the Marketplace for specialized agents — writing assistants, research helpers, and more.
Build your own agent
Ready to go deeper? The Developer Guide shows you how to create custom agents.