
Download
The agent package is downloaded from the marketplace. This includes the agent definition and any capability images it needs.
Agents are the heart of Selu. Each agent is a self-contained AI assistant that can handle specific tasks — from answering questions to managing your calendar to monitoring your smart home. You install them from the Selu marketplace.
Open the Selu dashboard and click Marketplace in the sidebar. You’ll see a catalog of available agents organized by category.
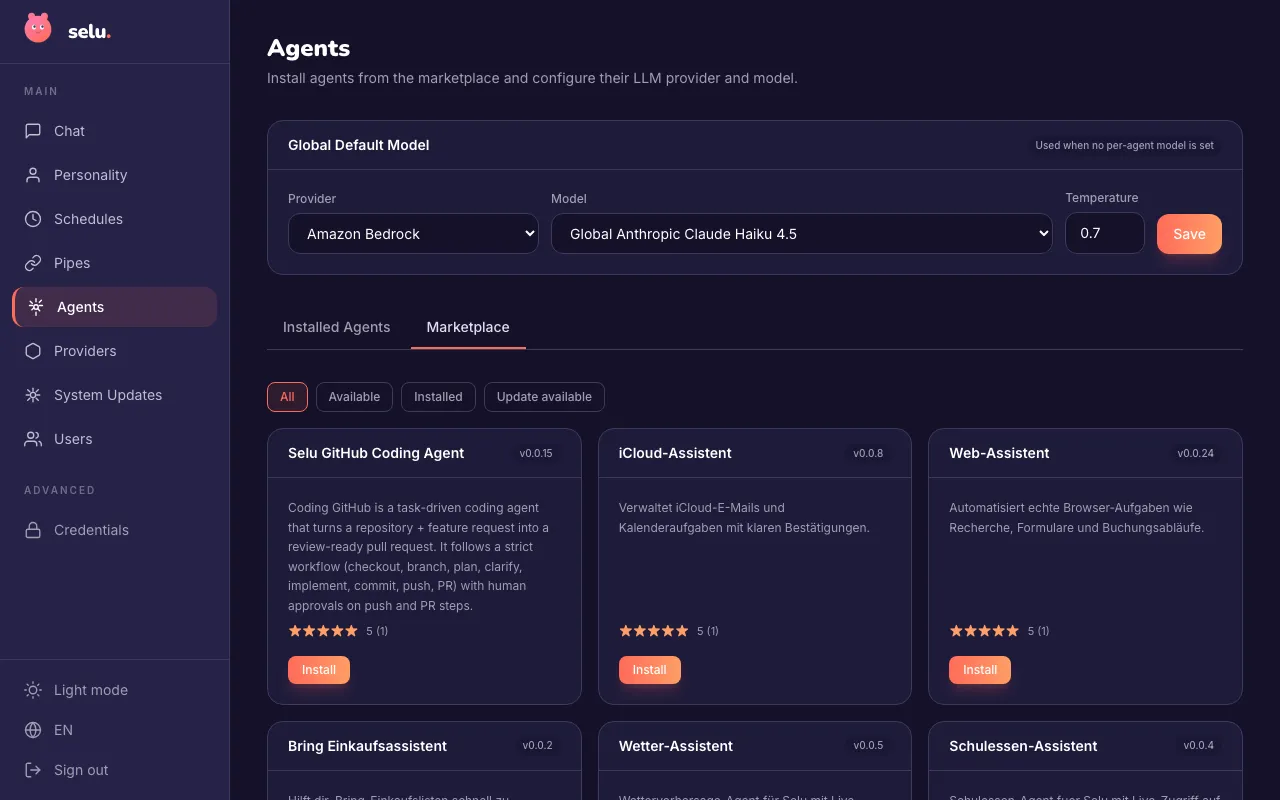
Each listing includes:
Installation usually takes under a minute, depending on the agent’s size and your internet speed.
Download
The agent package is downloaded from the marketplace. This includes the agent definition and any capability images it needs.
Registration
The agent is registered with Selu and its capabilities and tools become available.
Configuration
Default settings are applied. You can customize the agent’s behavior from its settings page after installation.
Health check
Selu verifies the agent is loaded and ready before marking it as available.
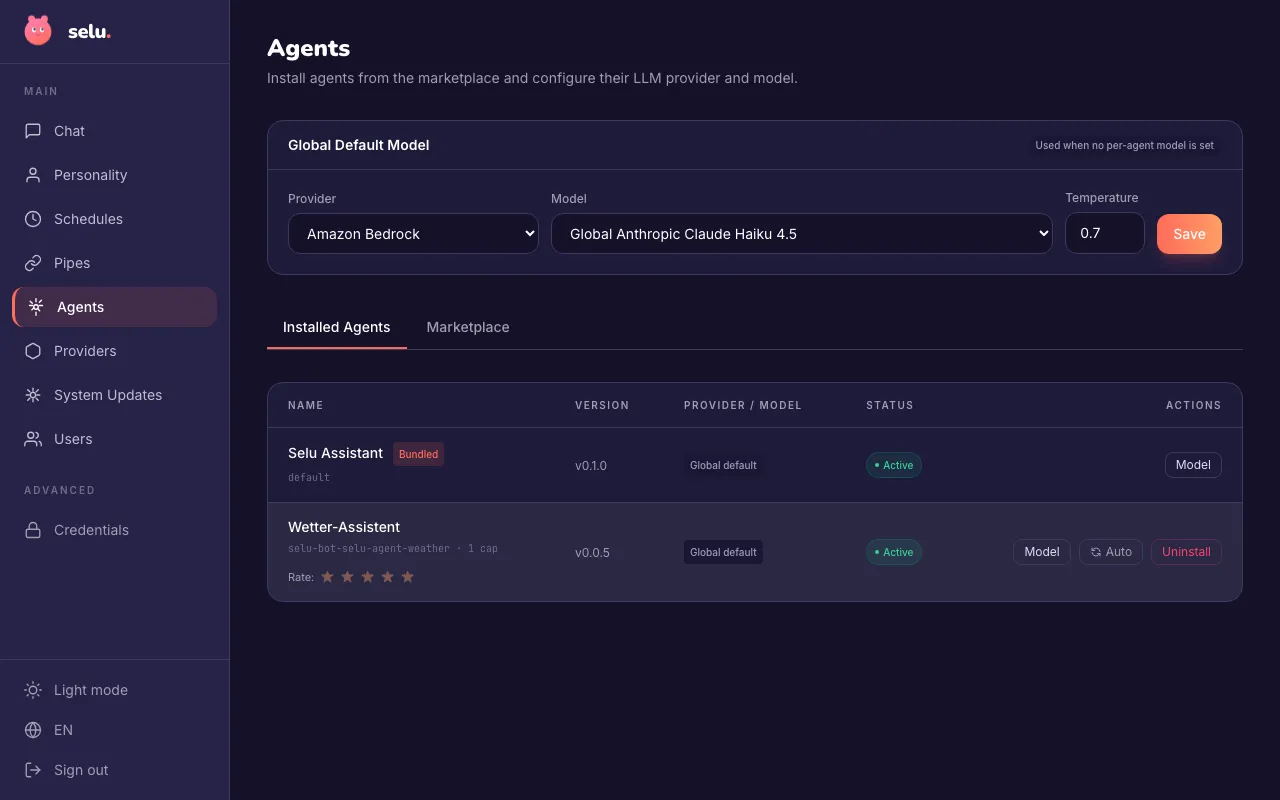
Go to the Agents page to see everything you’ve installed. From here you can: